

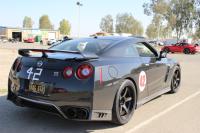
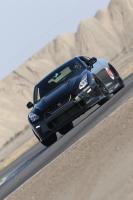
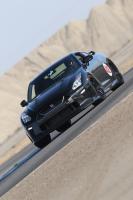
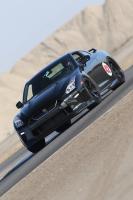
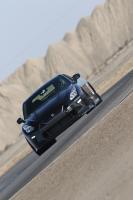
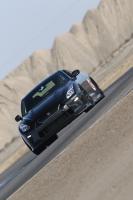
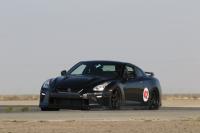
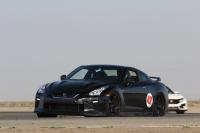
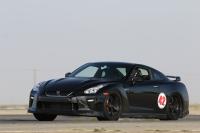
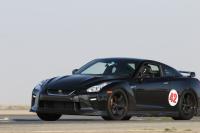
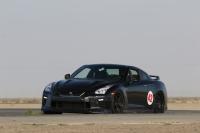
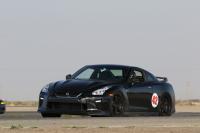
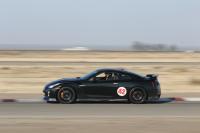
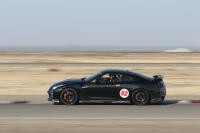
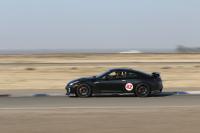
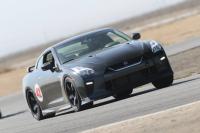
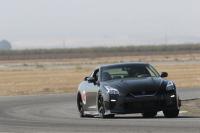
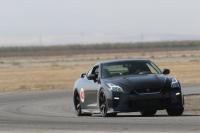
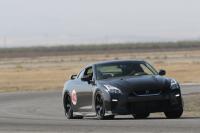
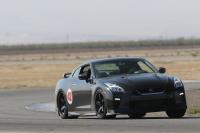
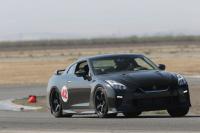
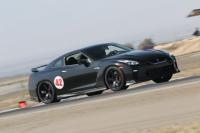
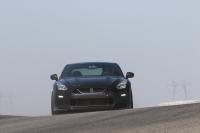
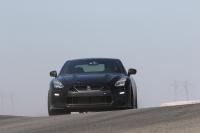
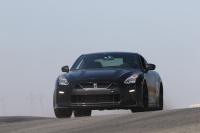
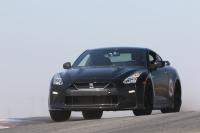
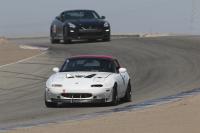
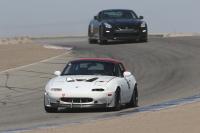
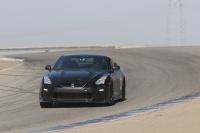
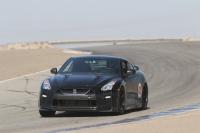
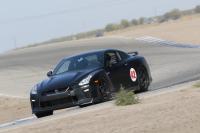
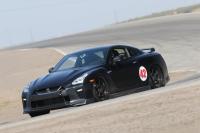
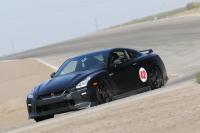
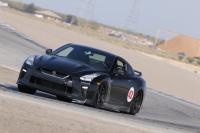
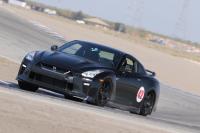
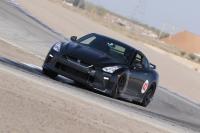
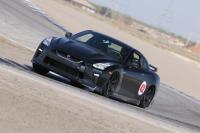
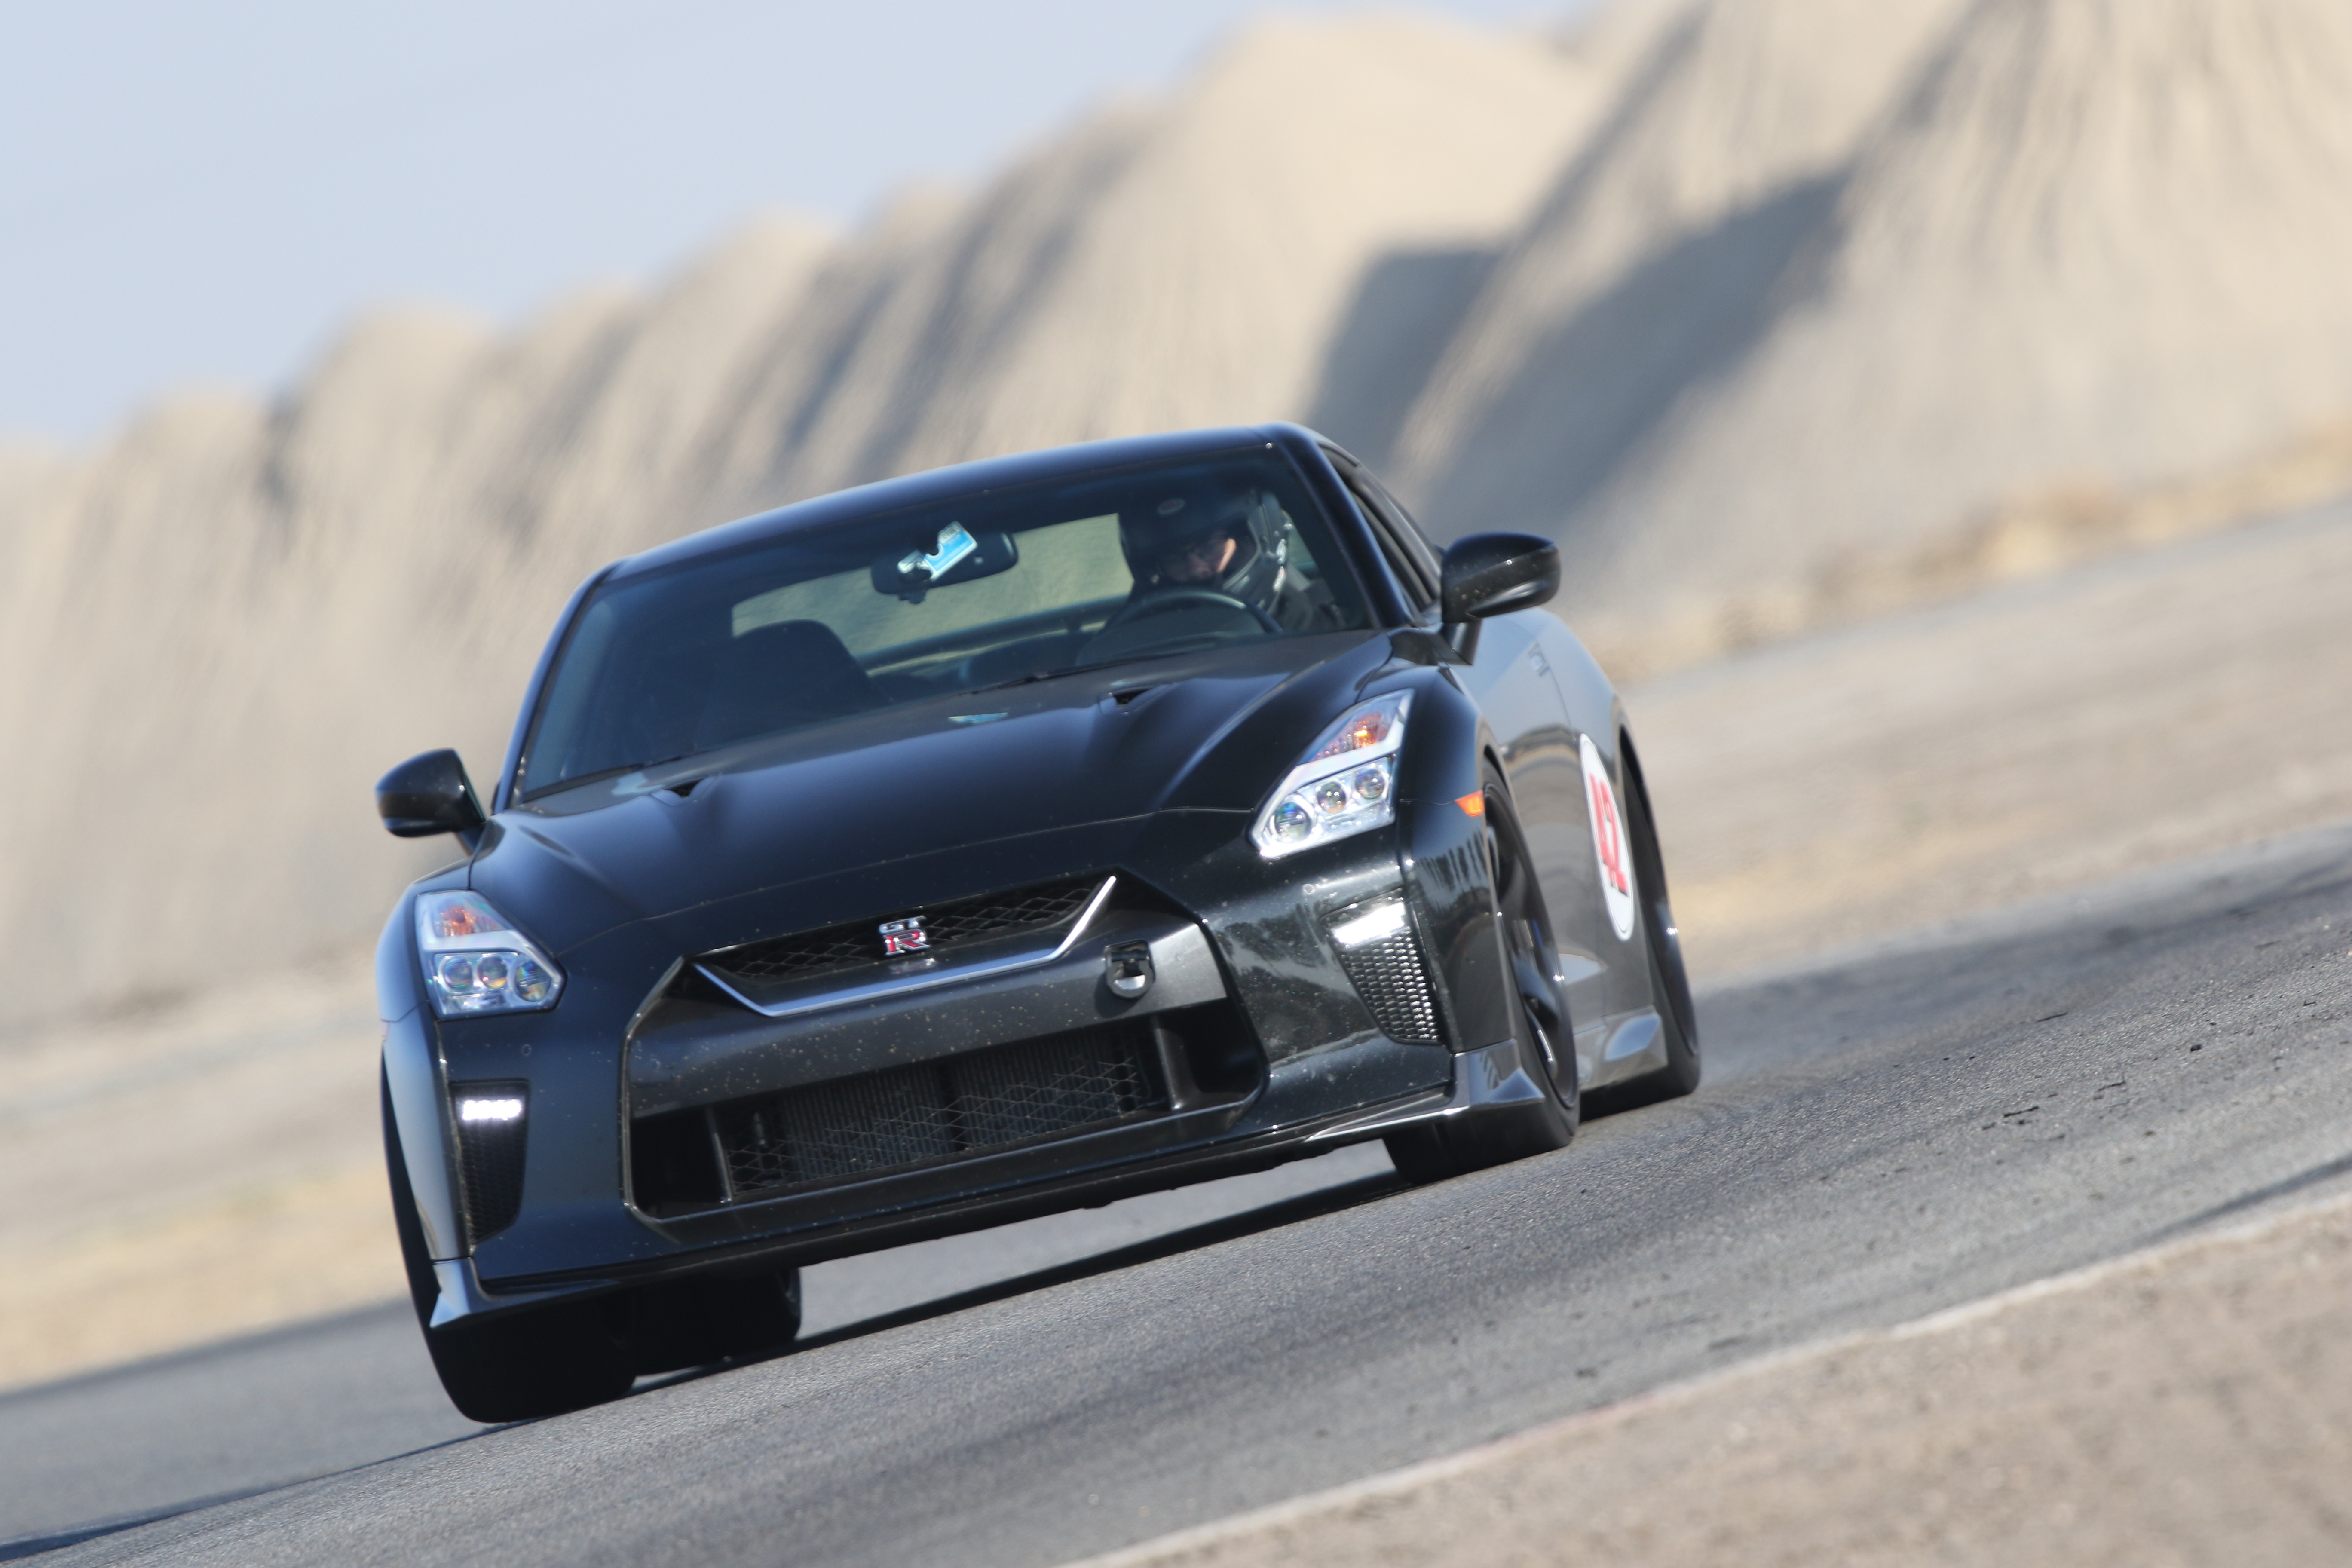
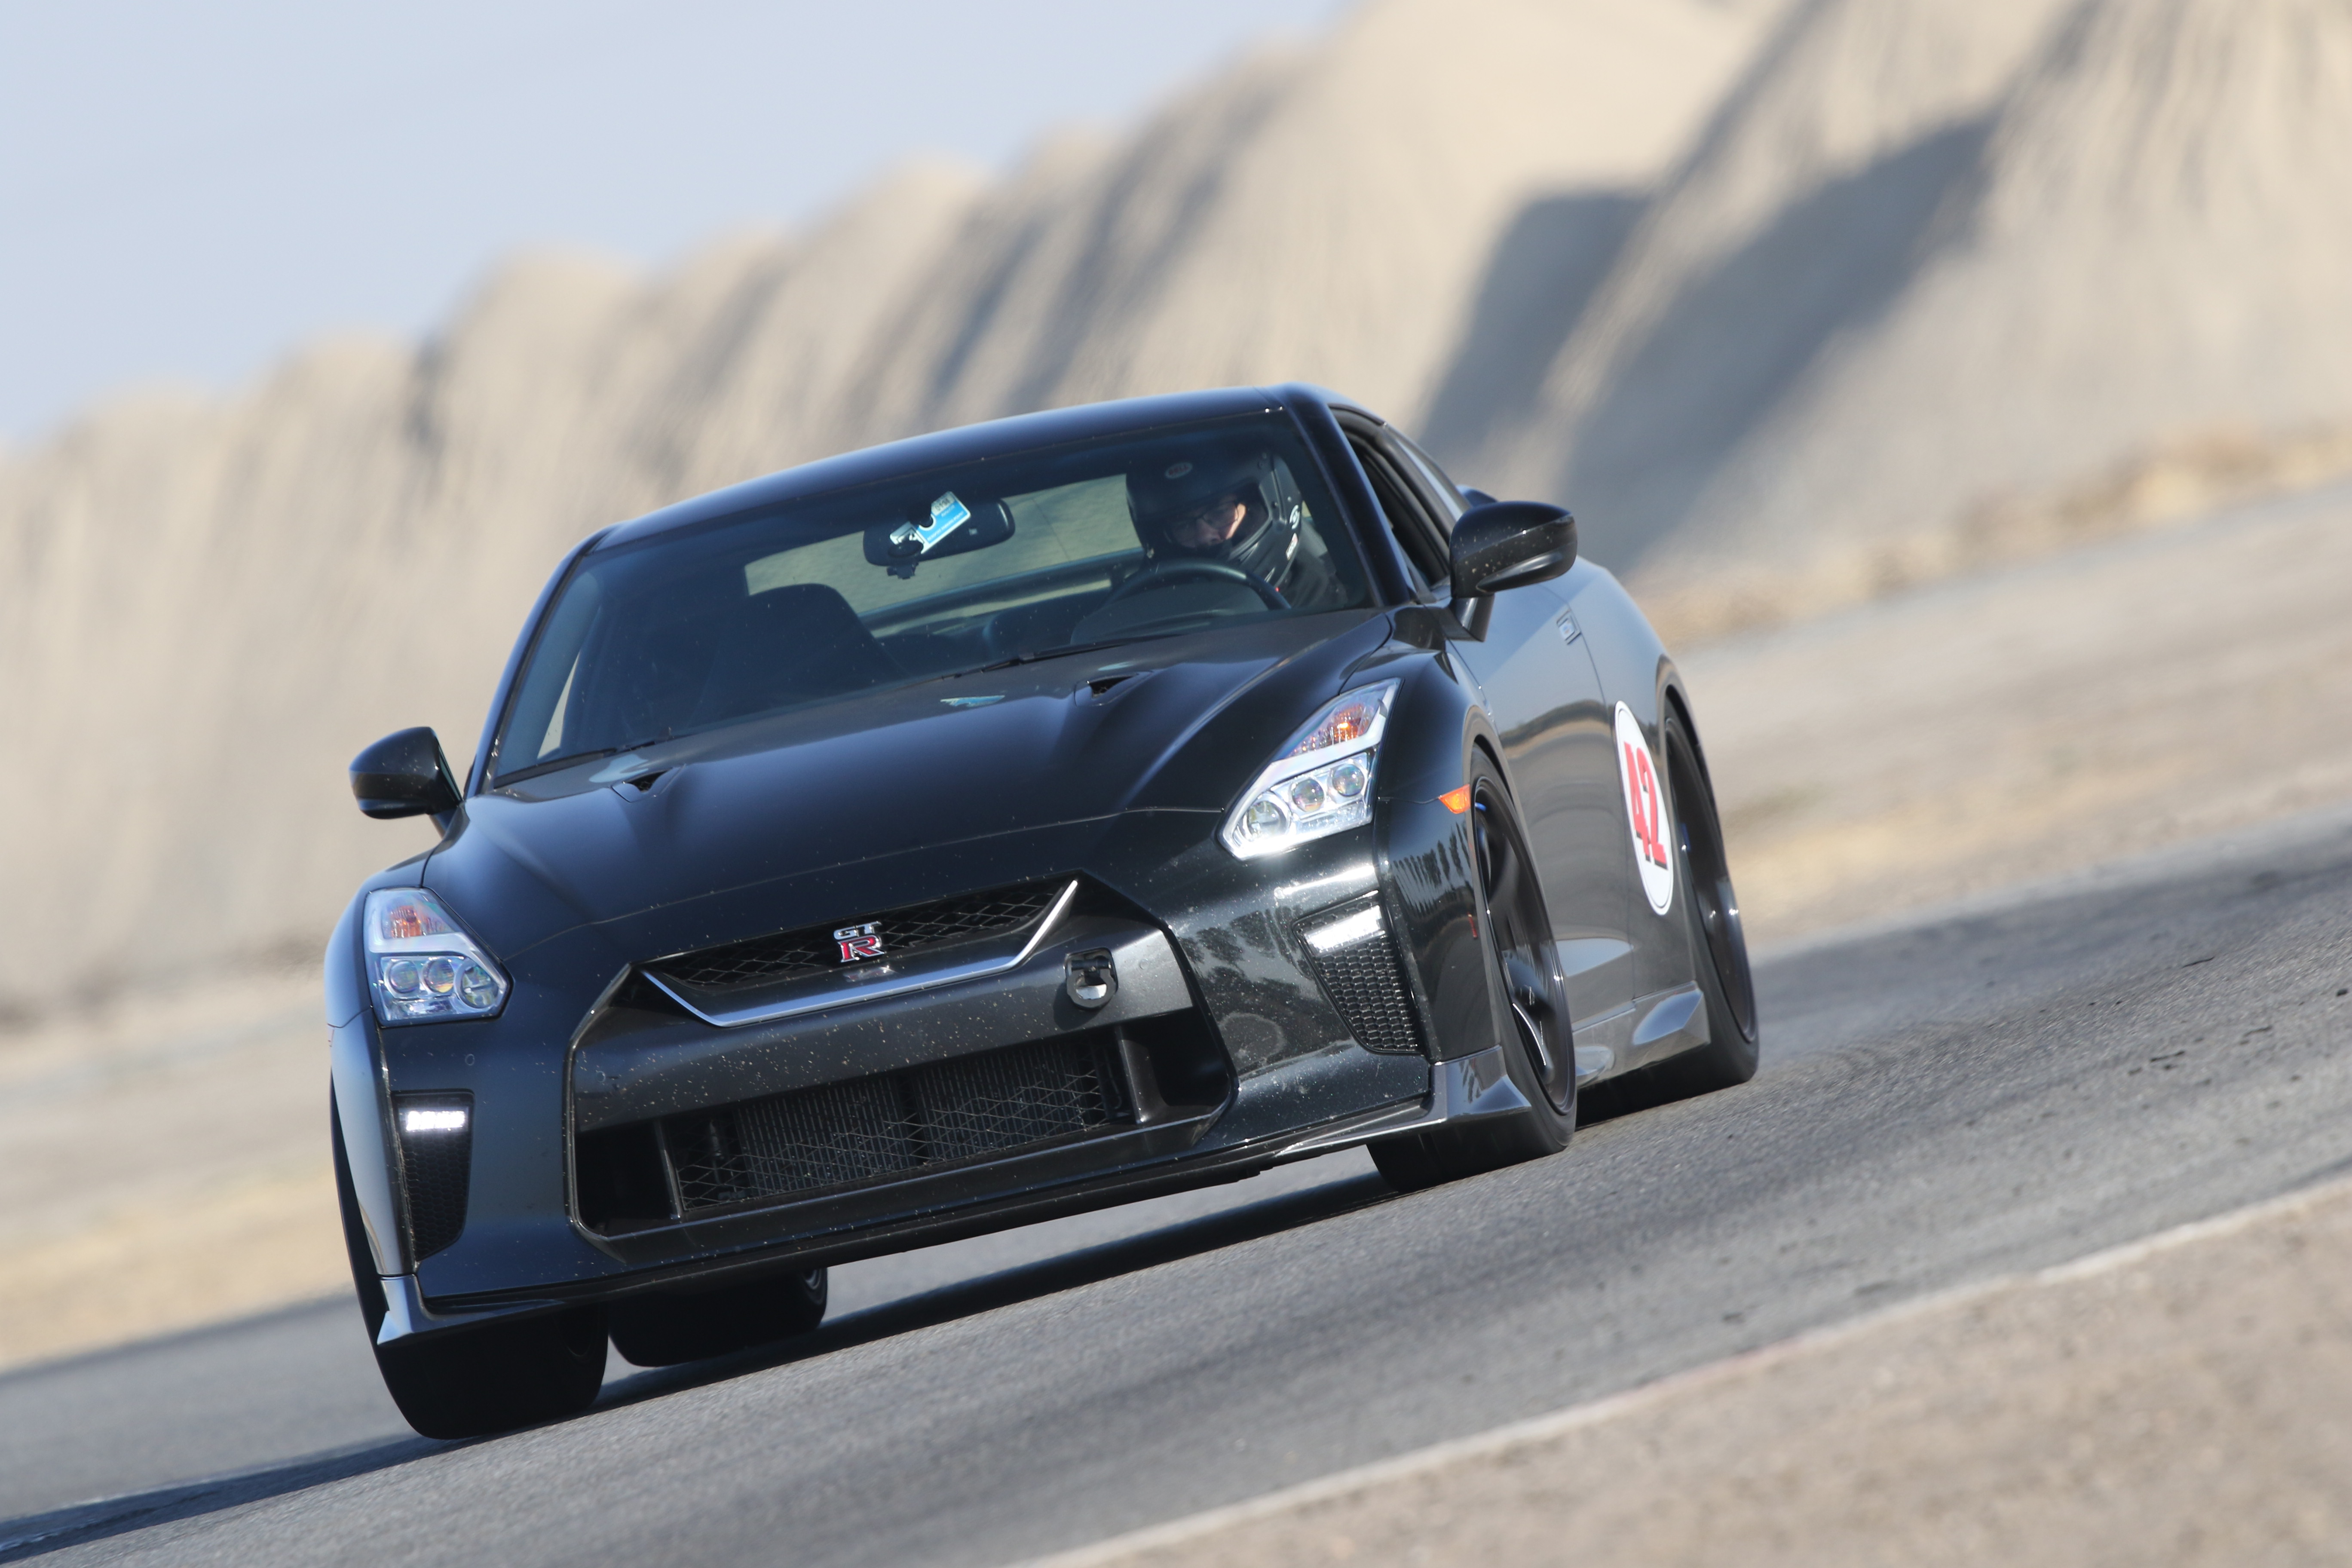
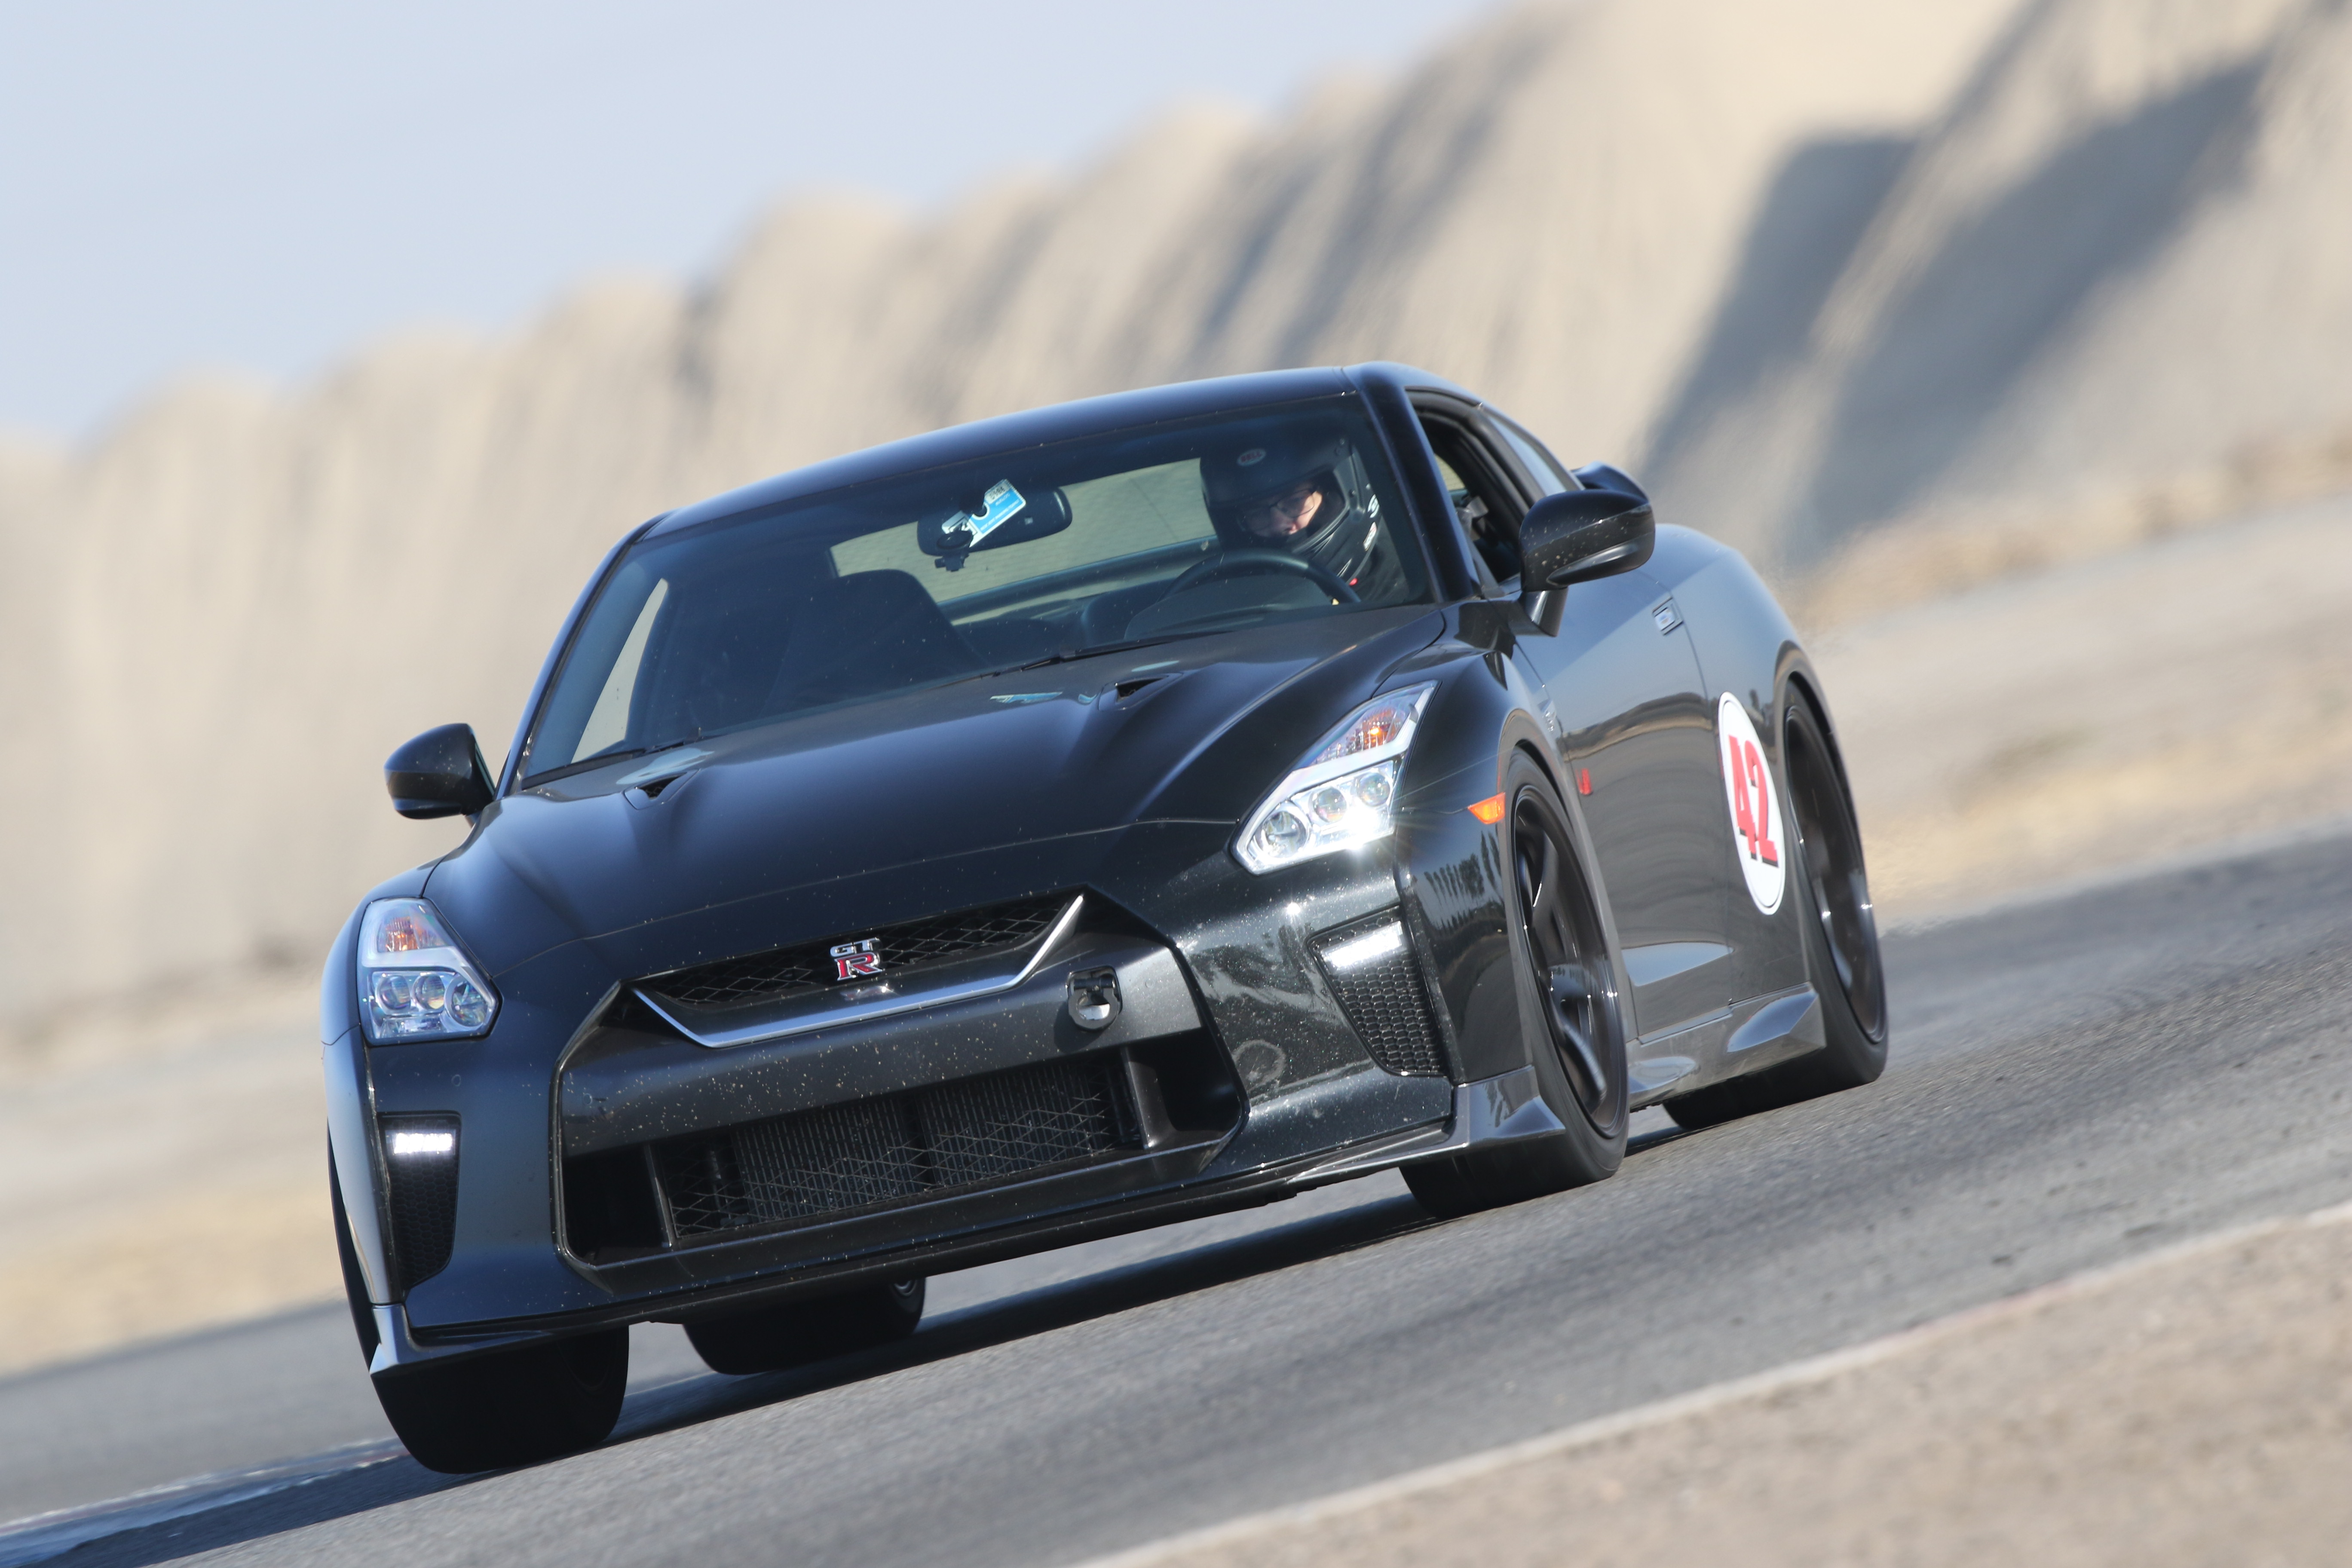
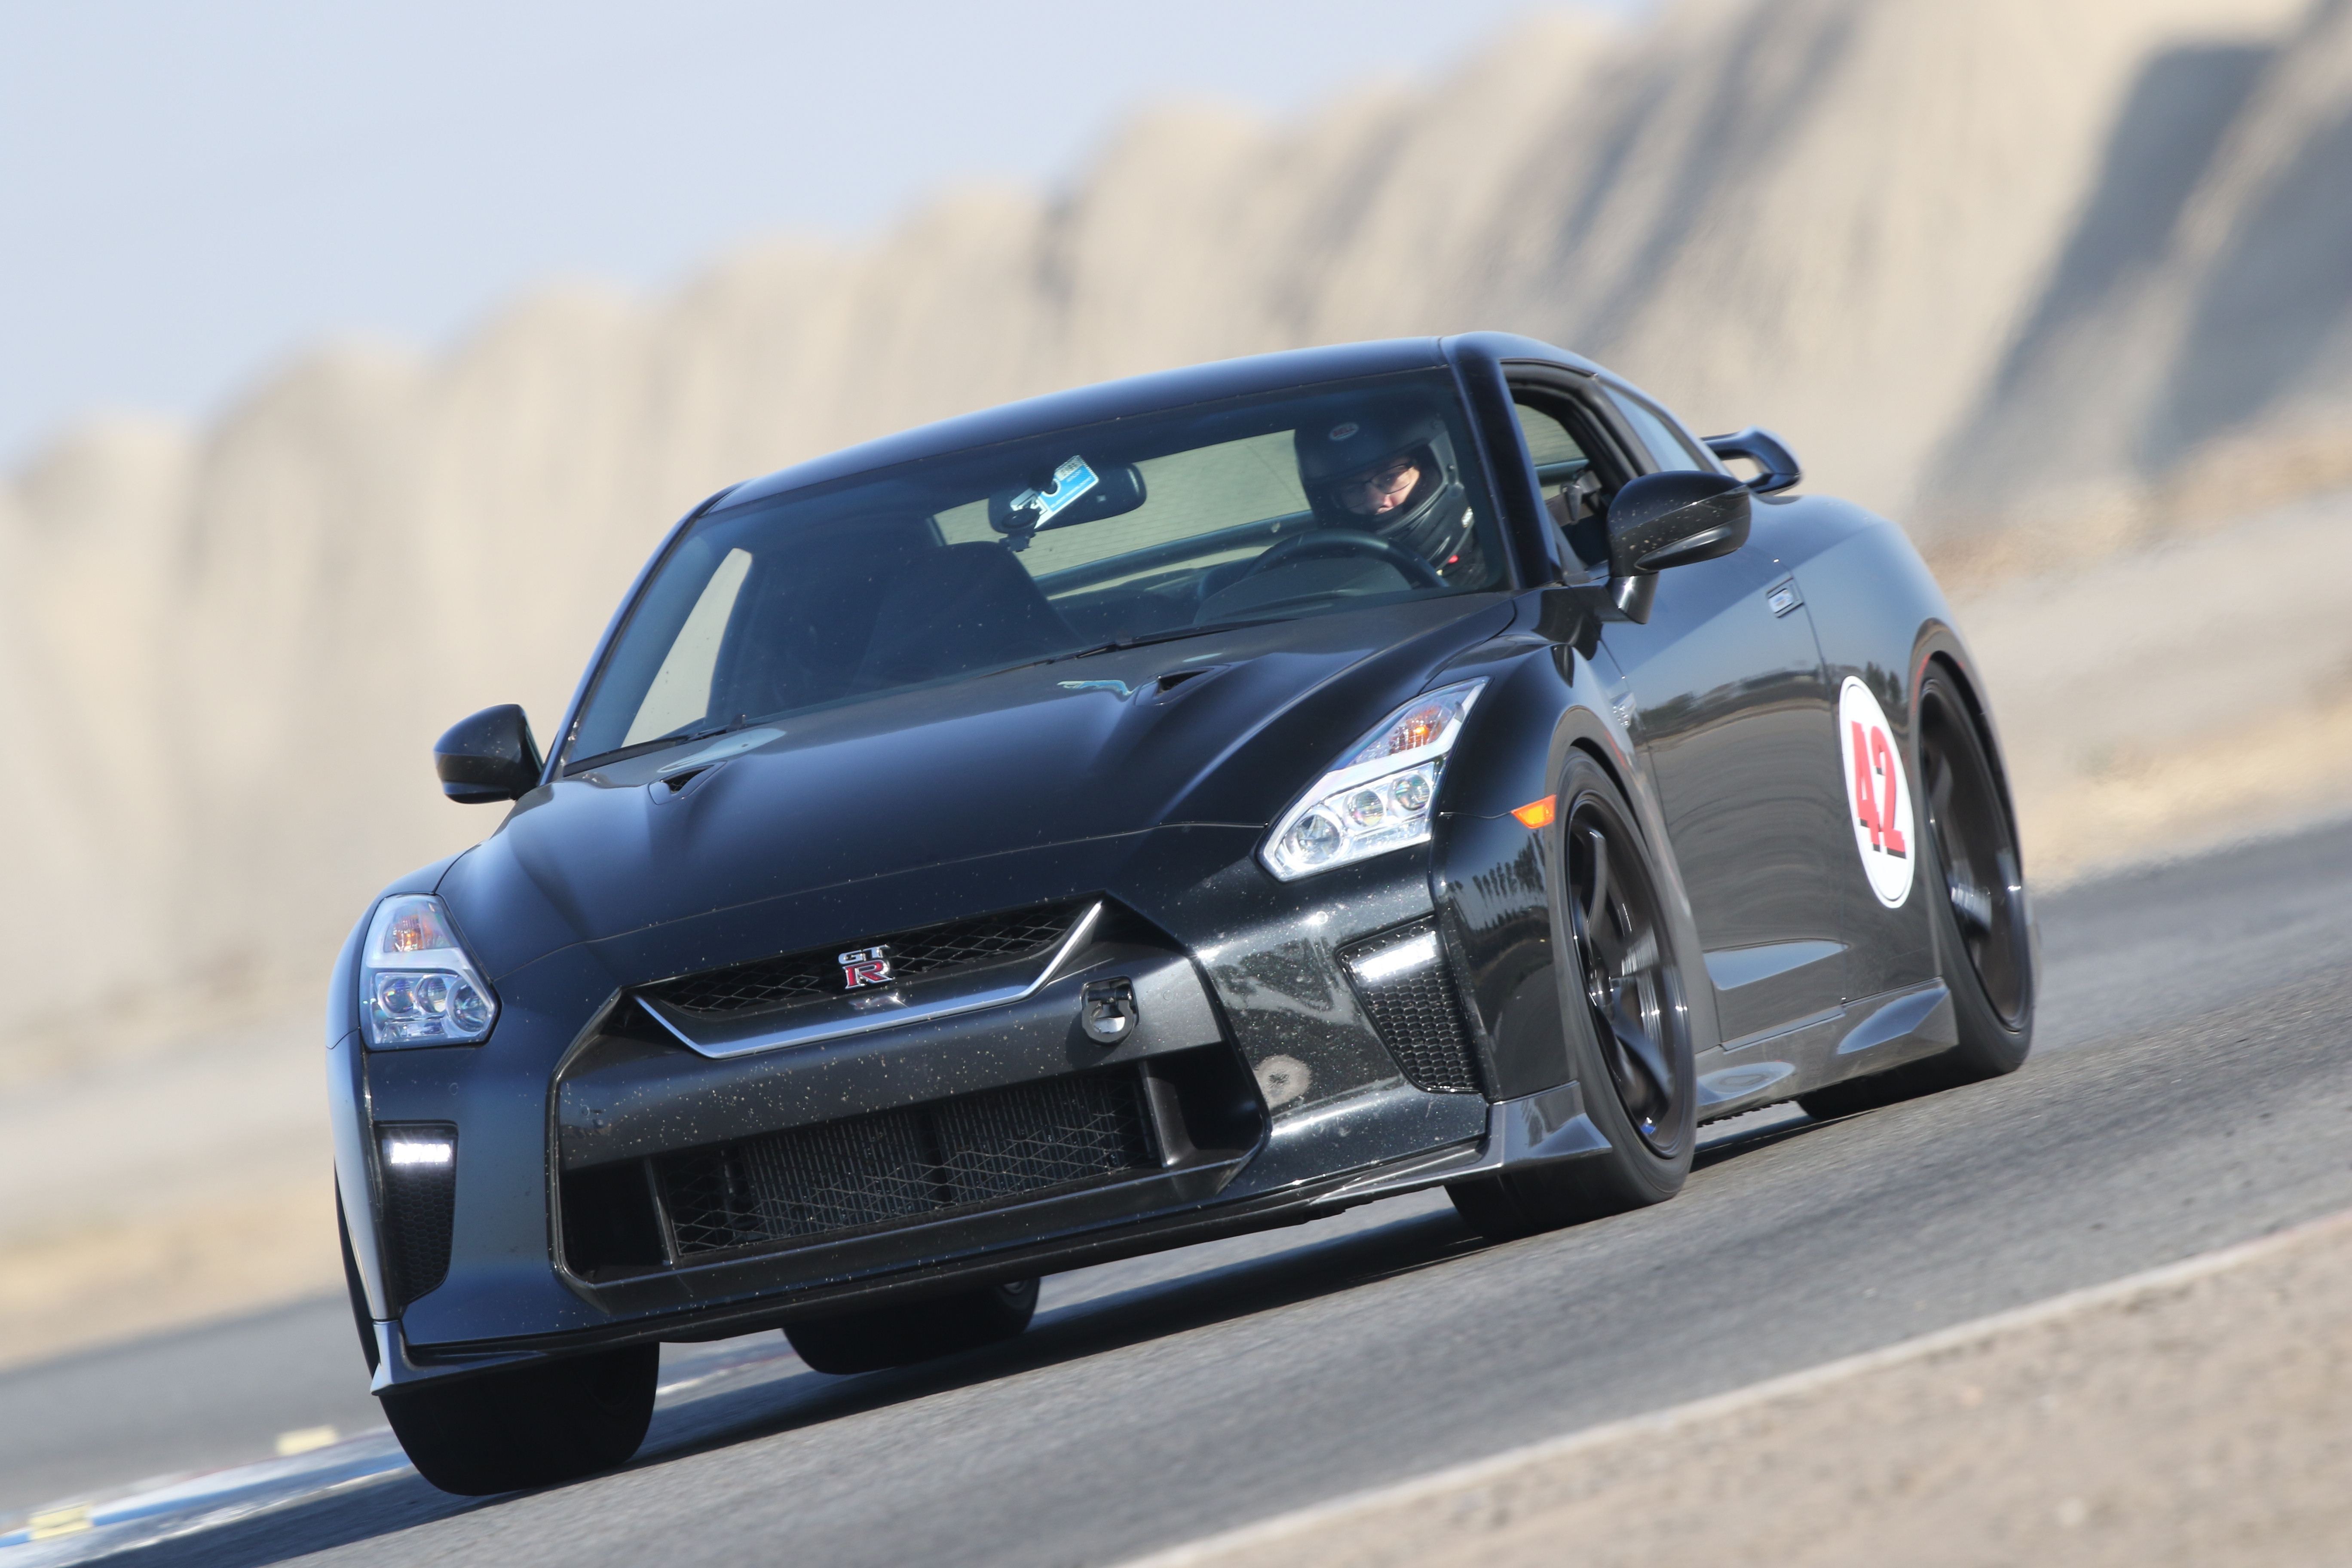
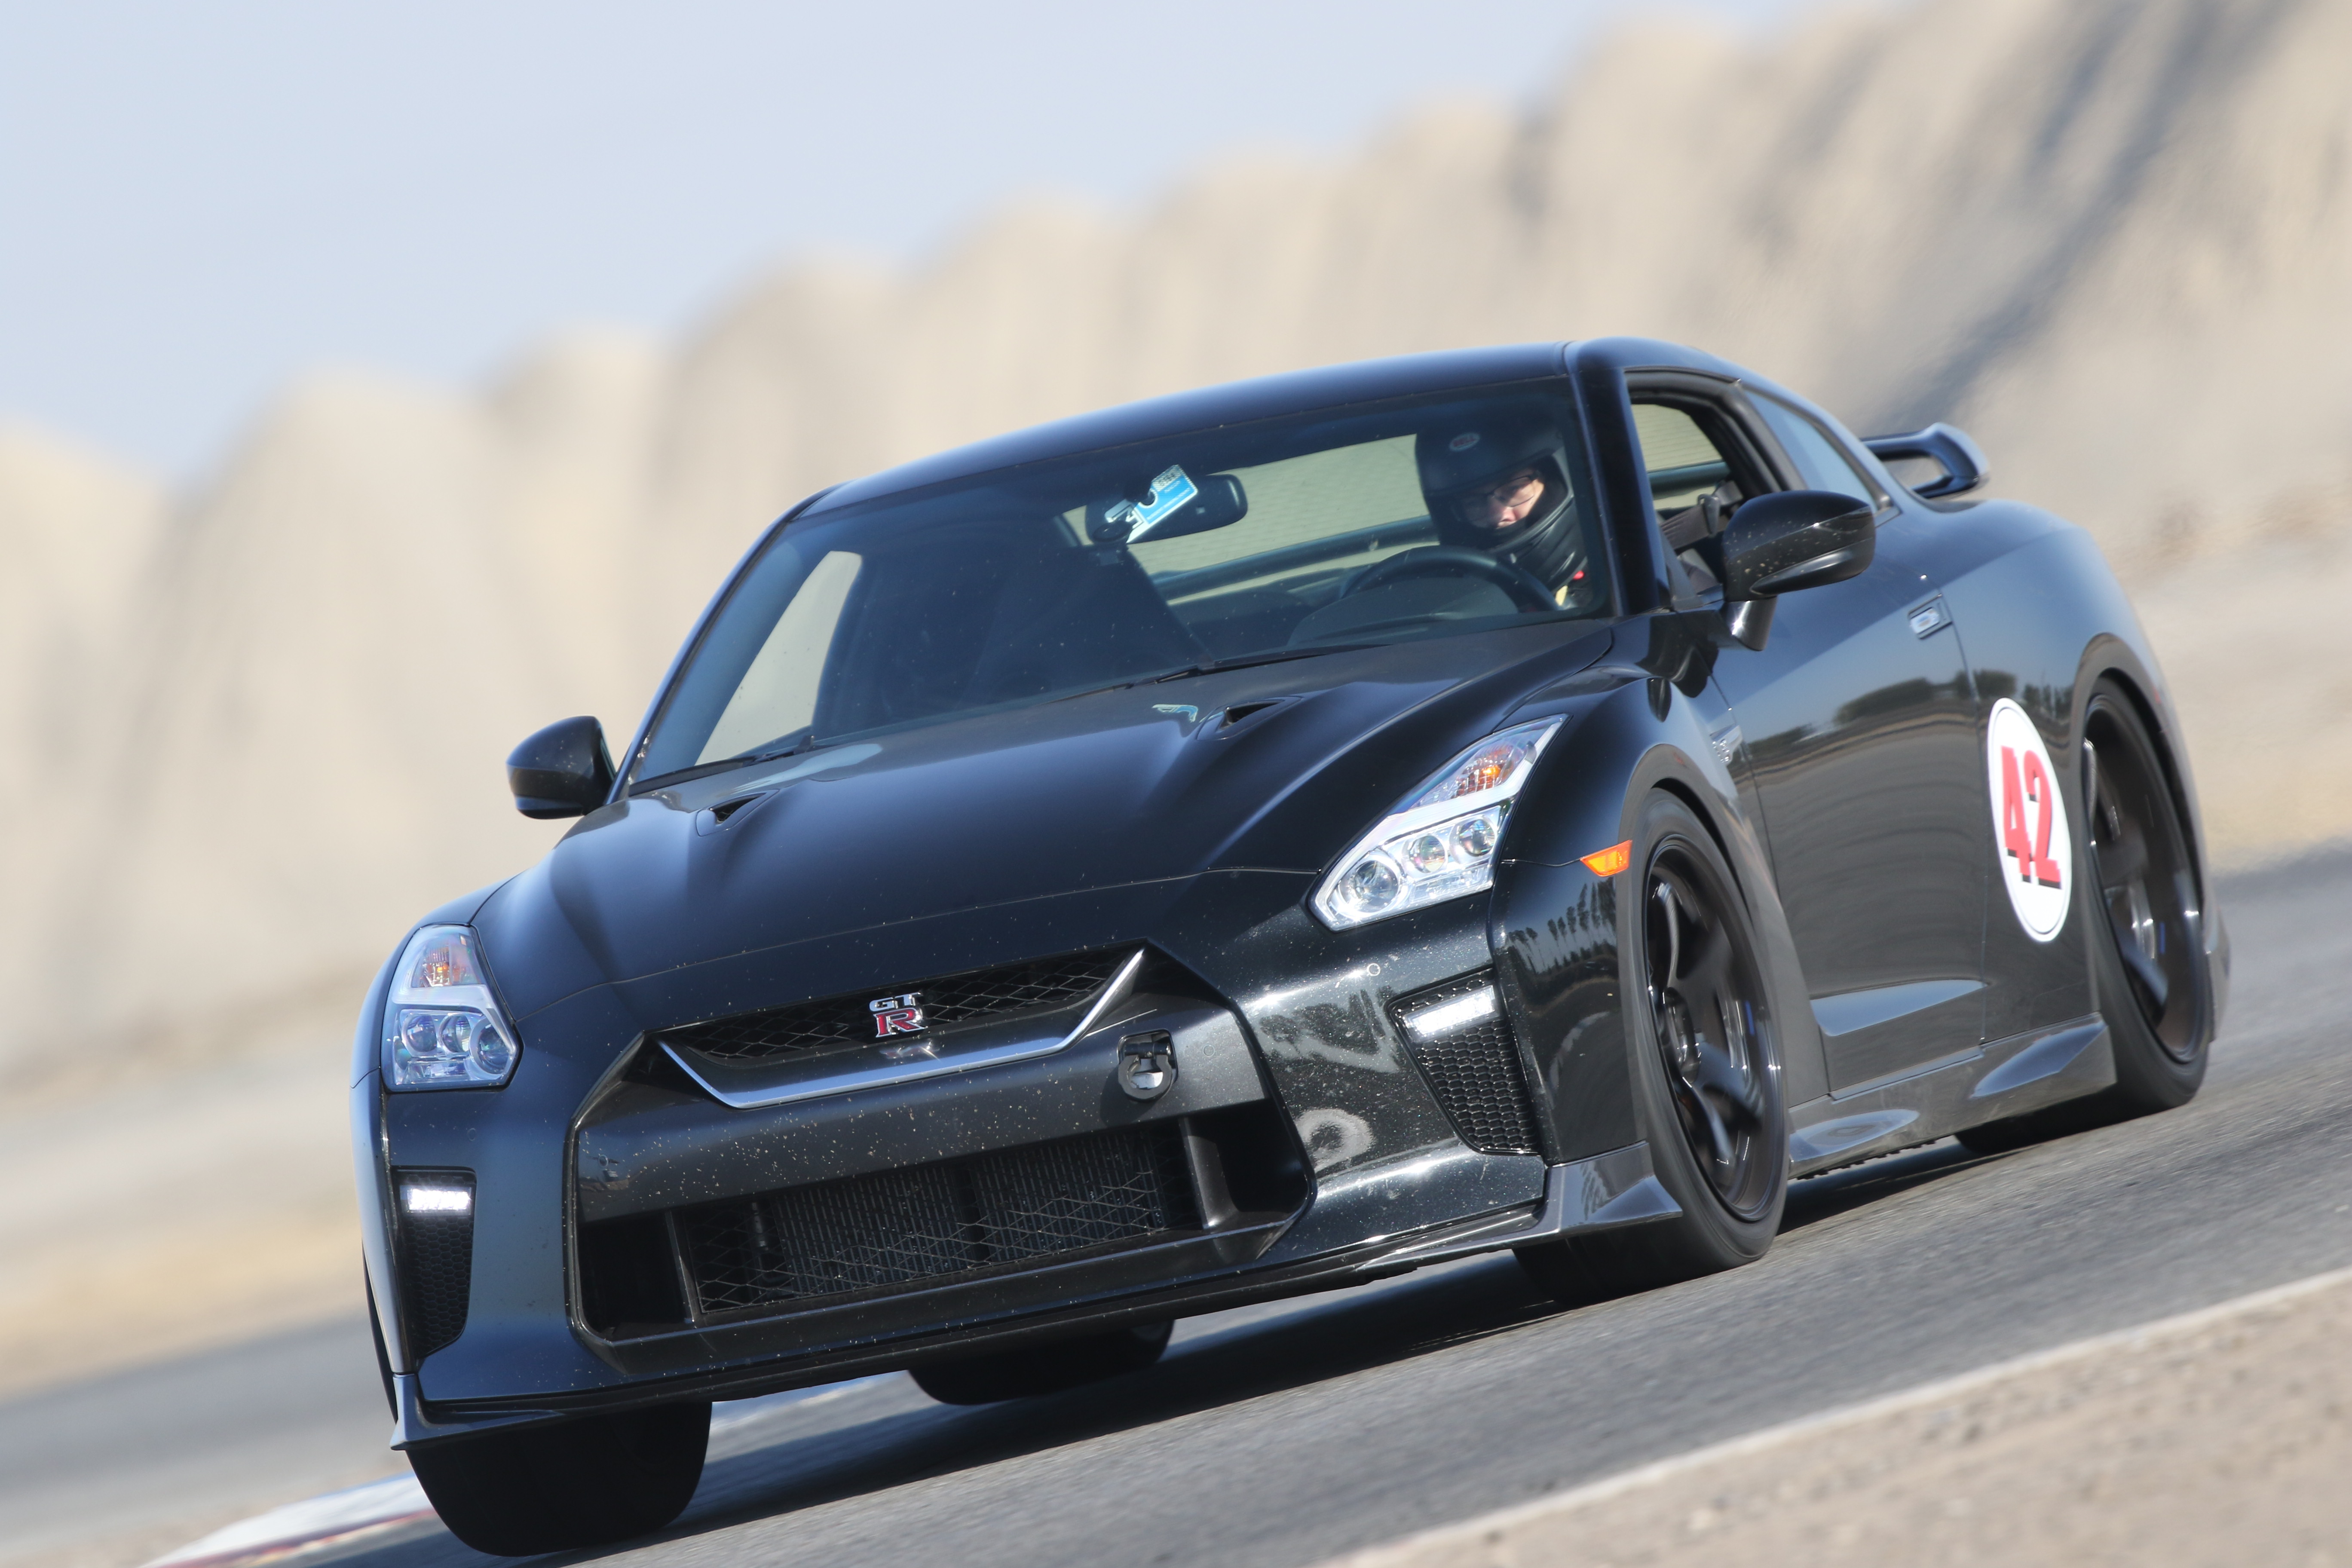
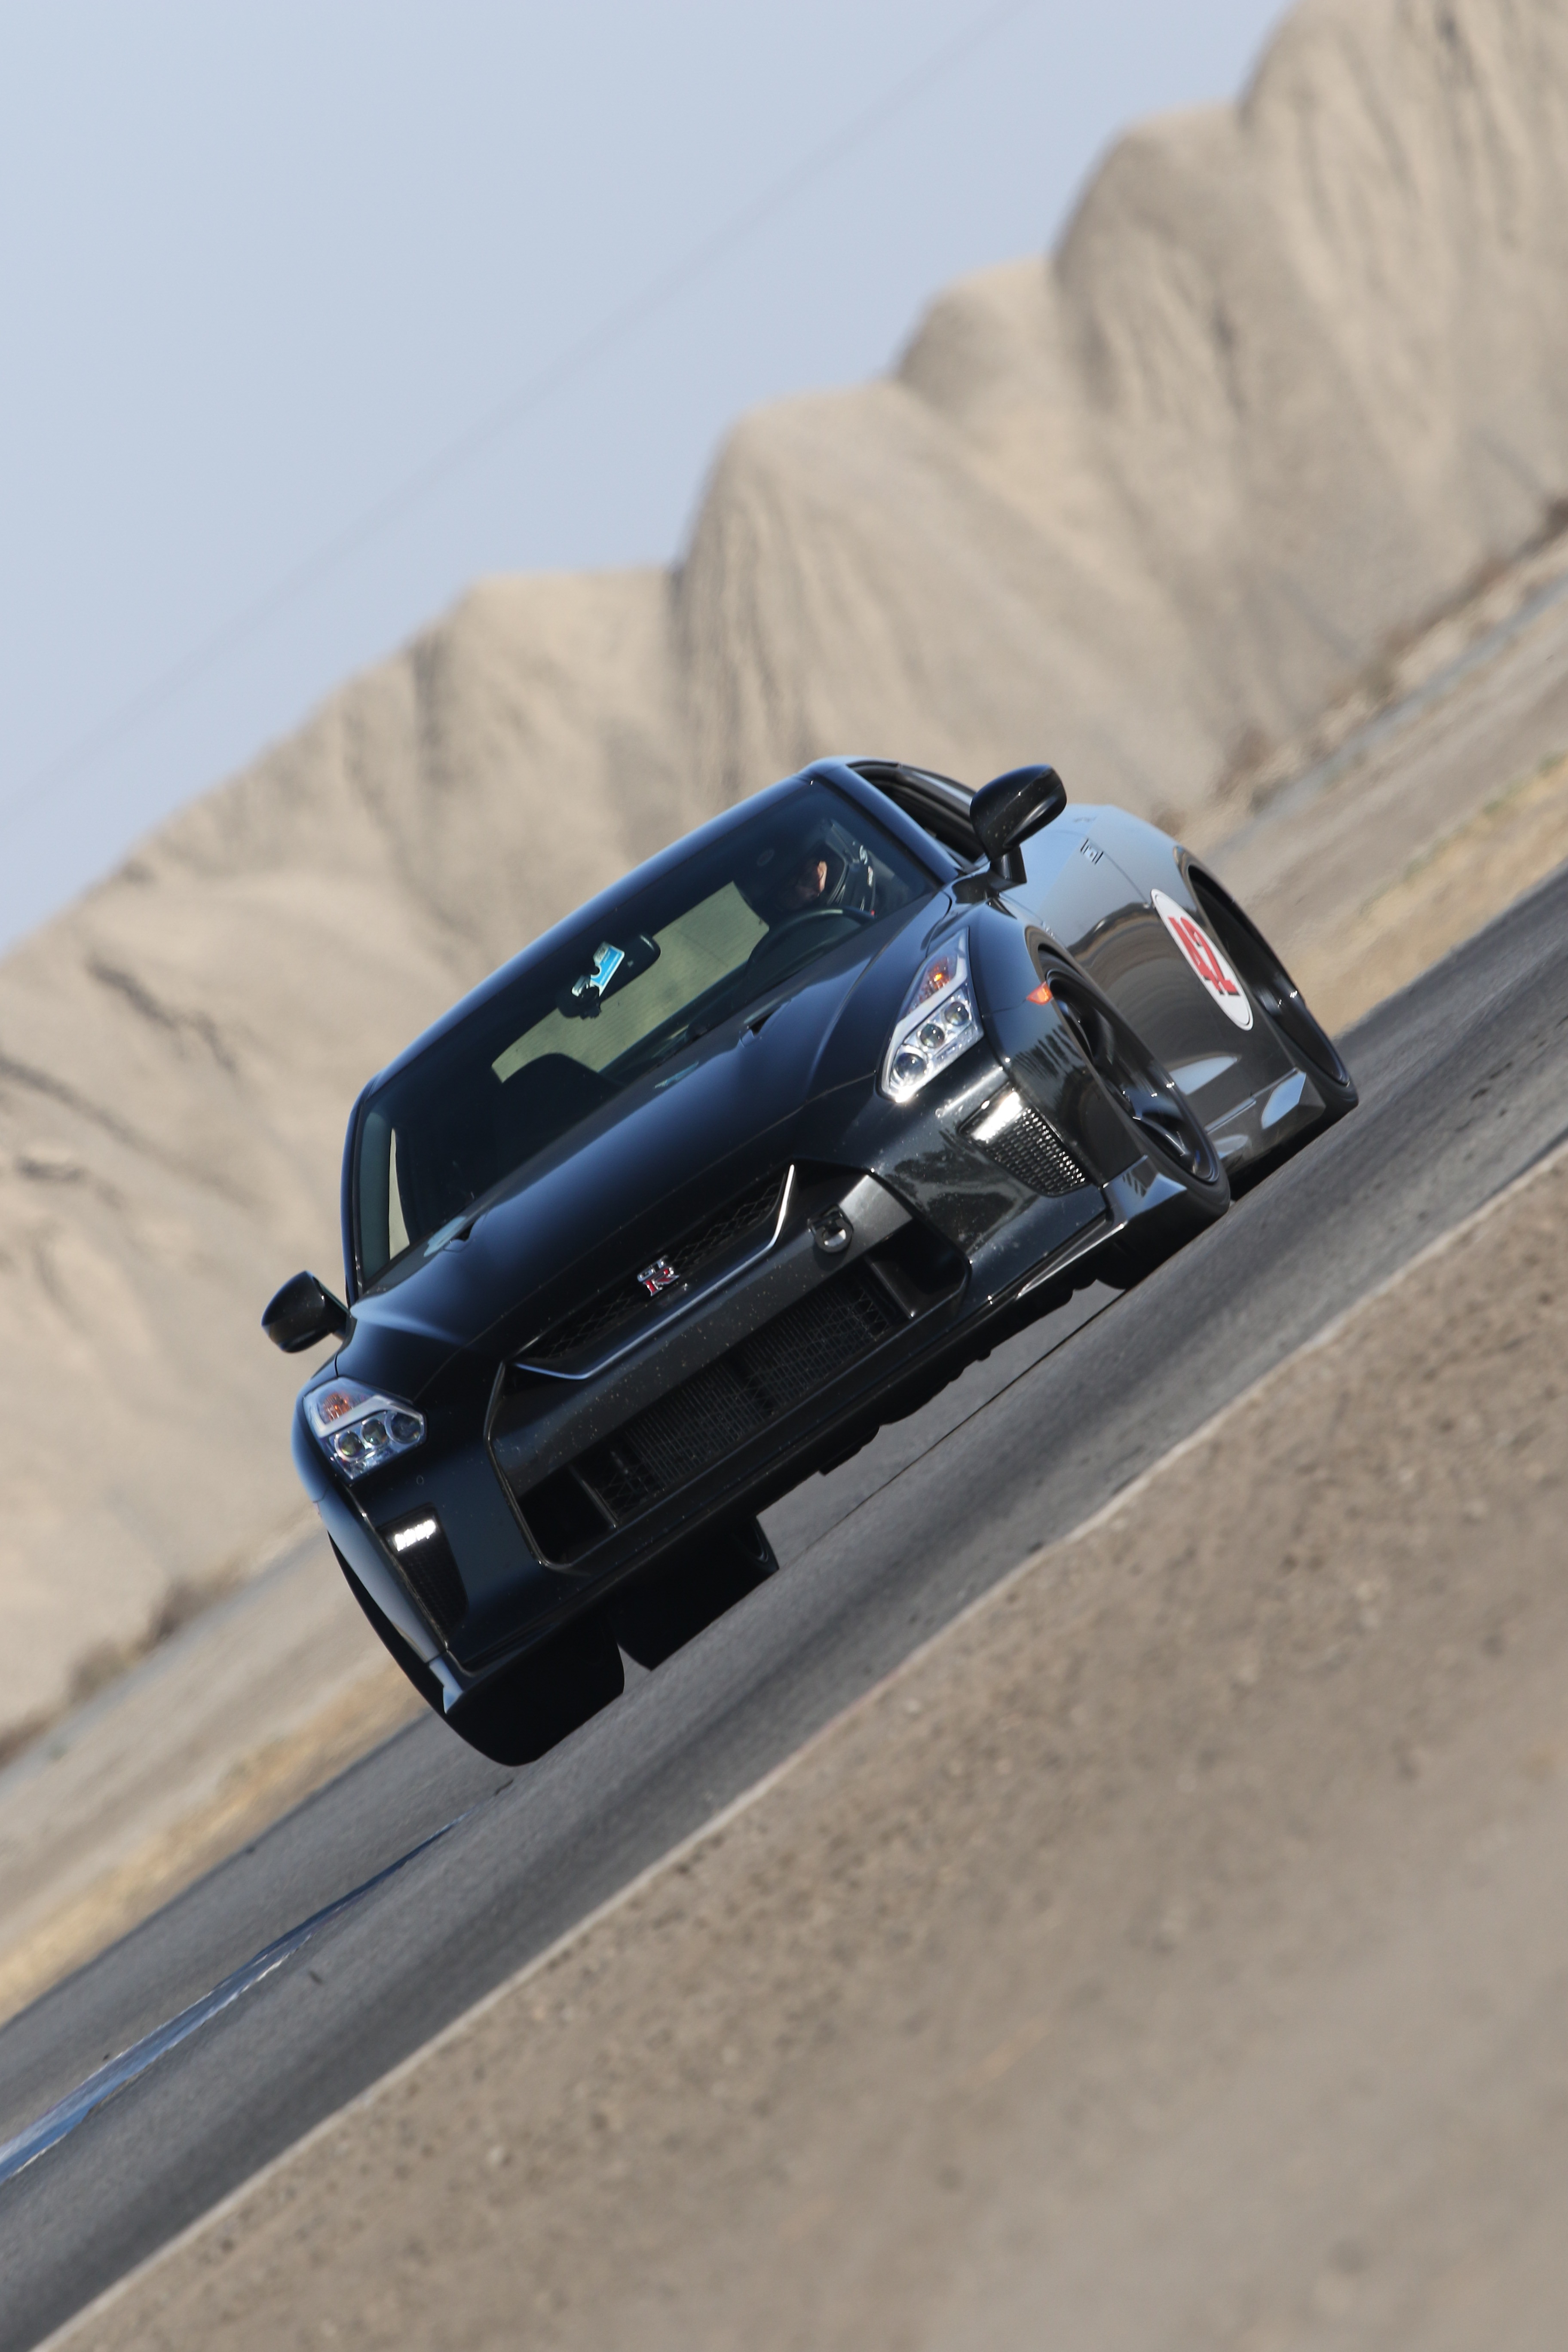
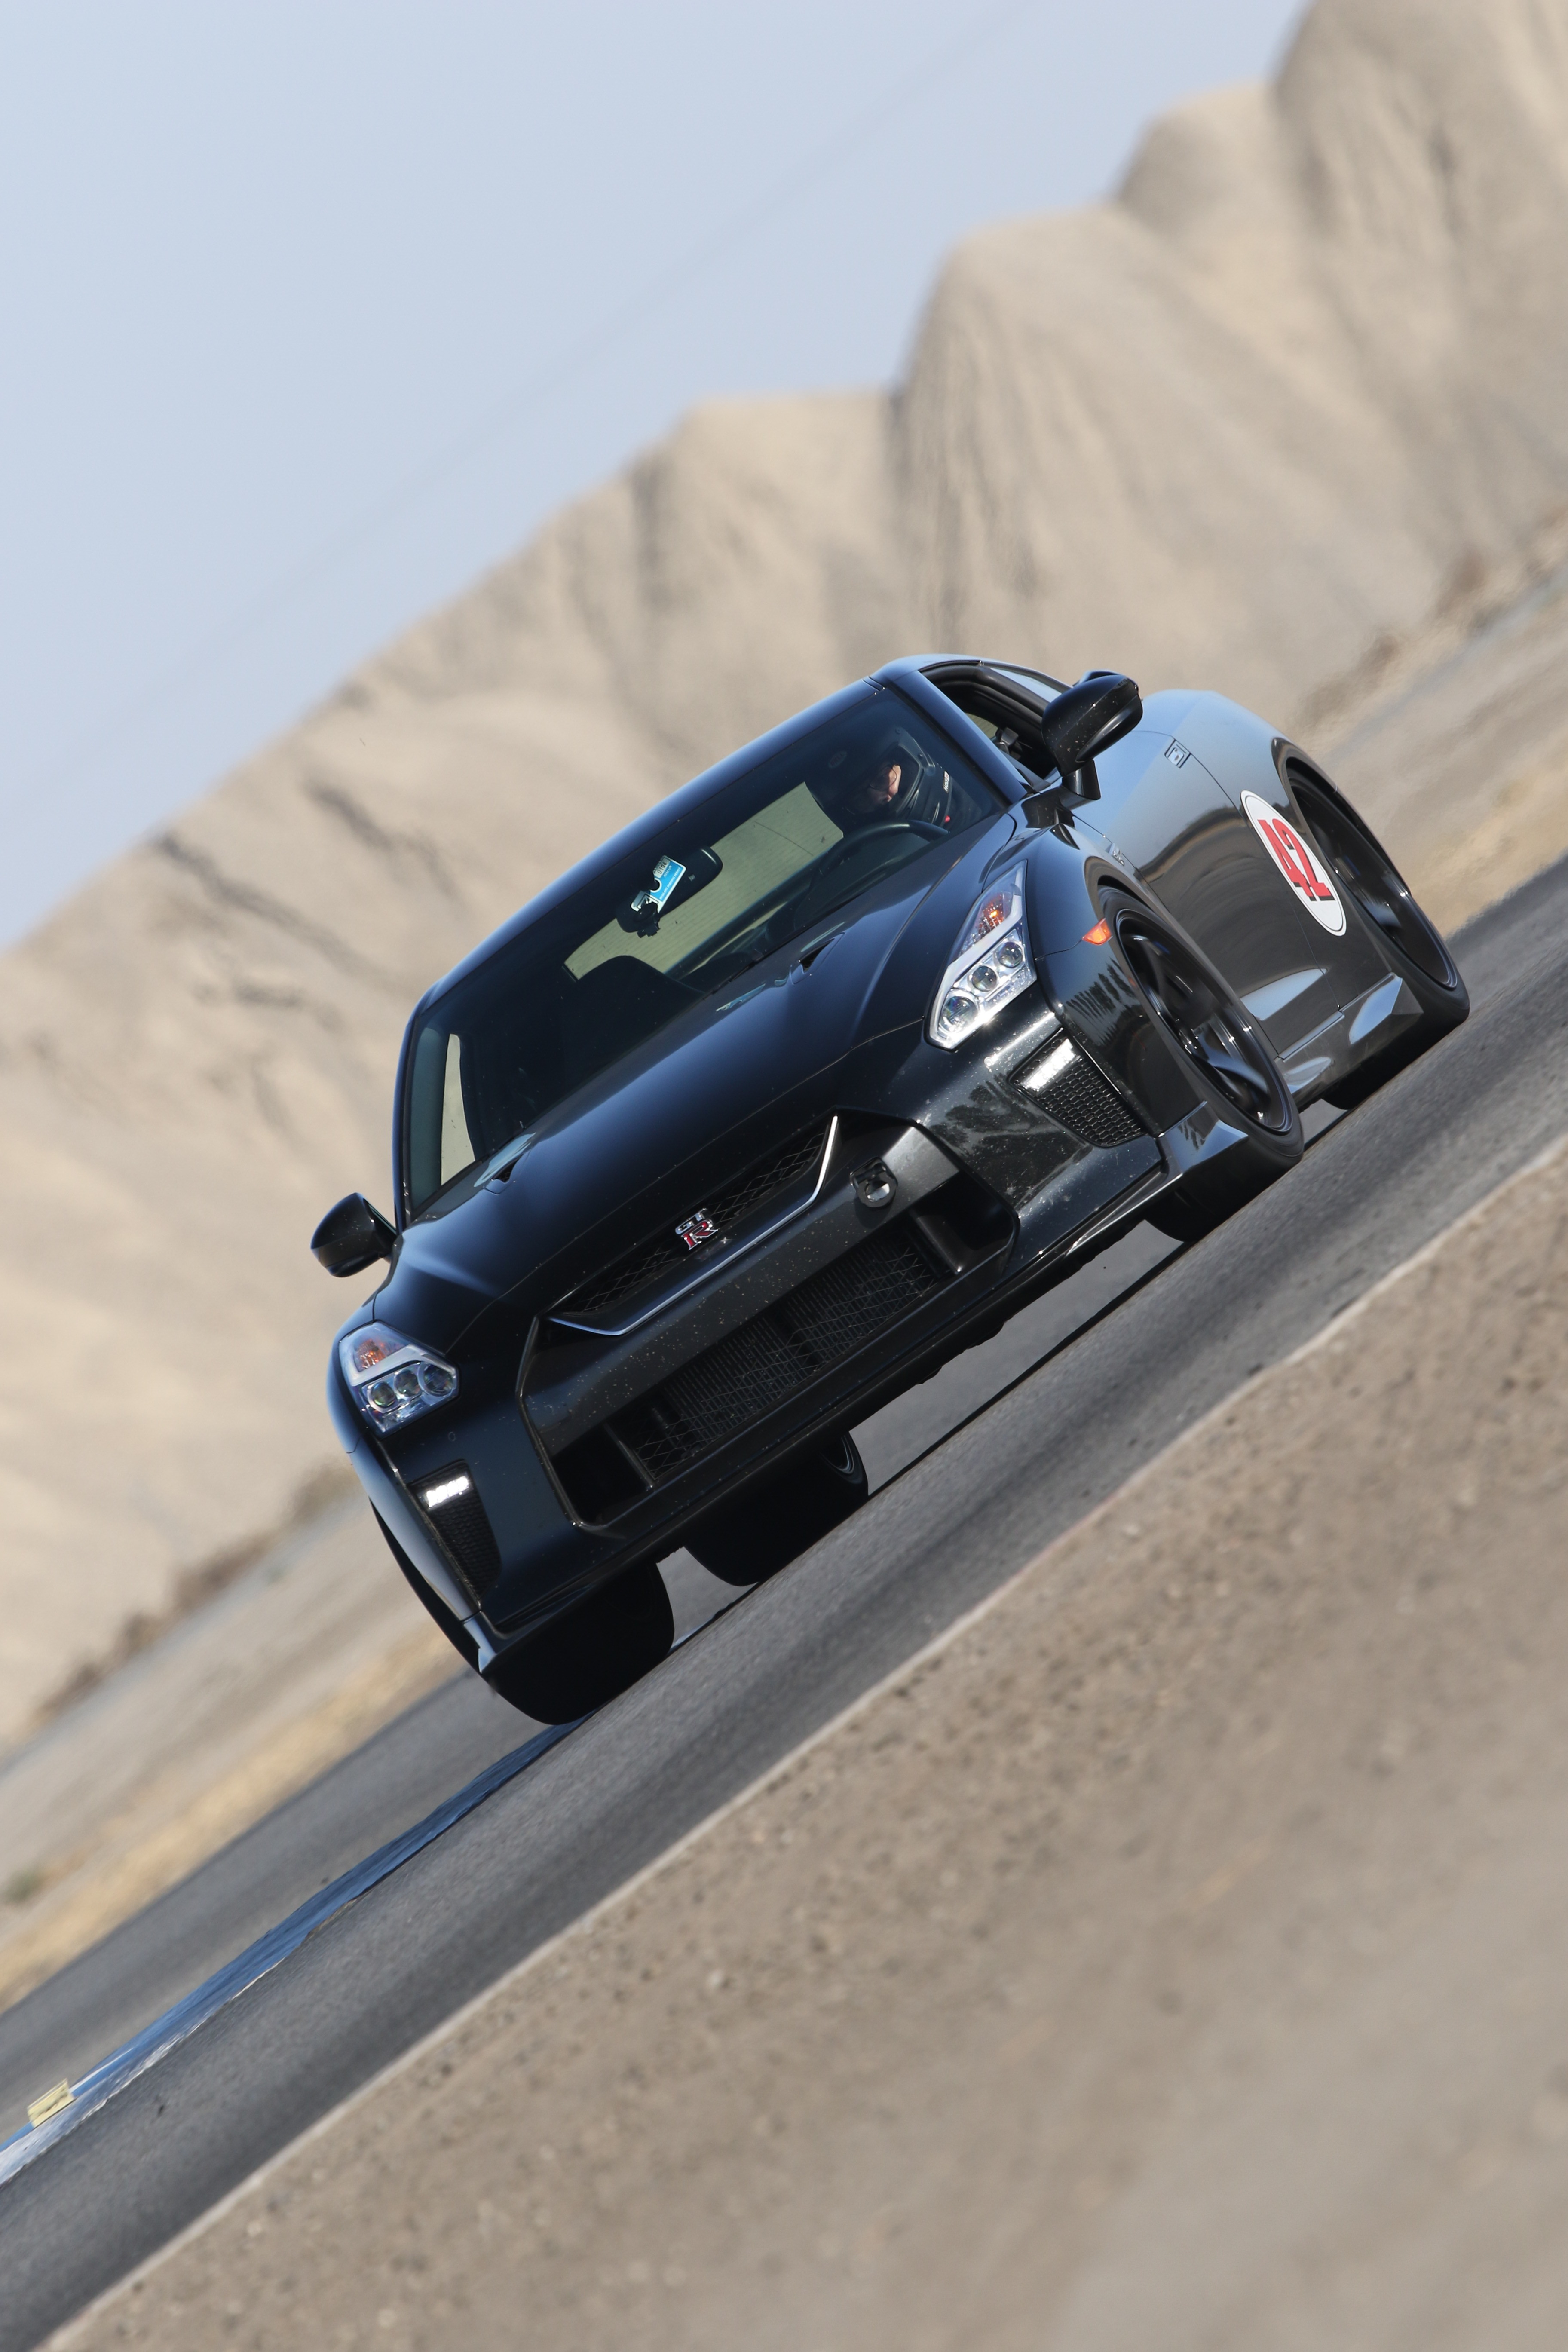
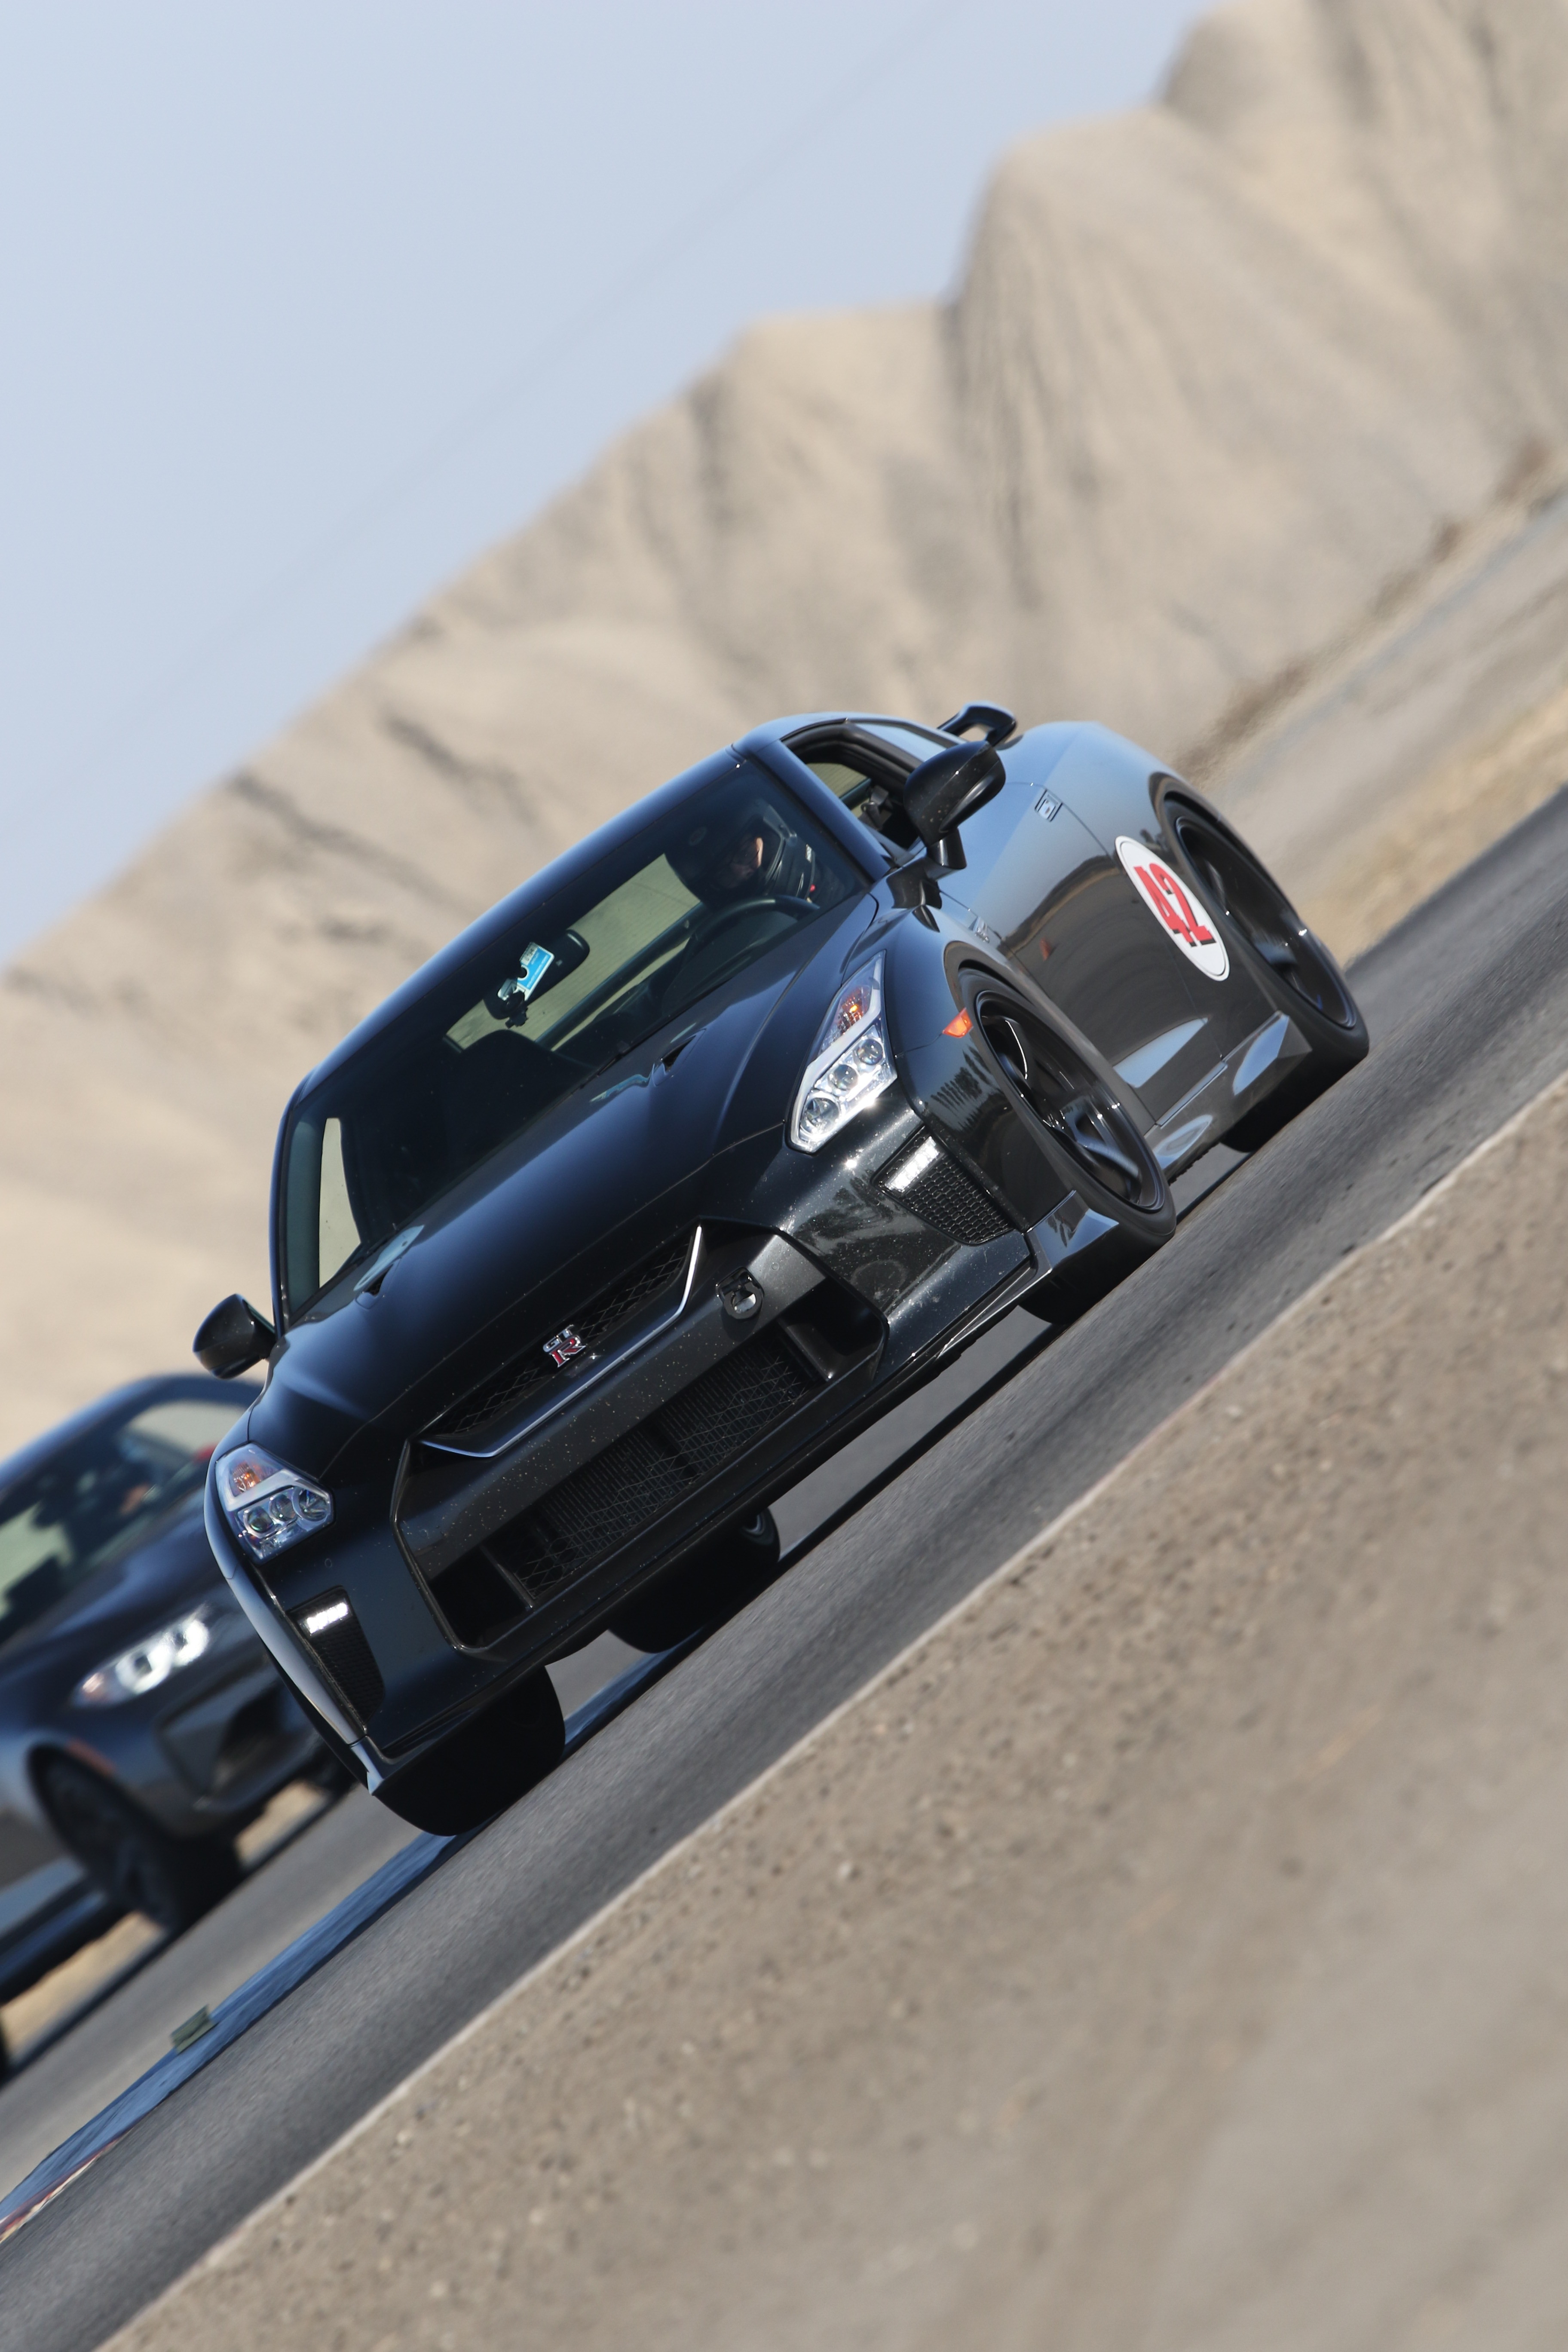
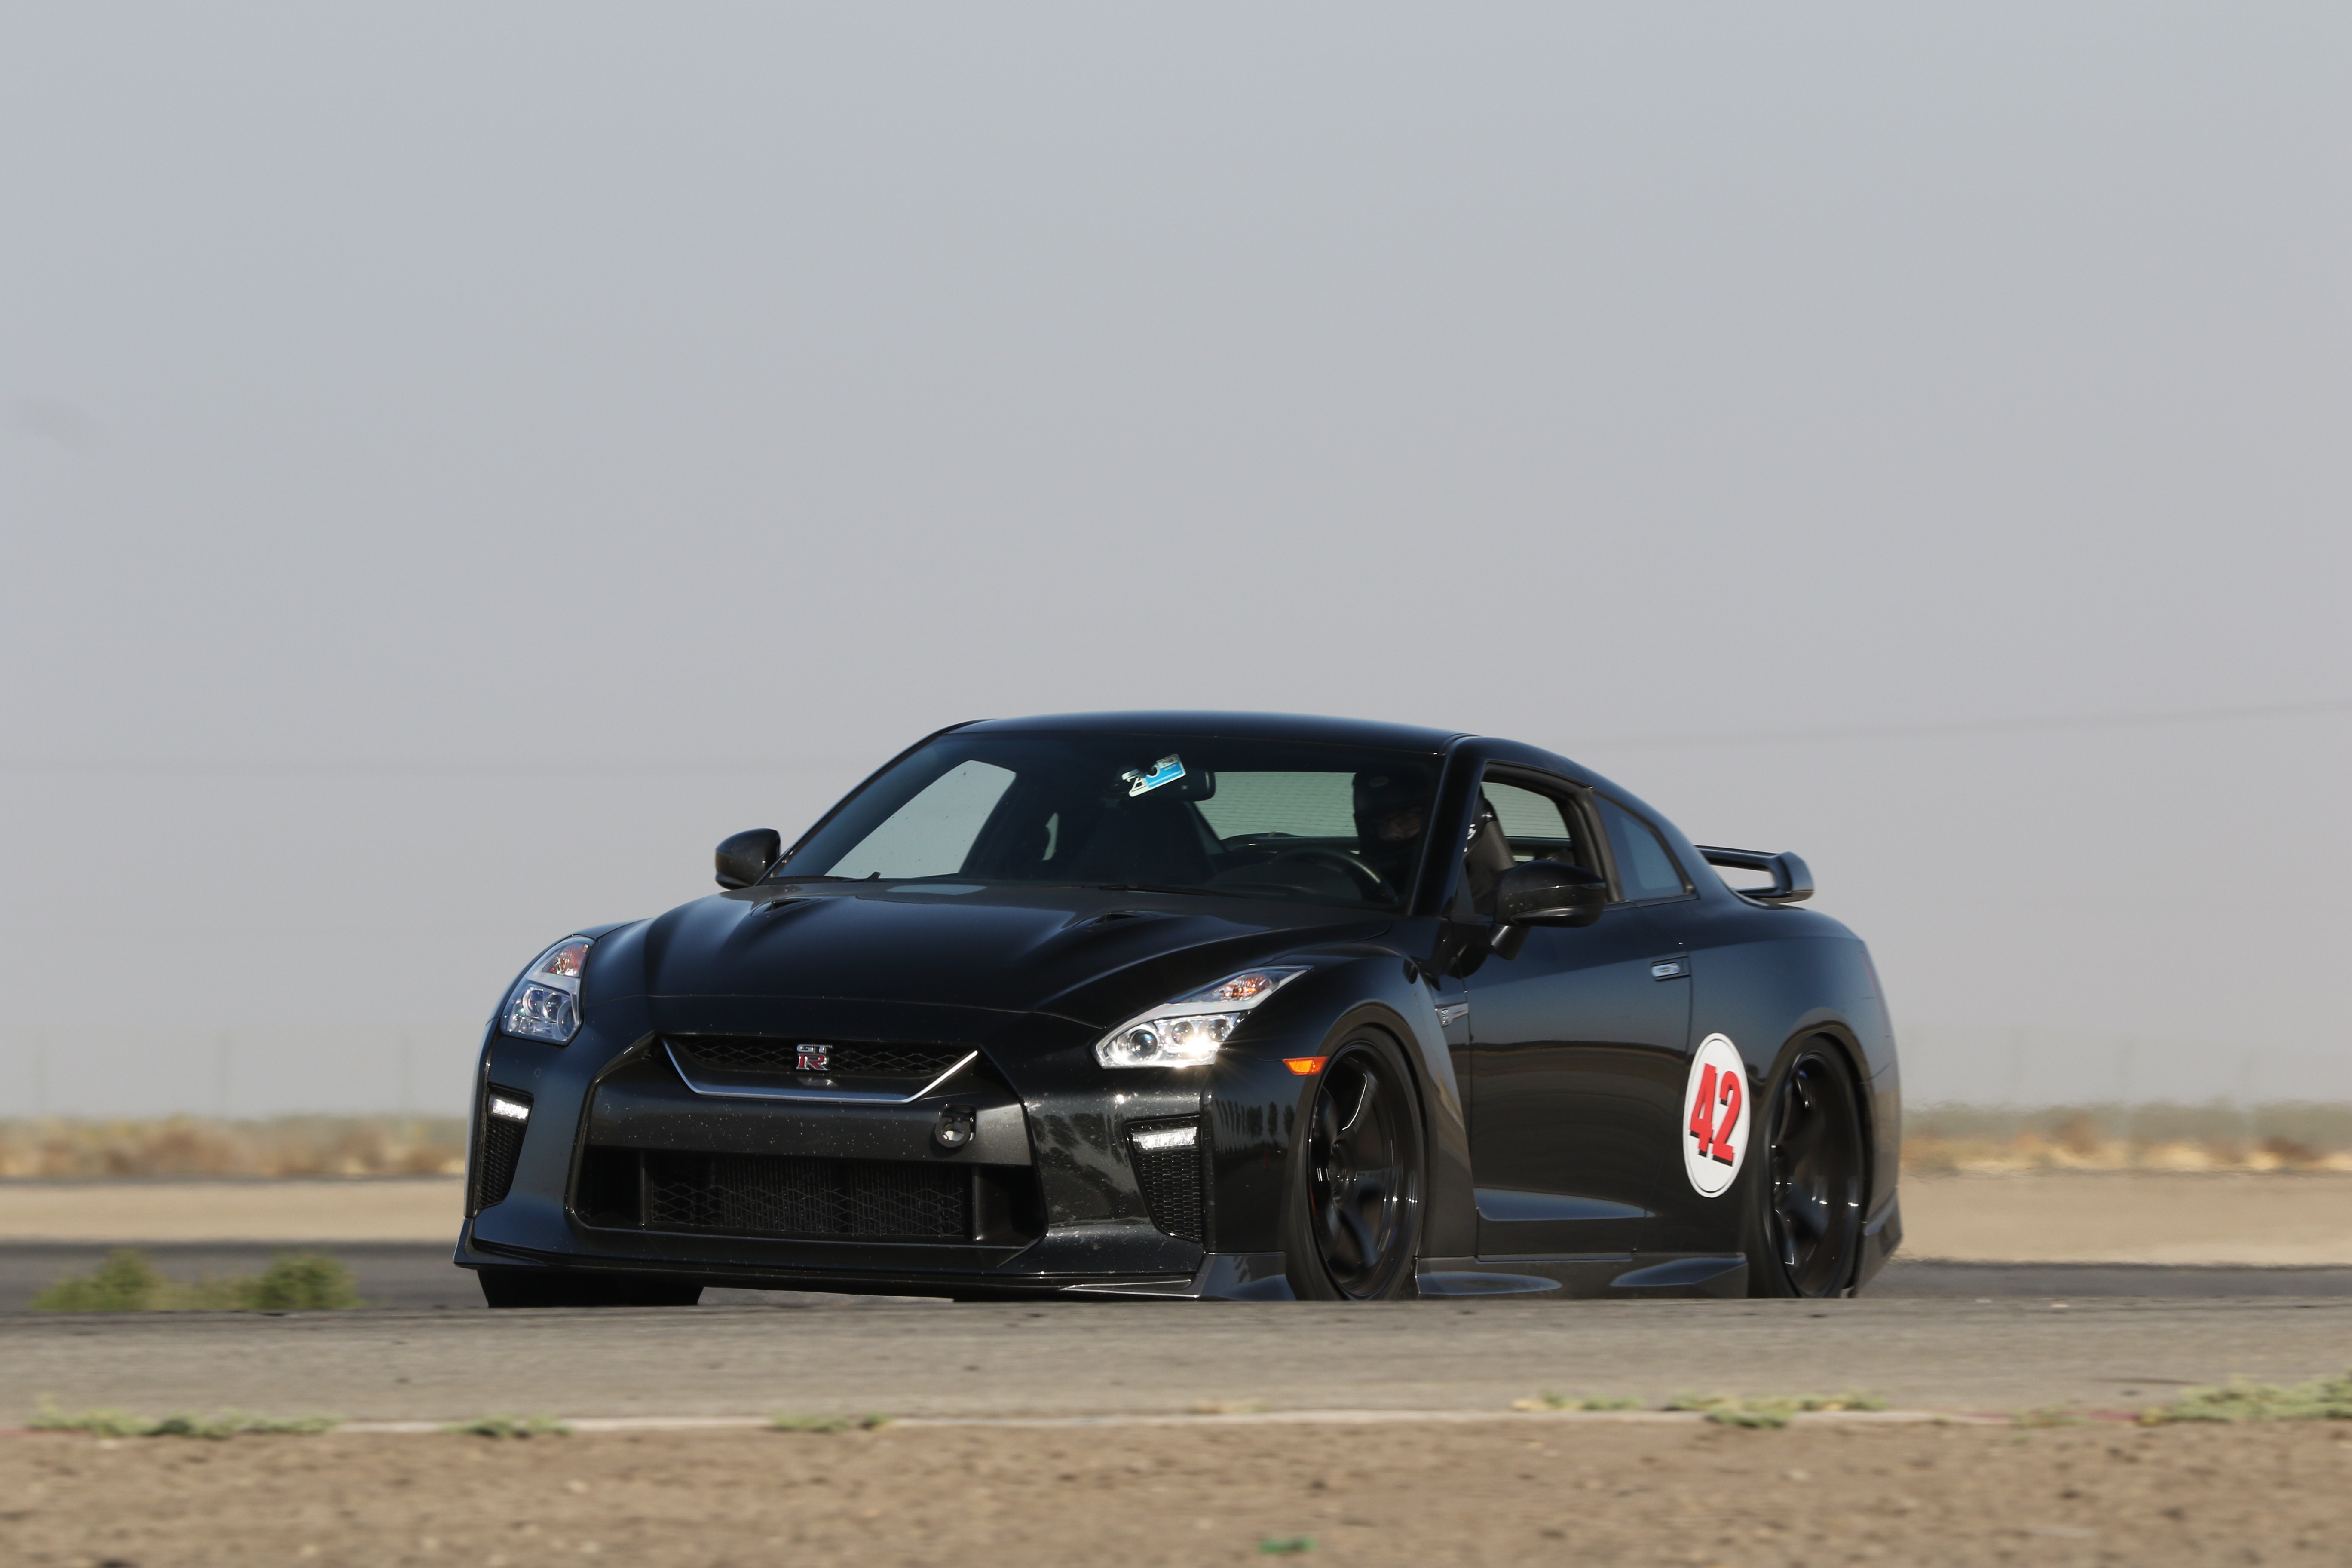
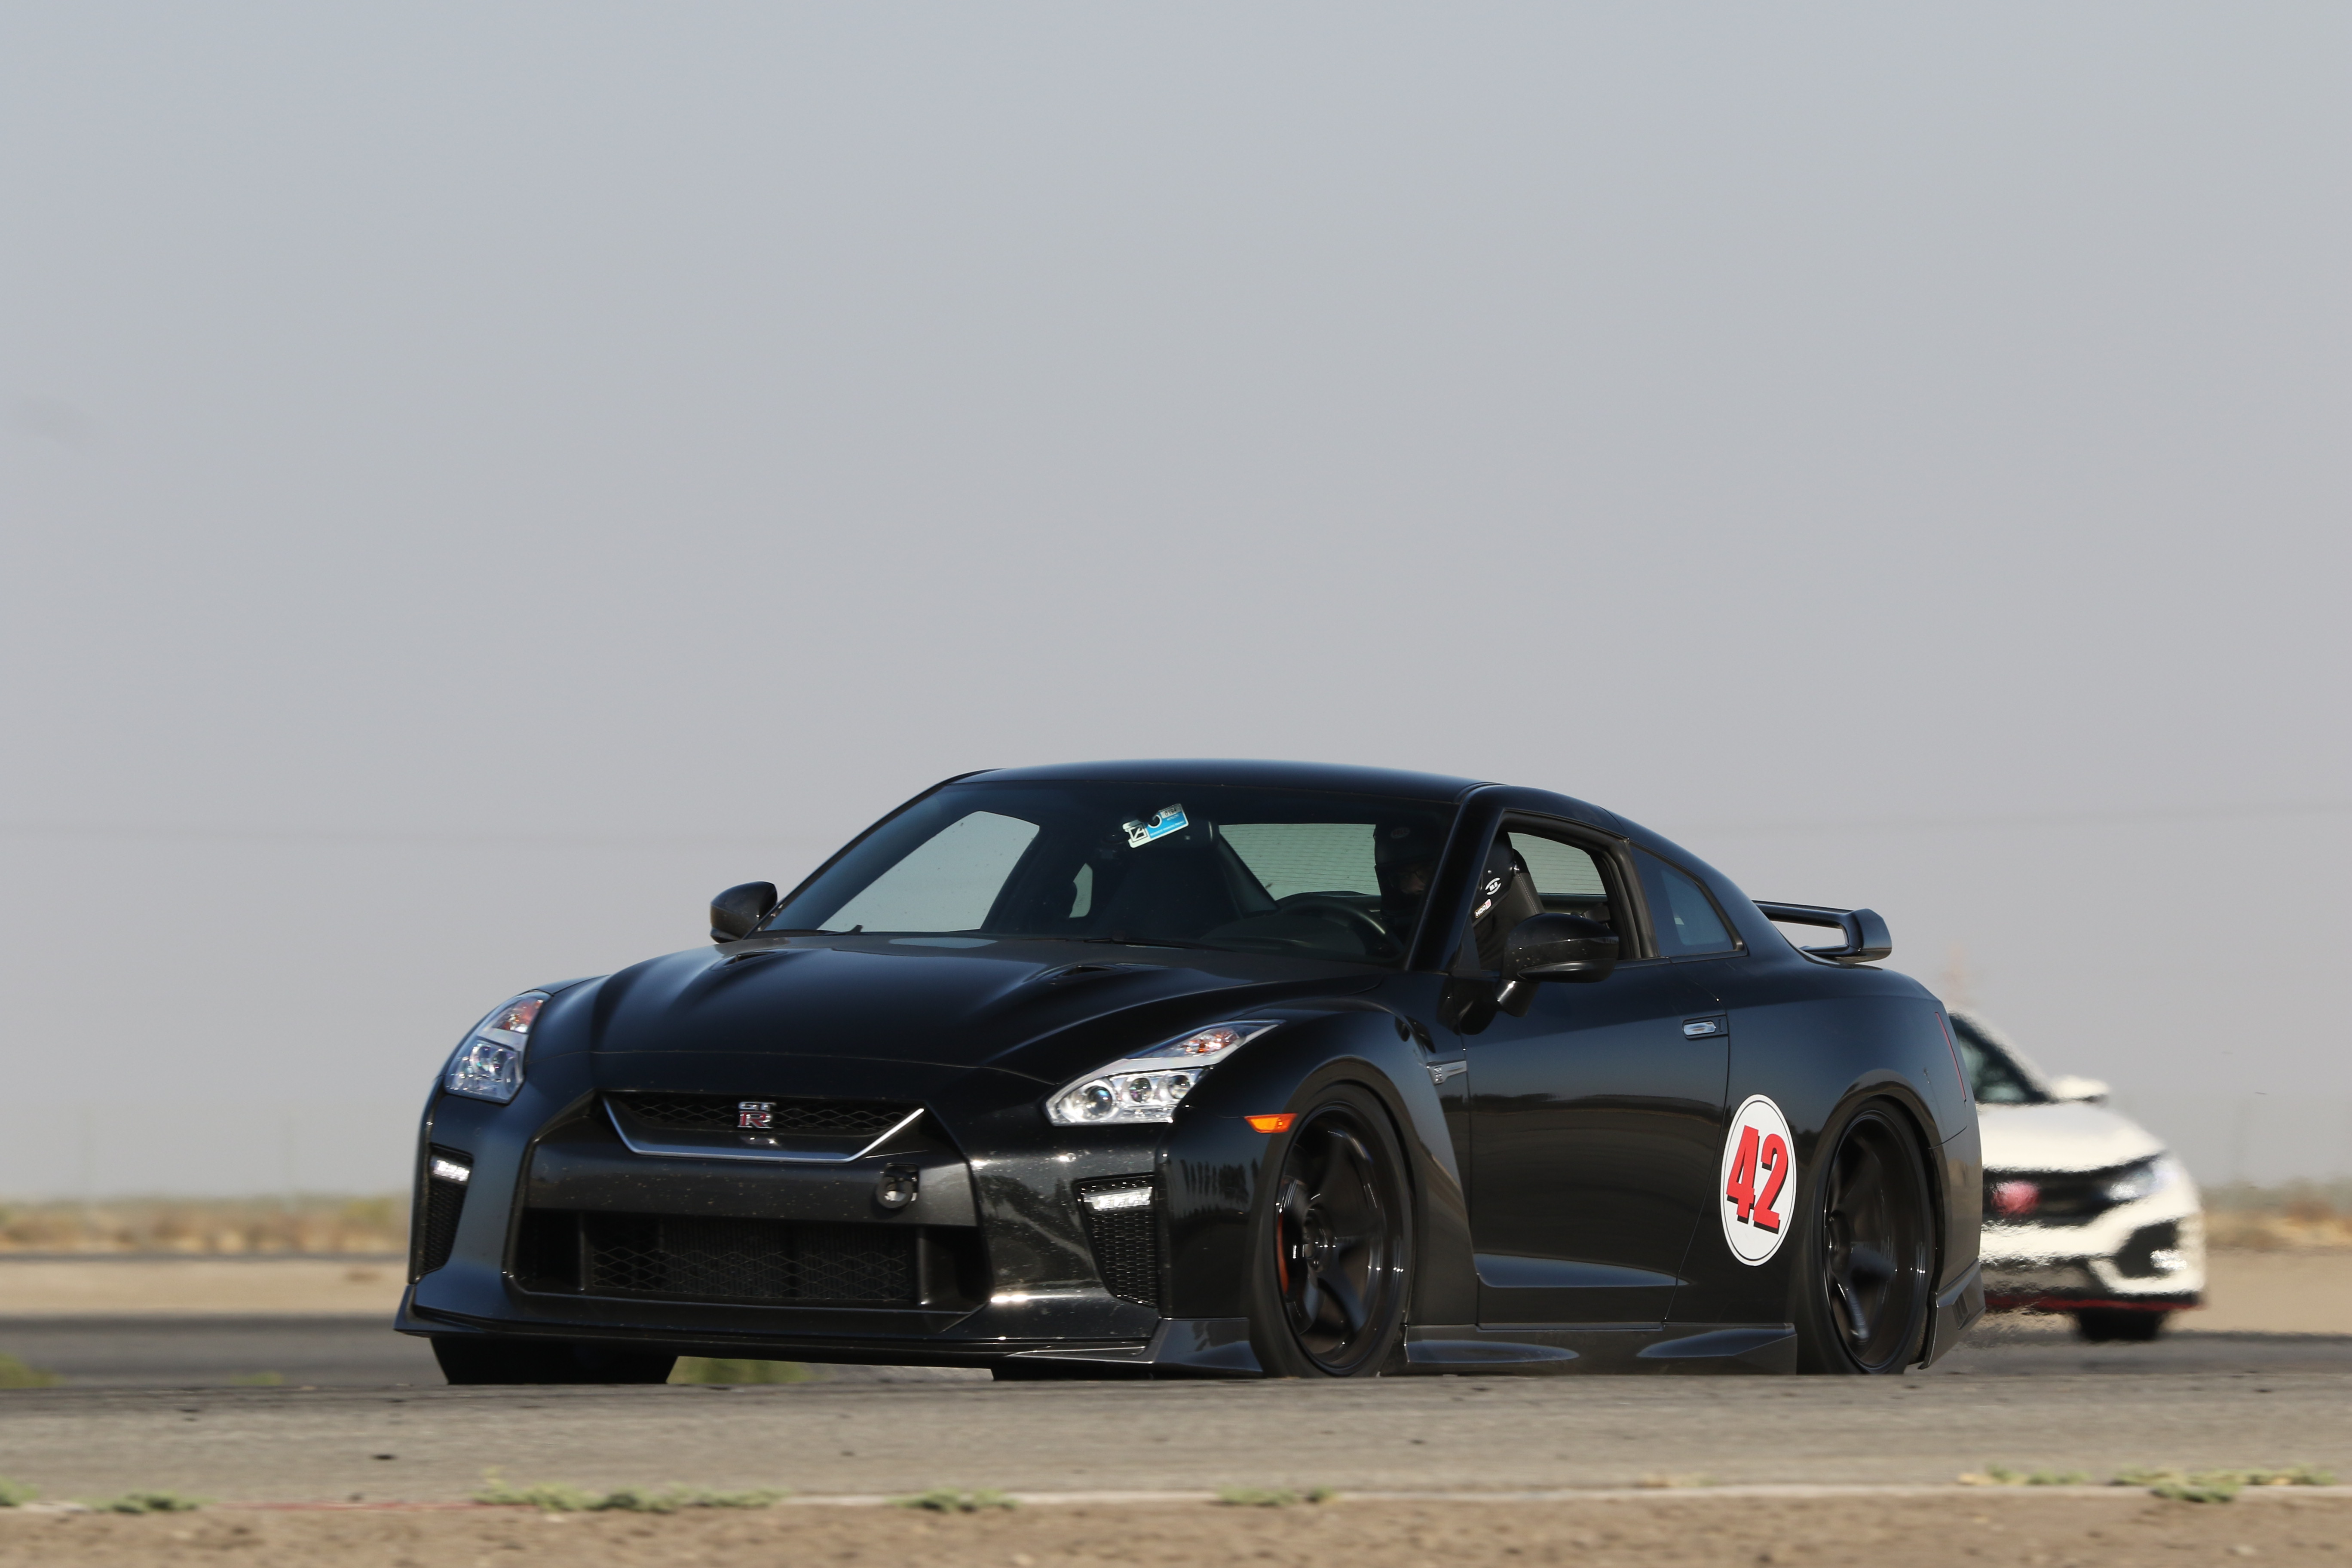
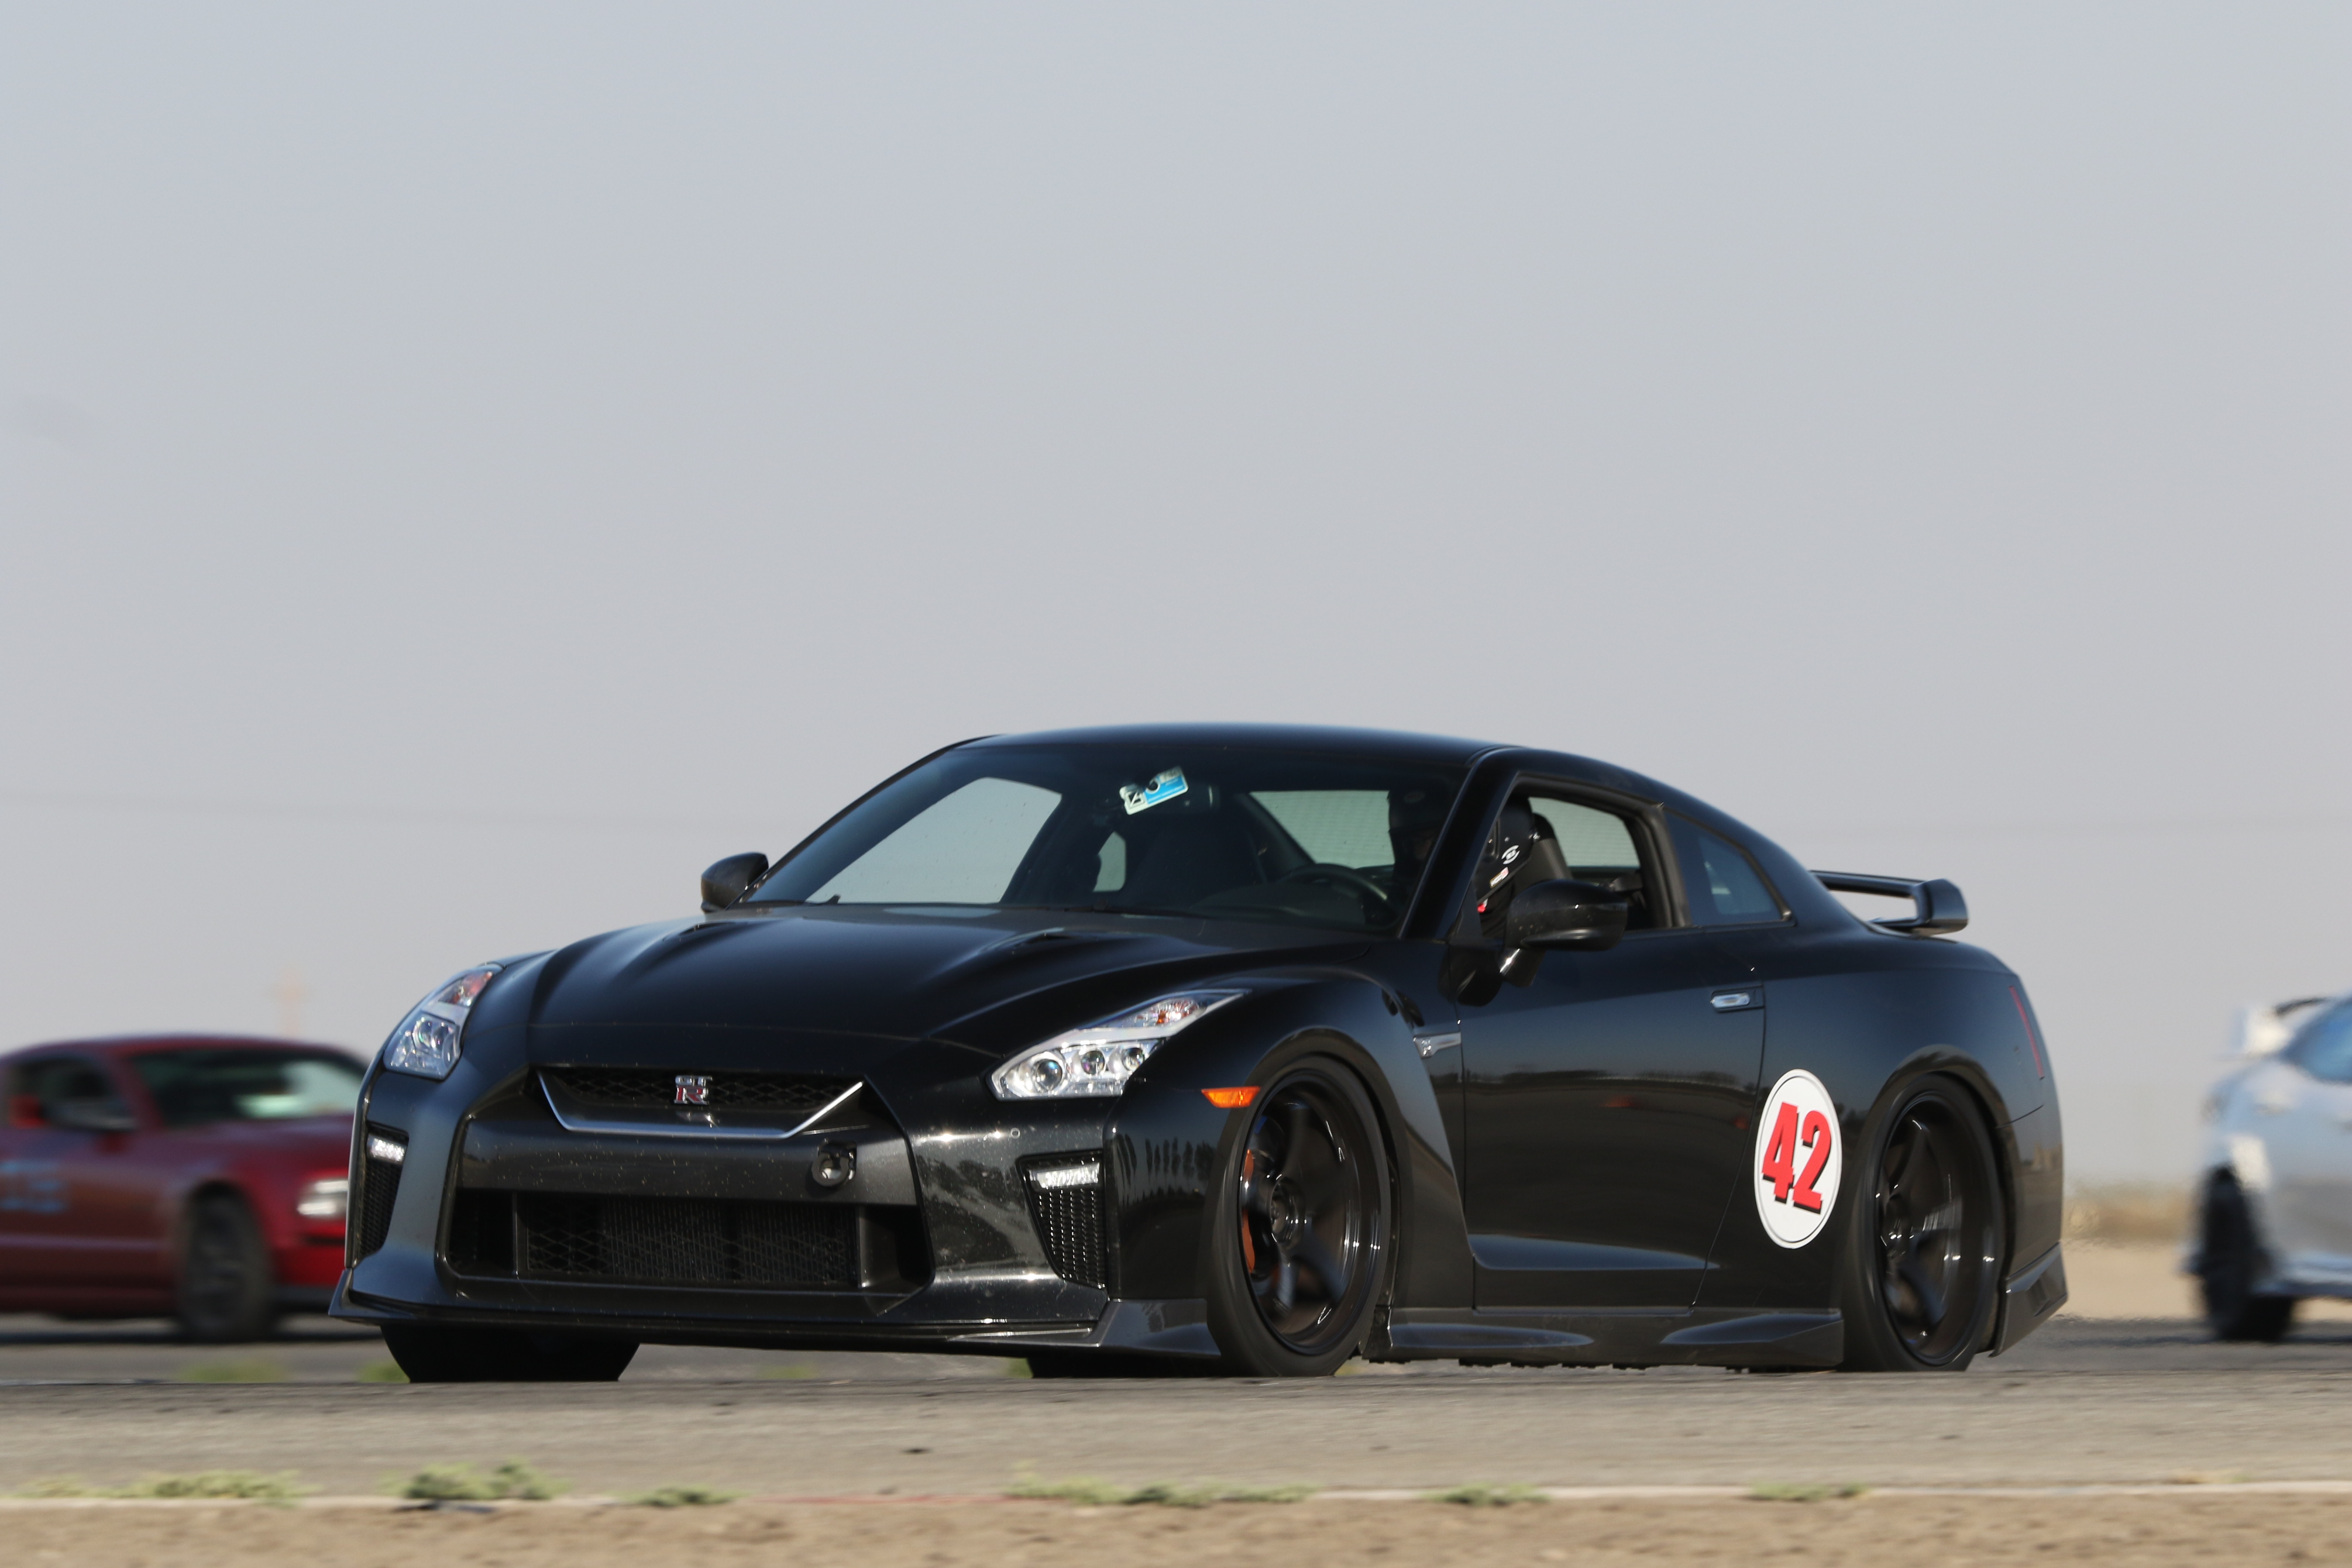
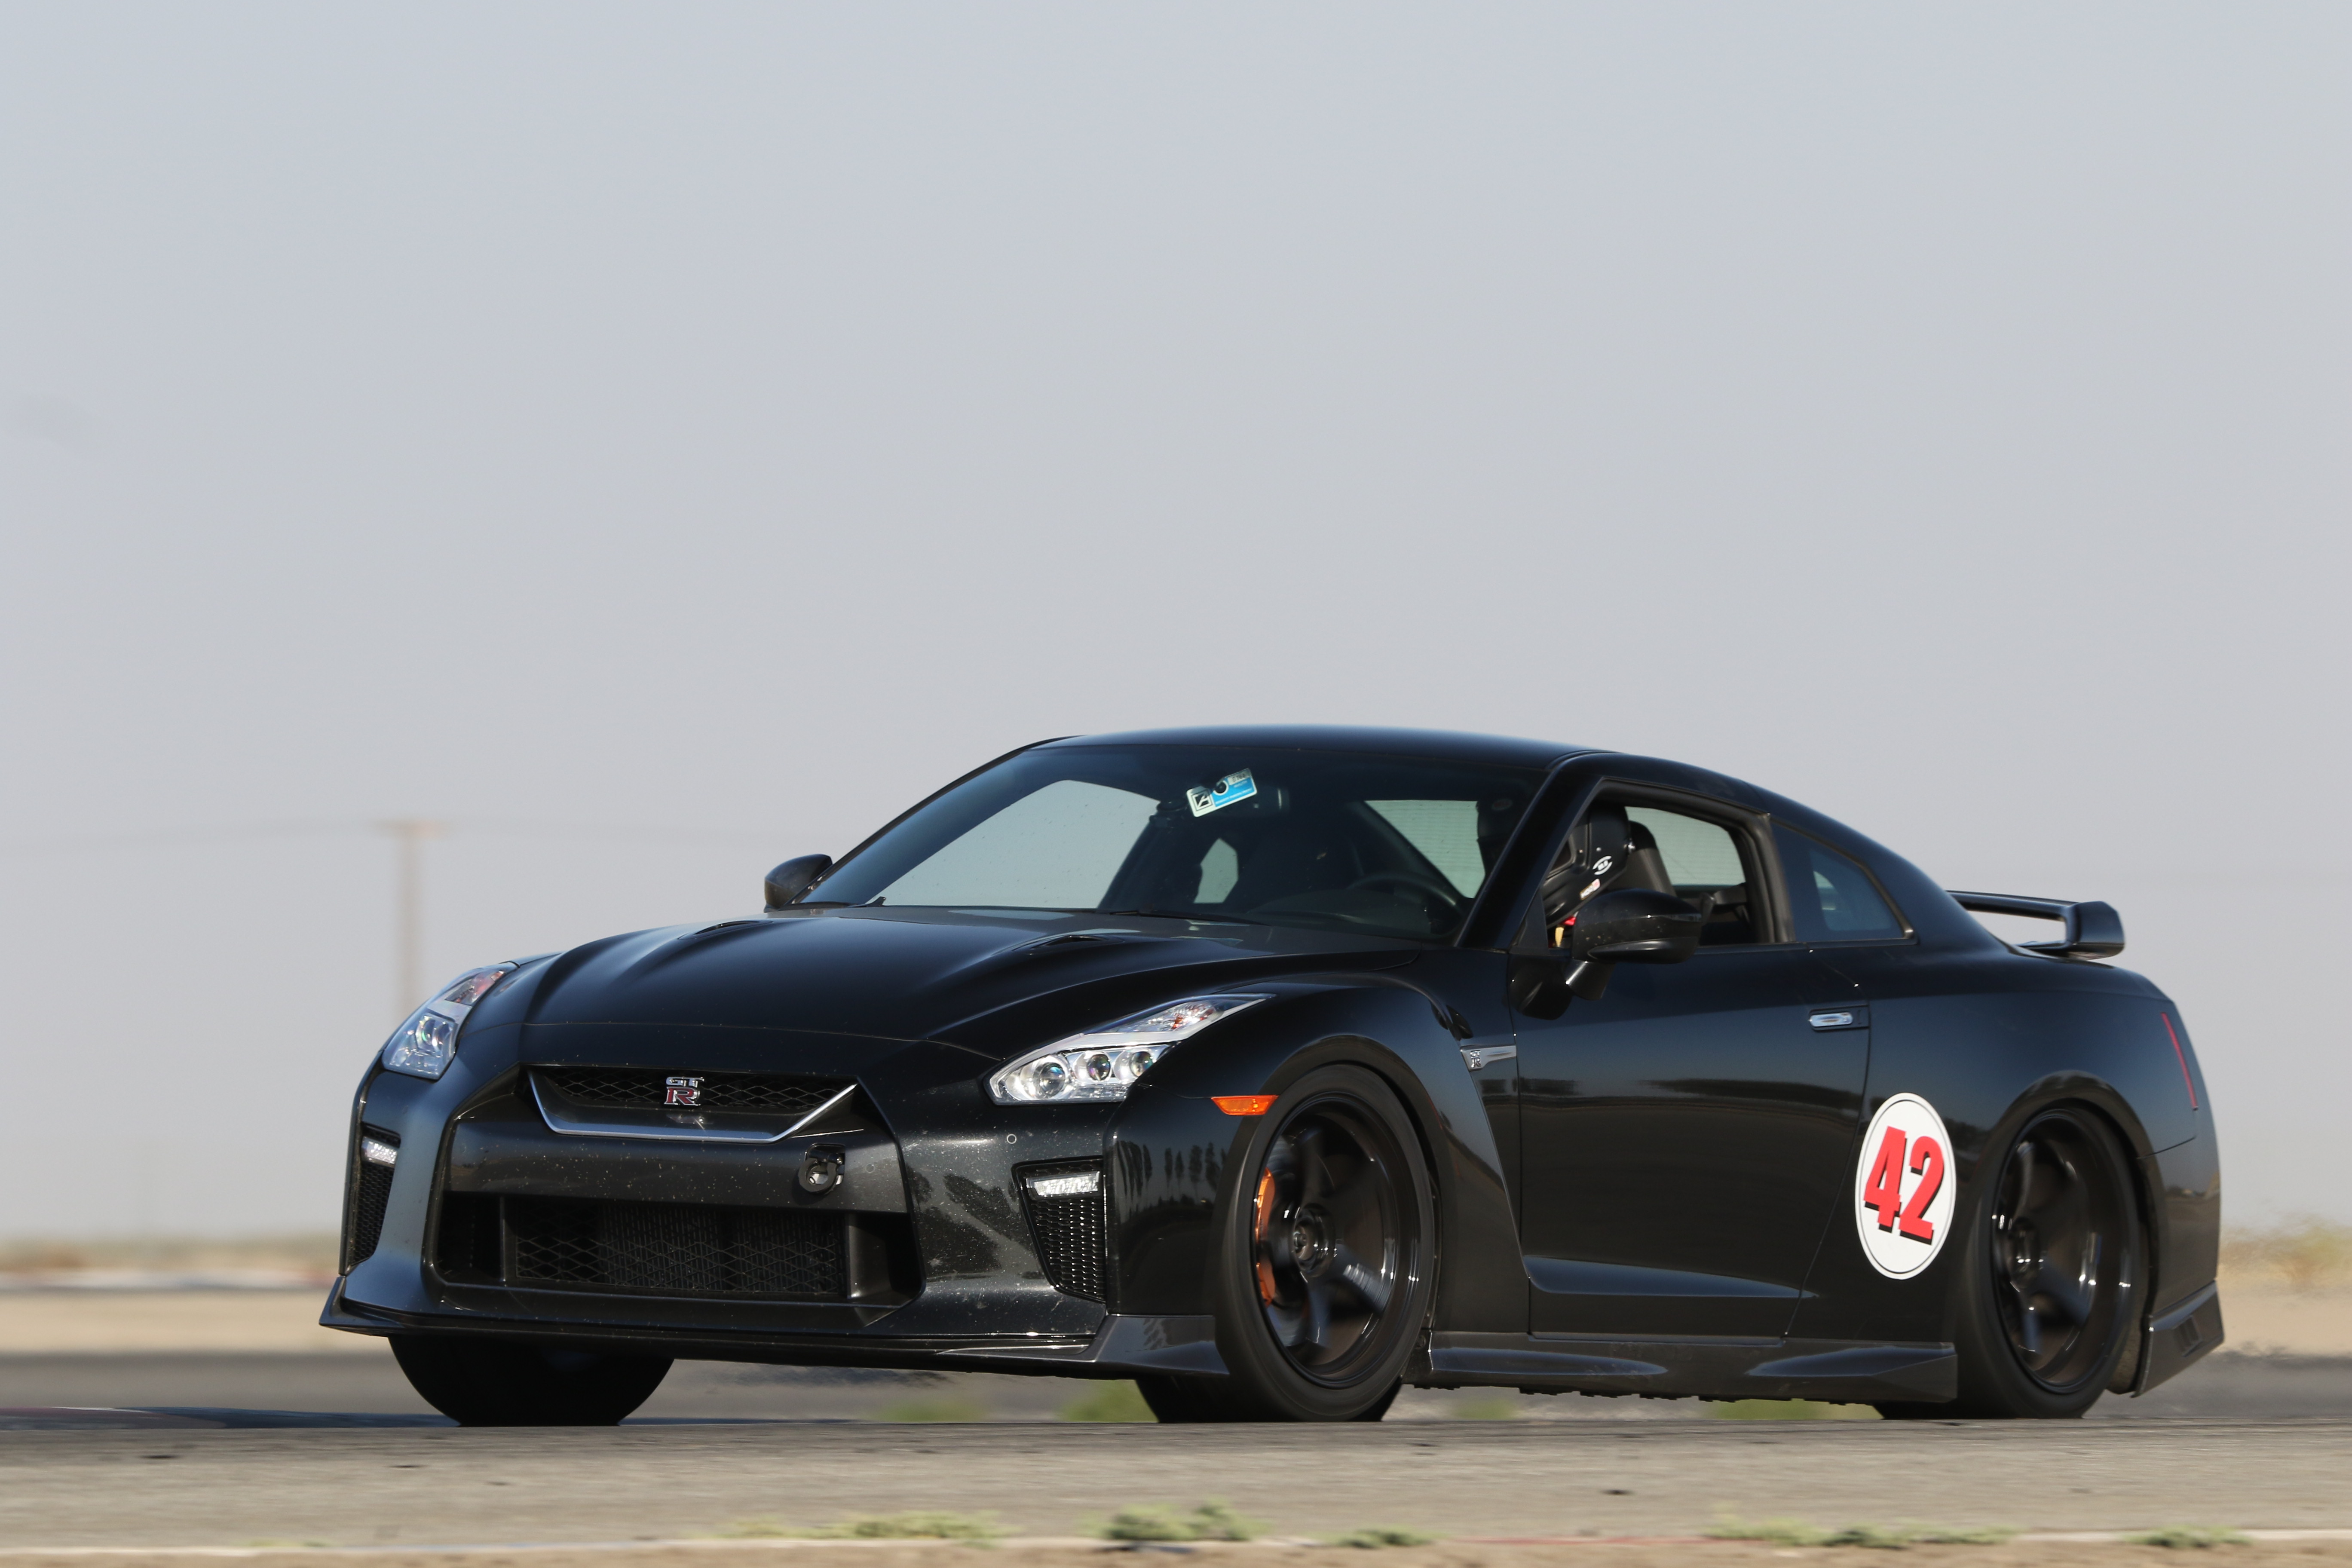
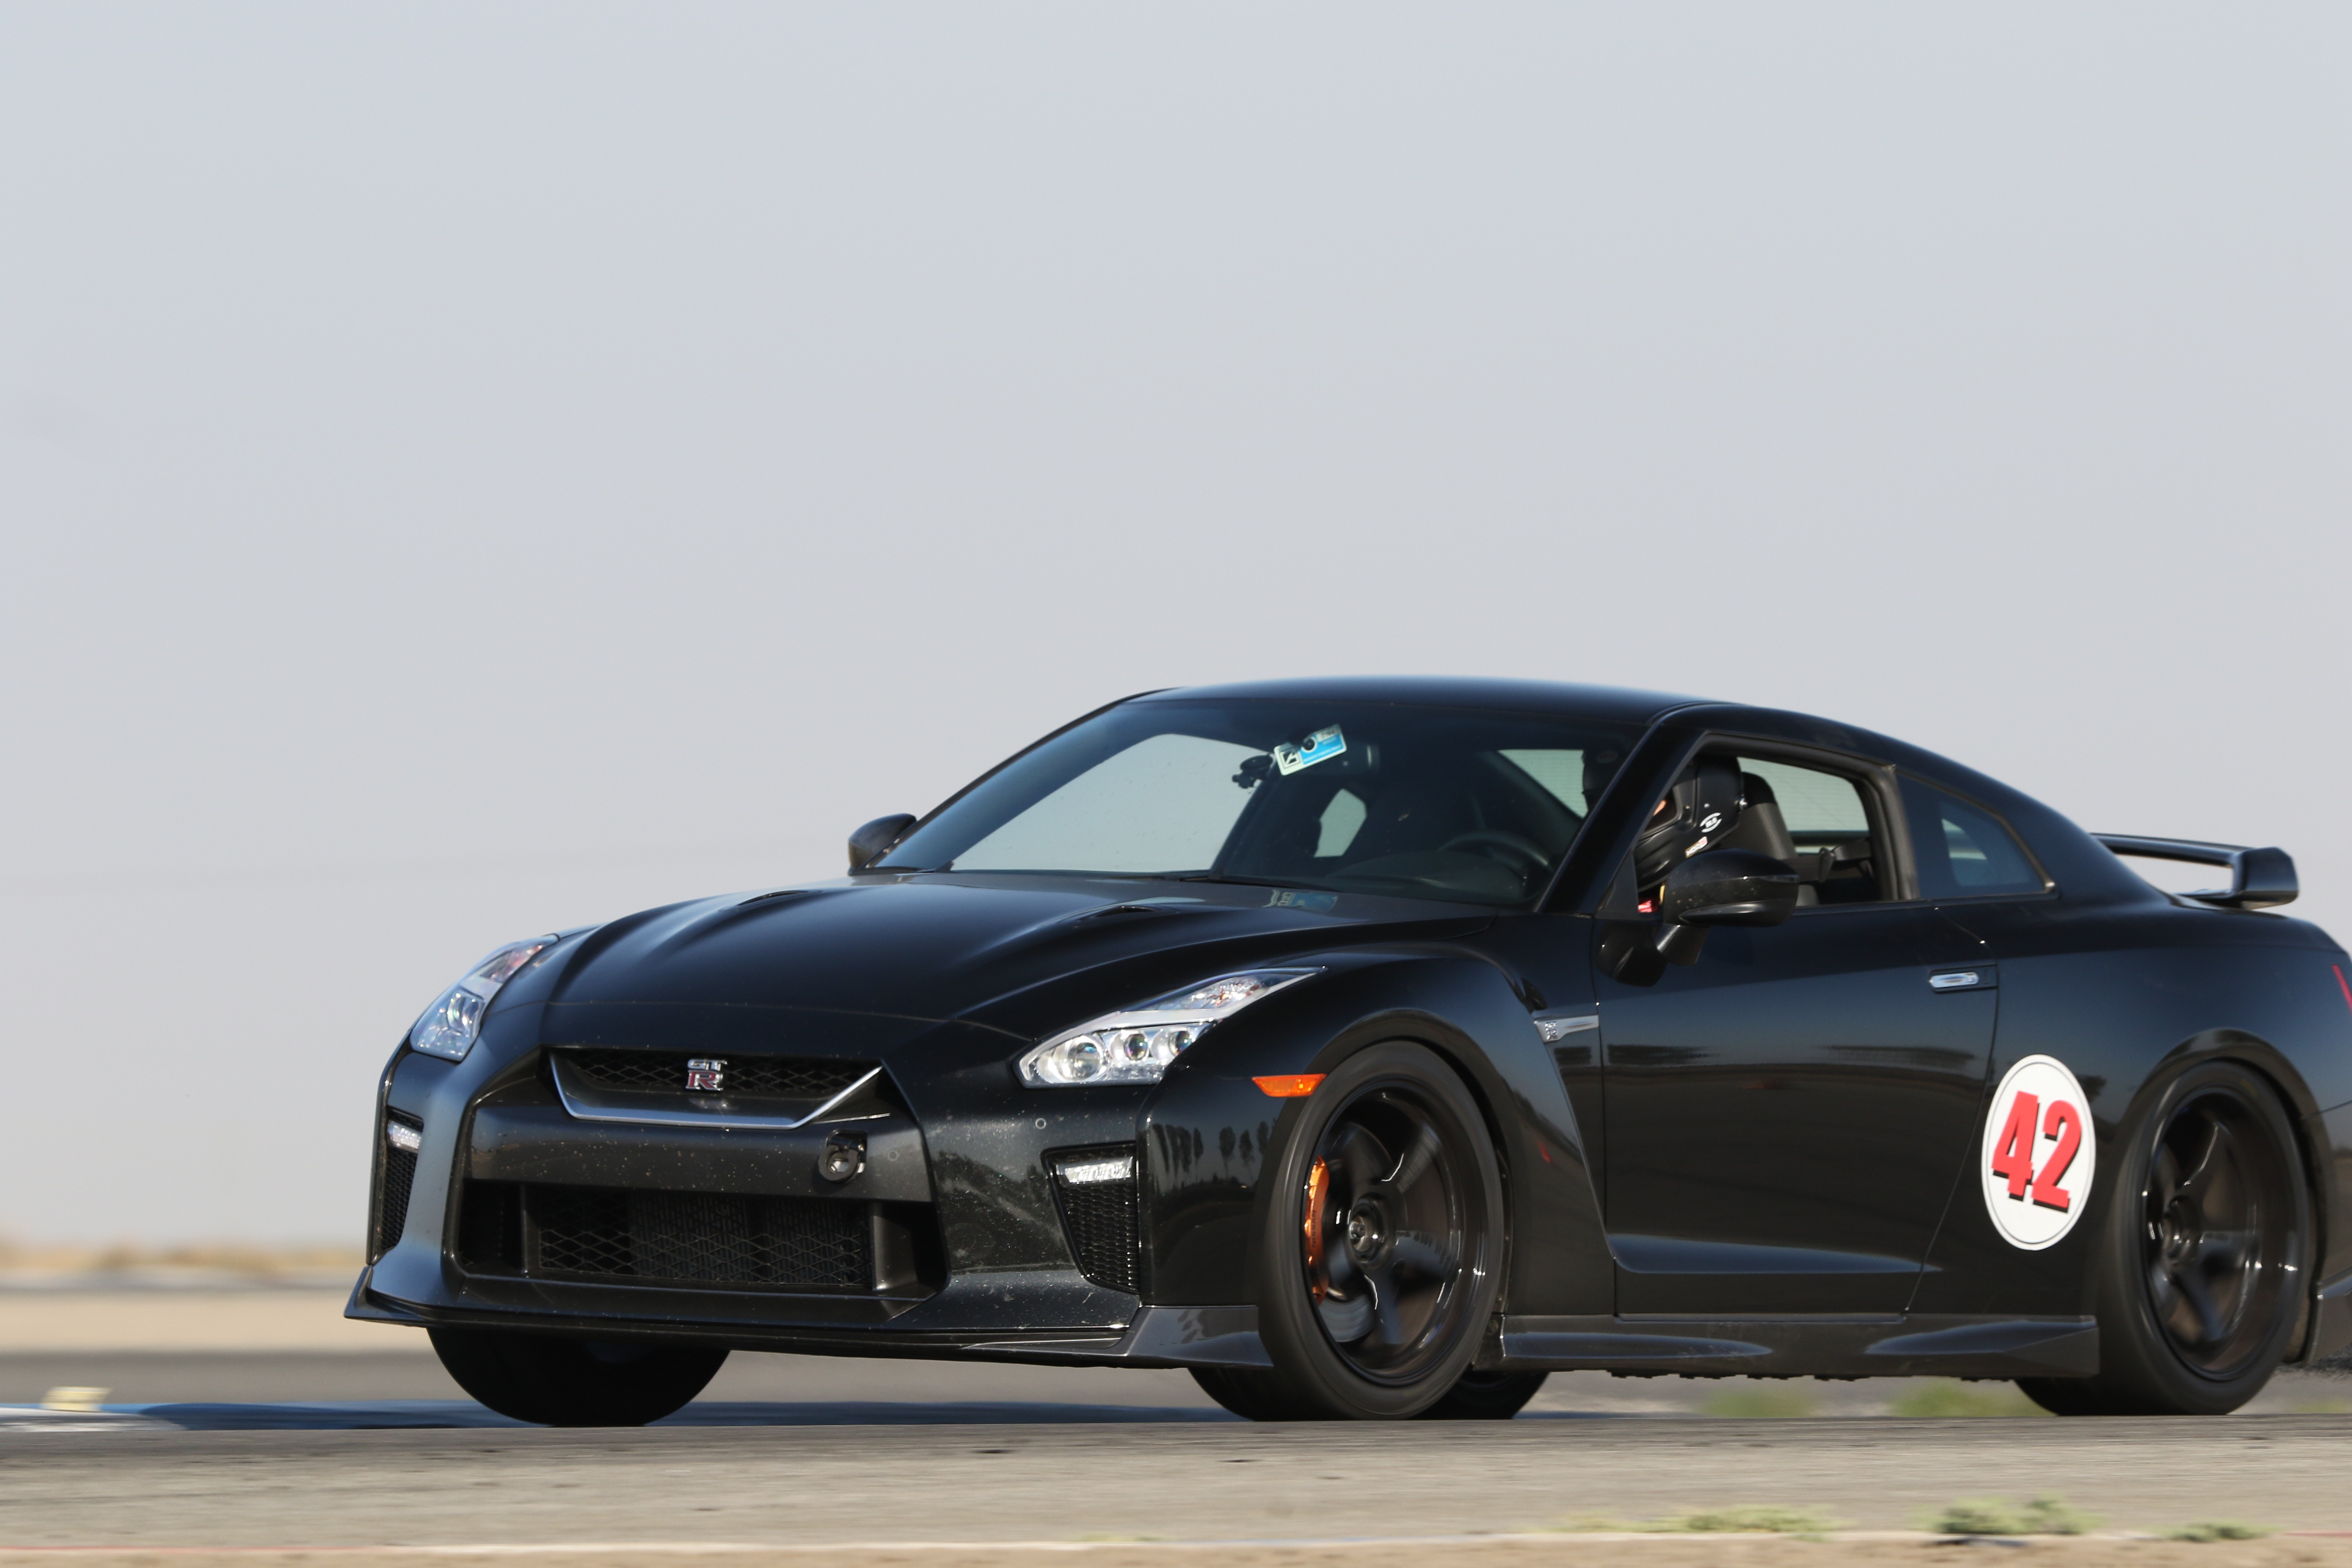
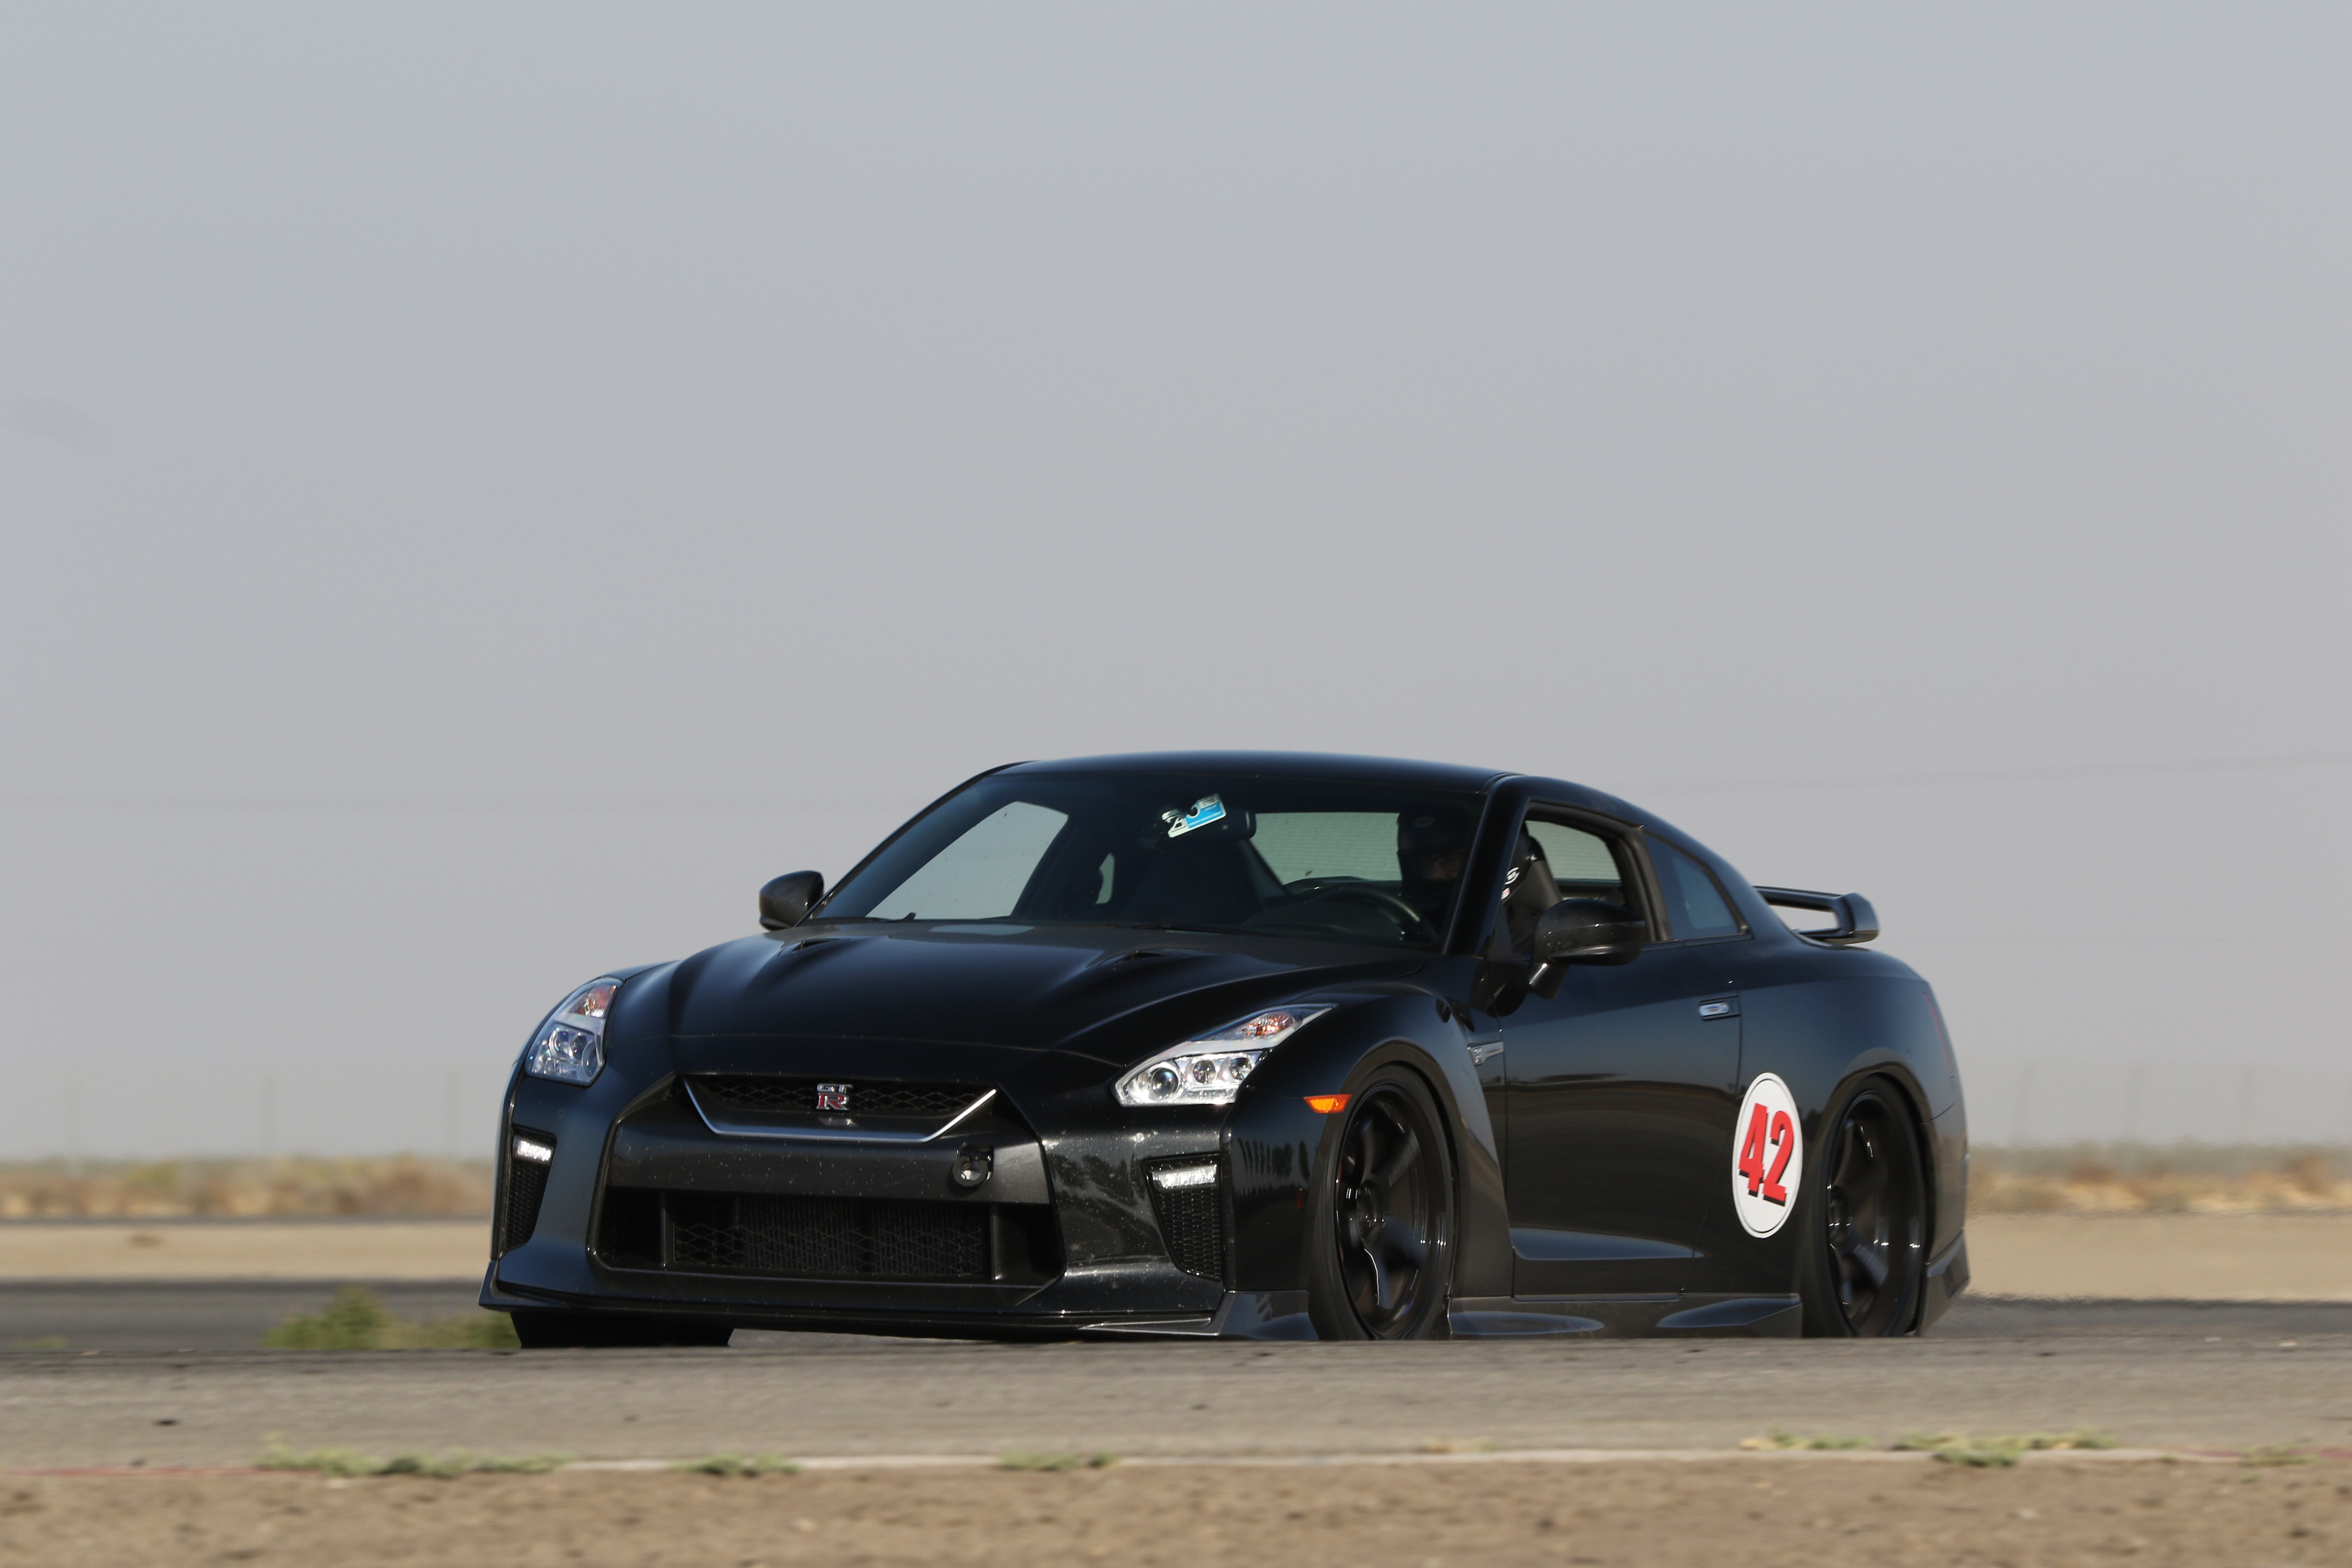
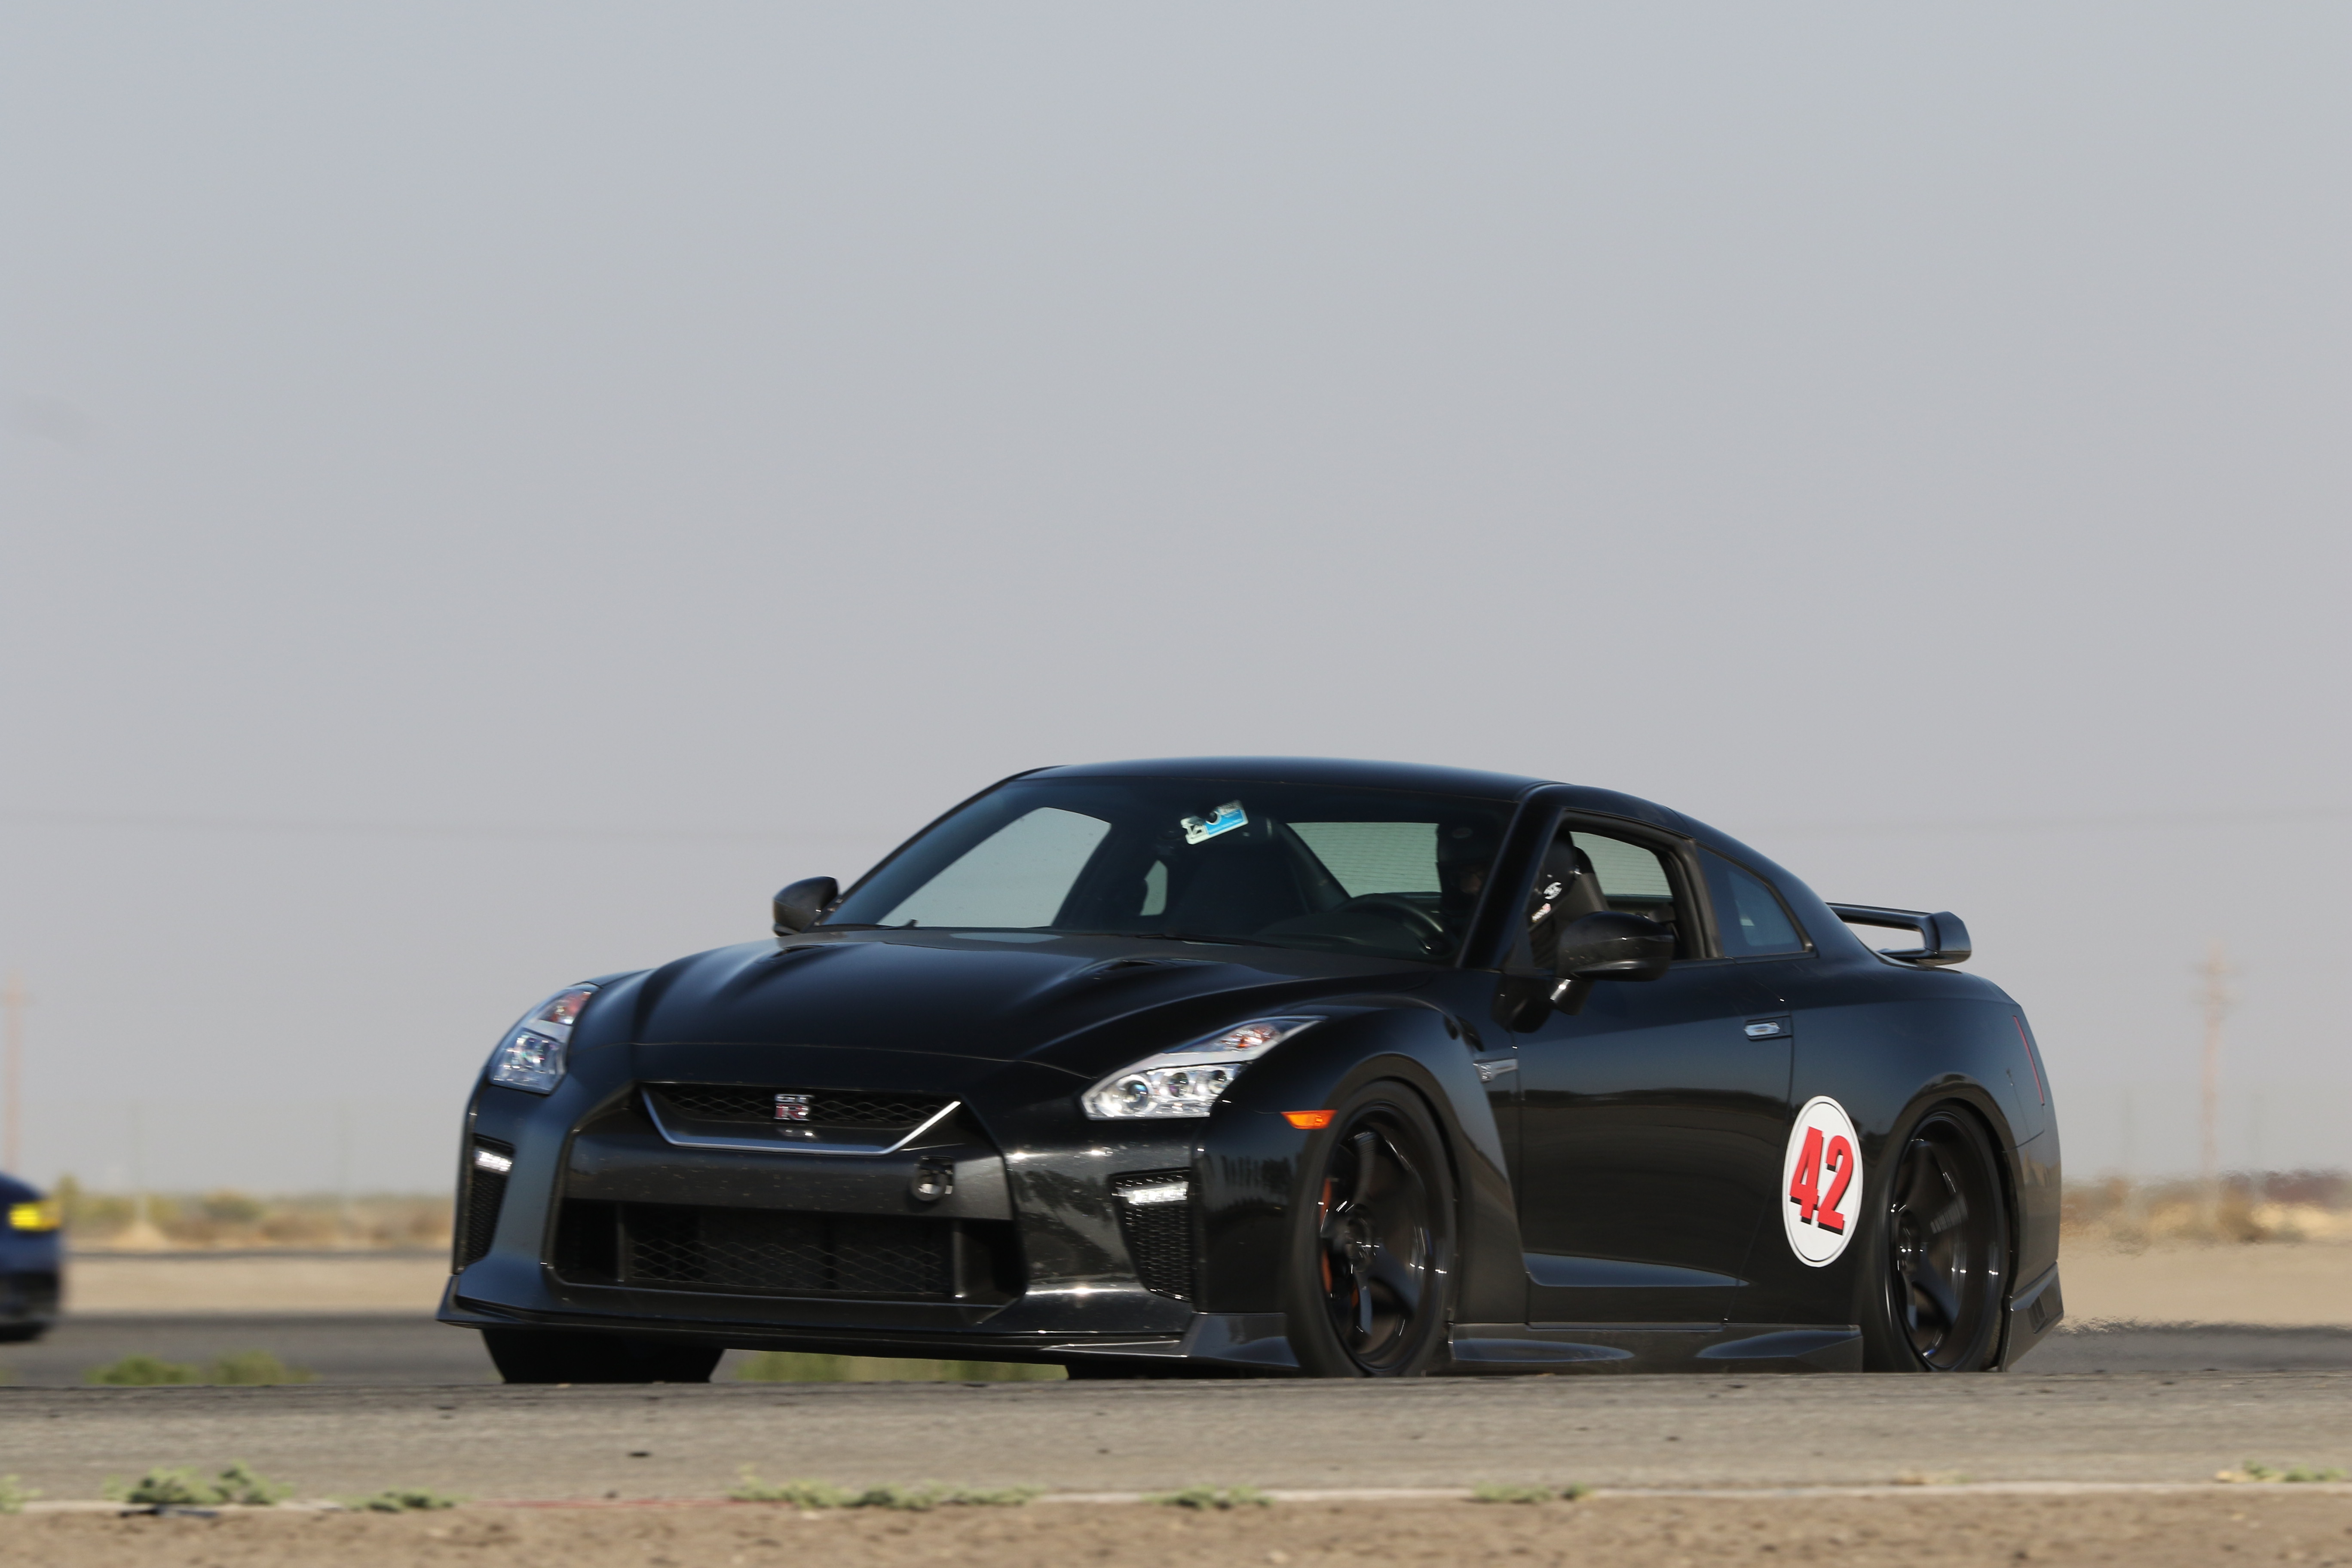
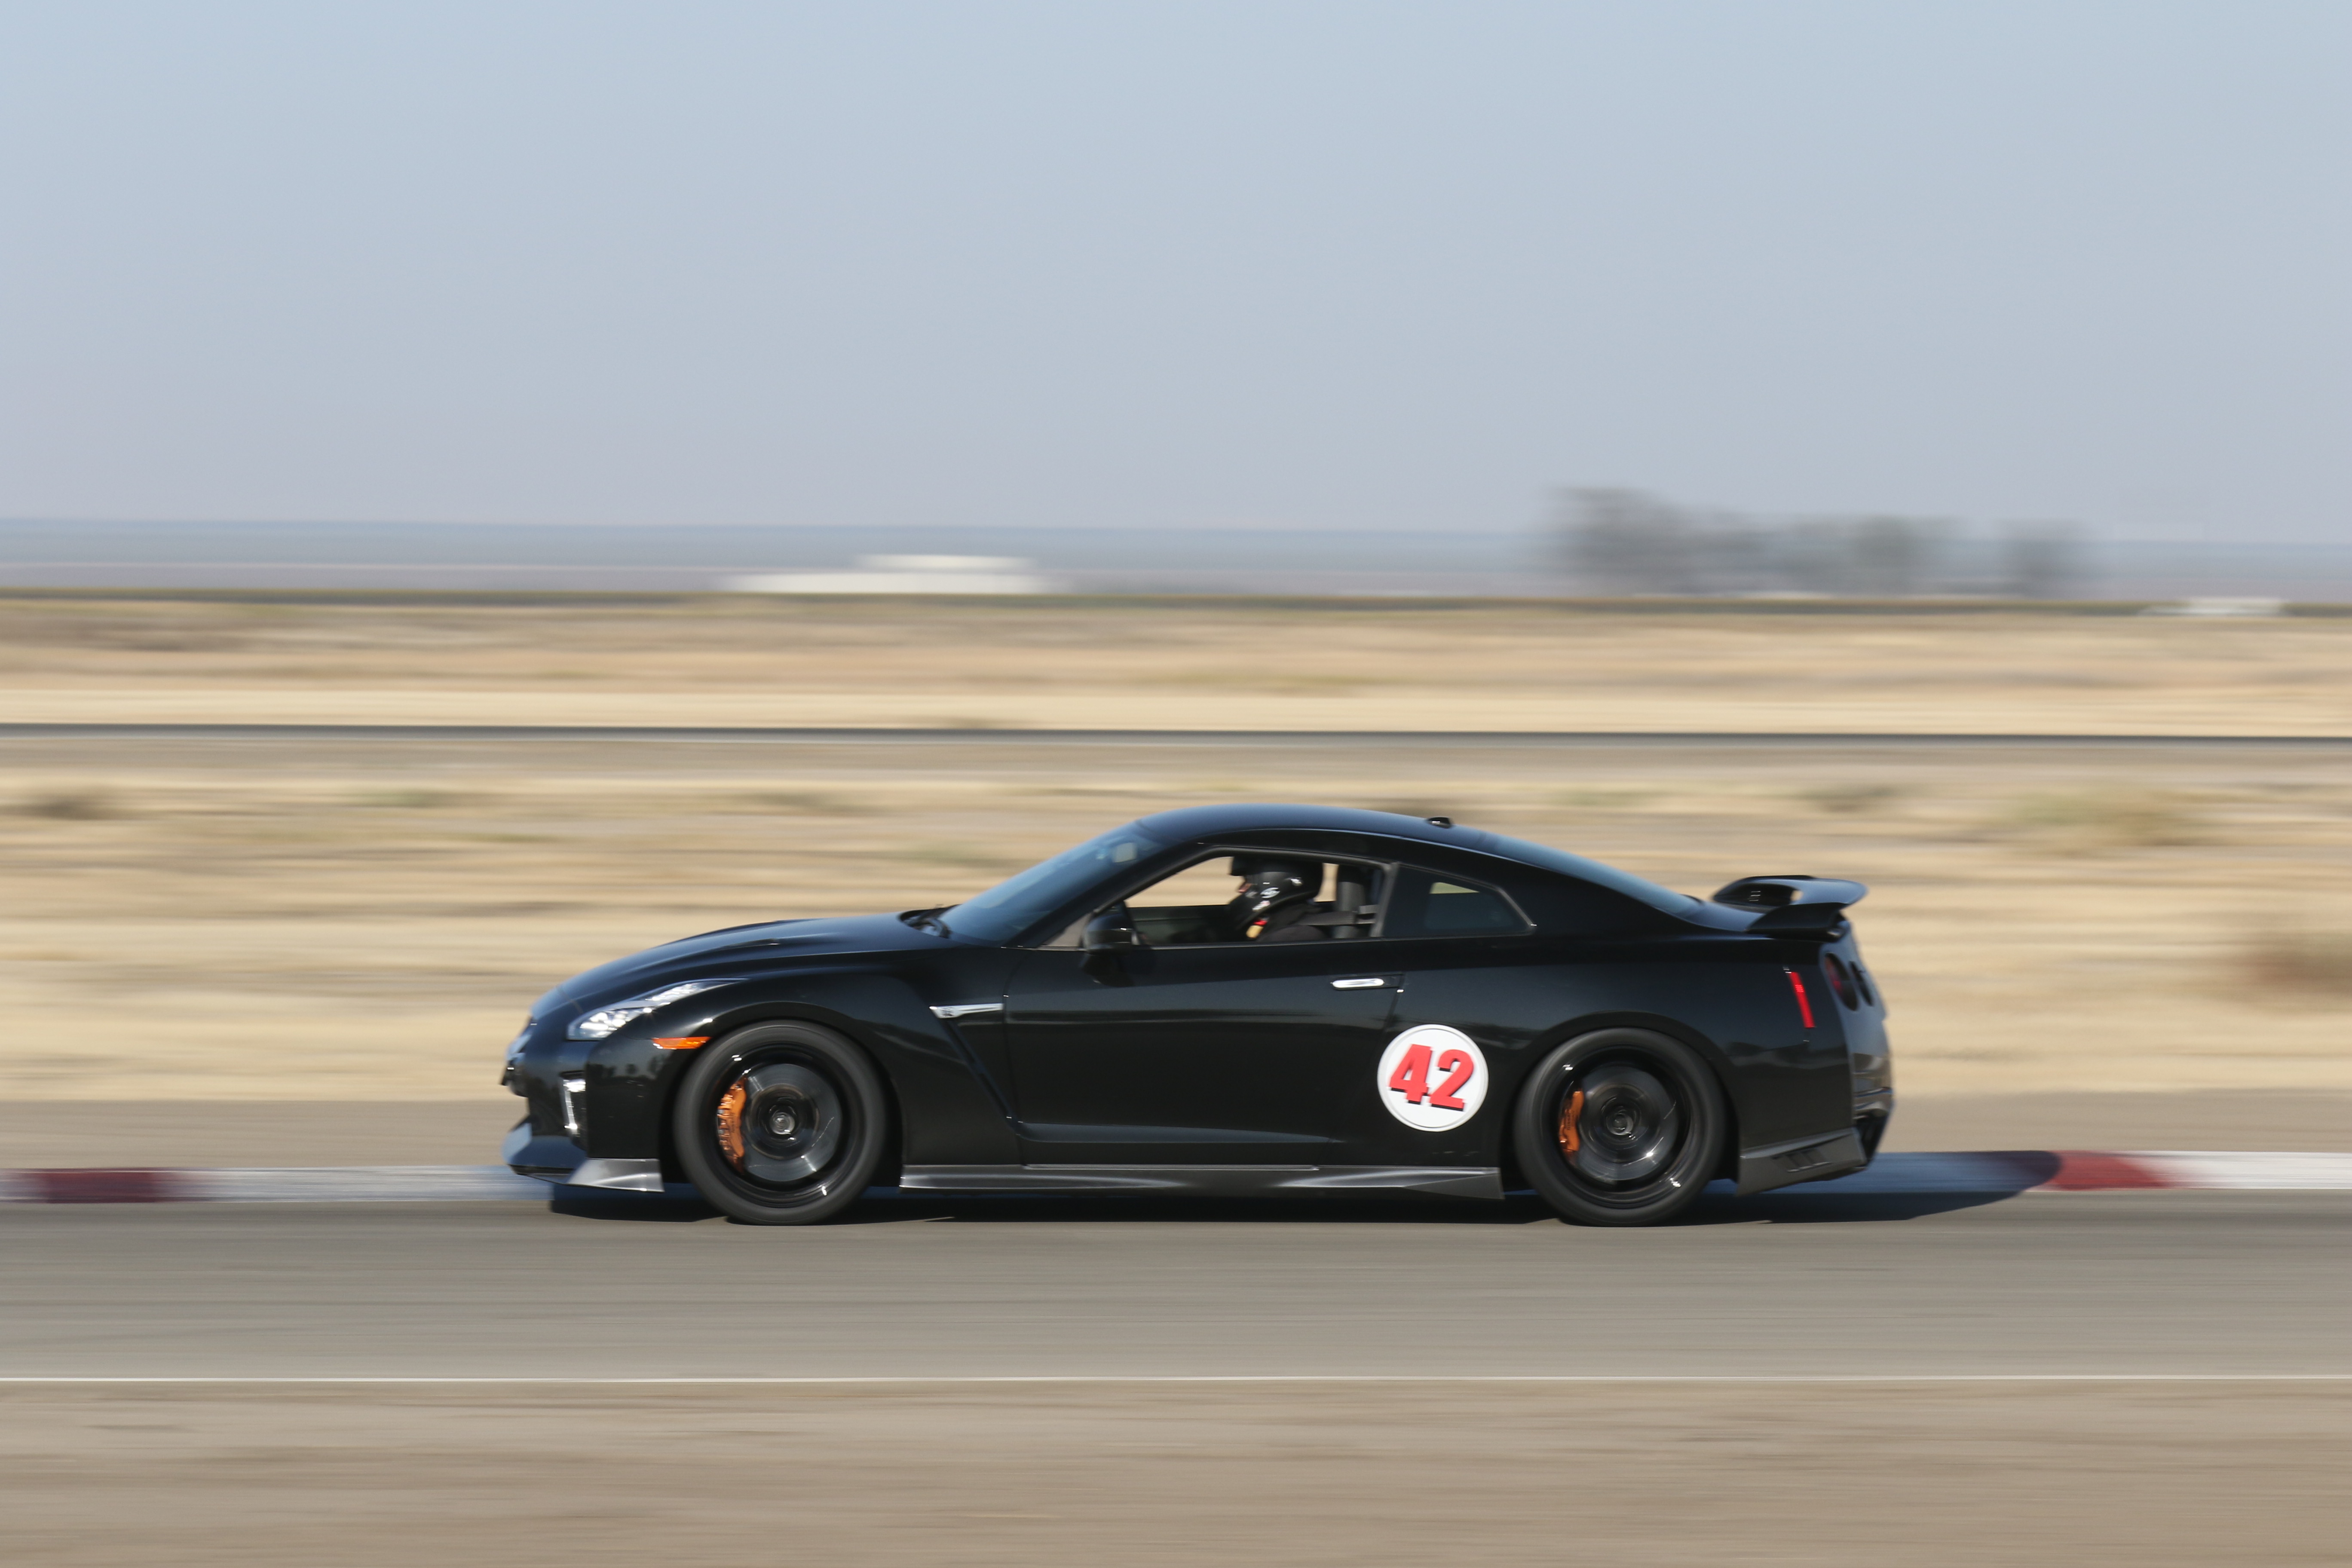
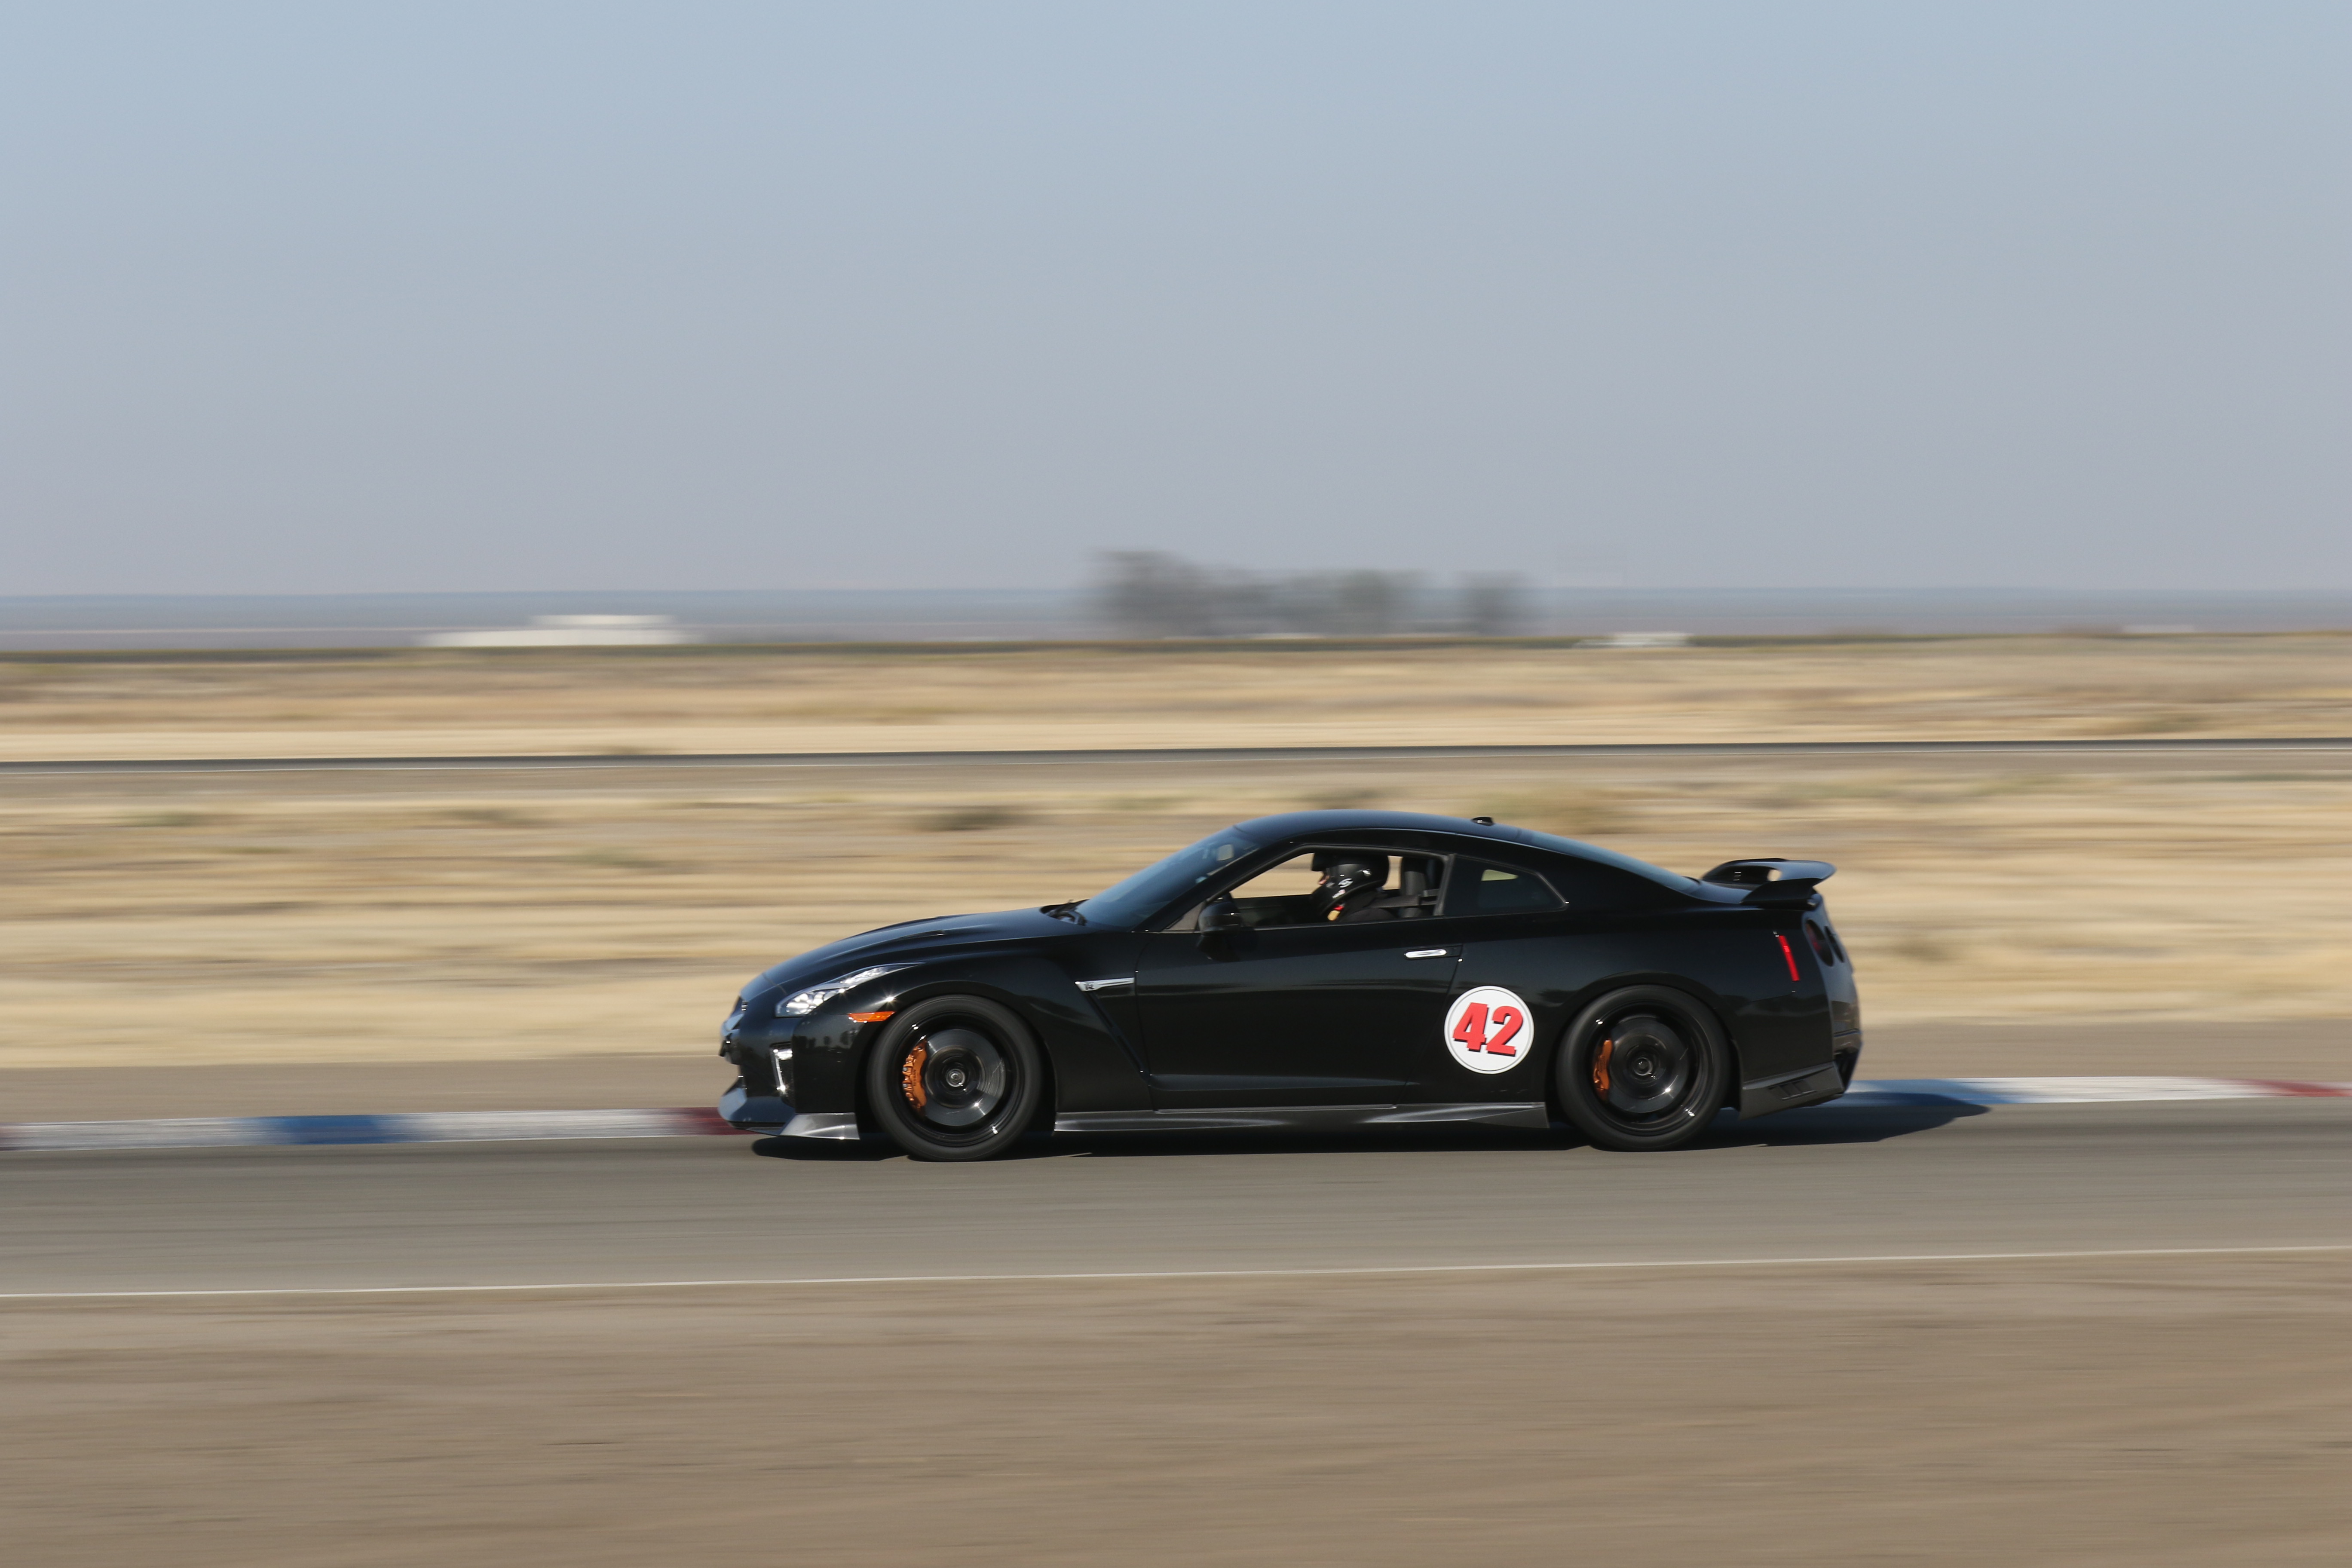
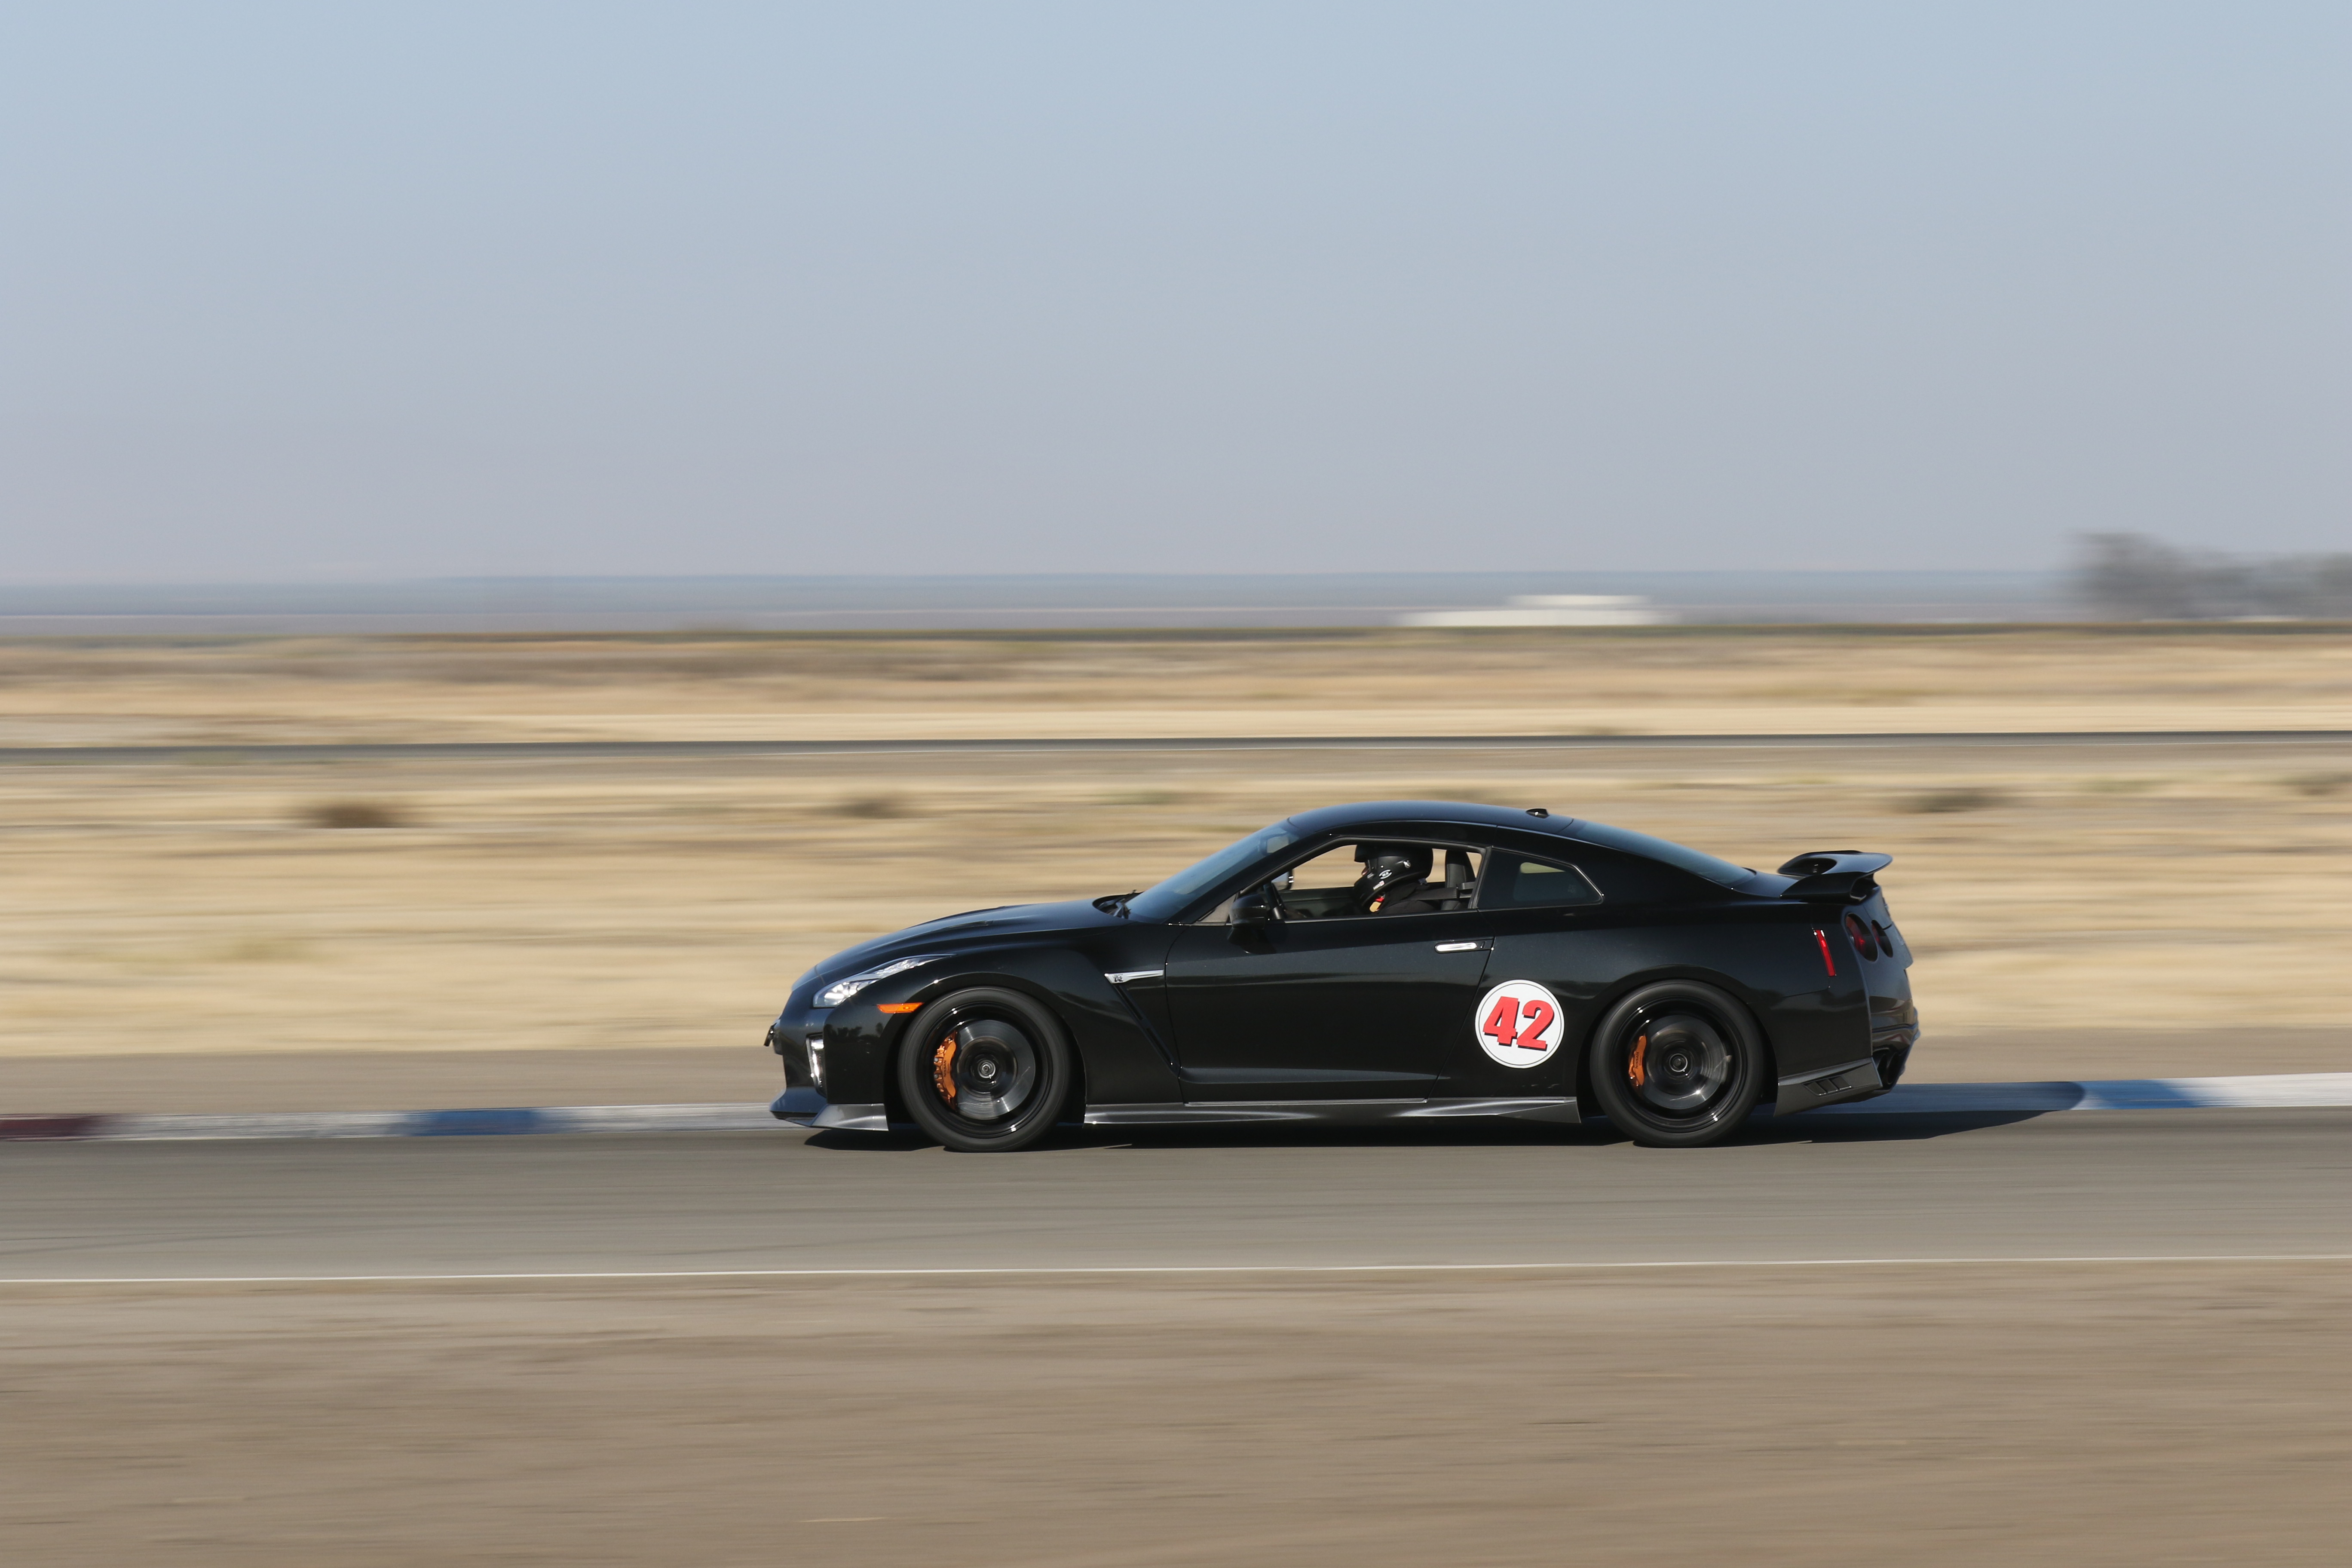
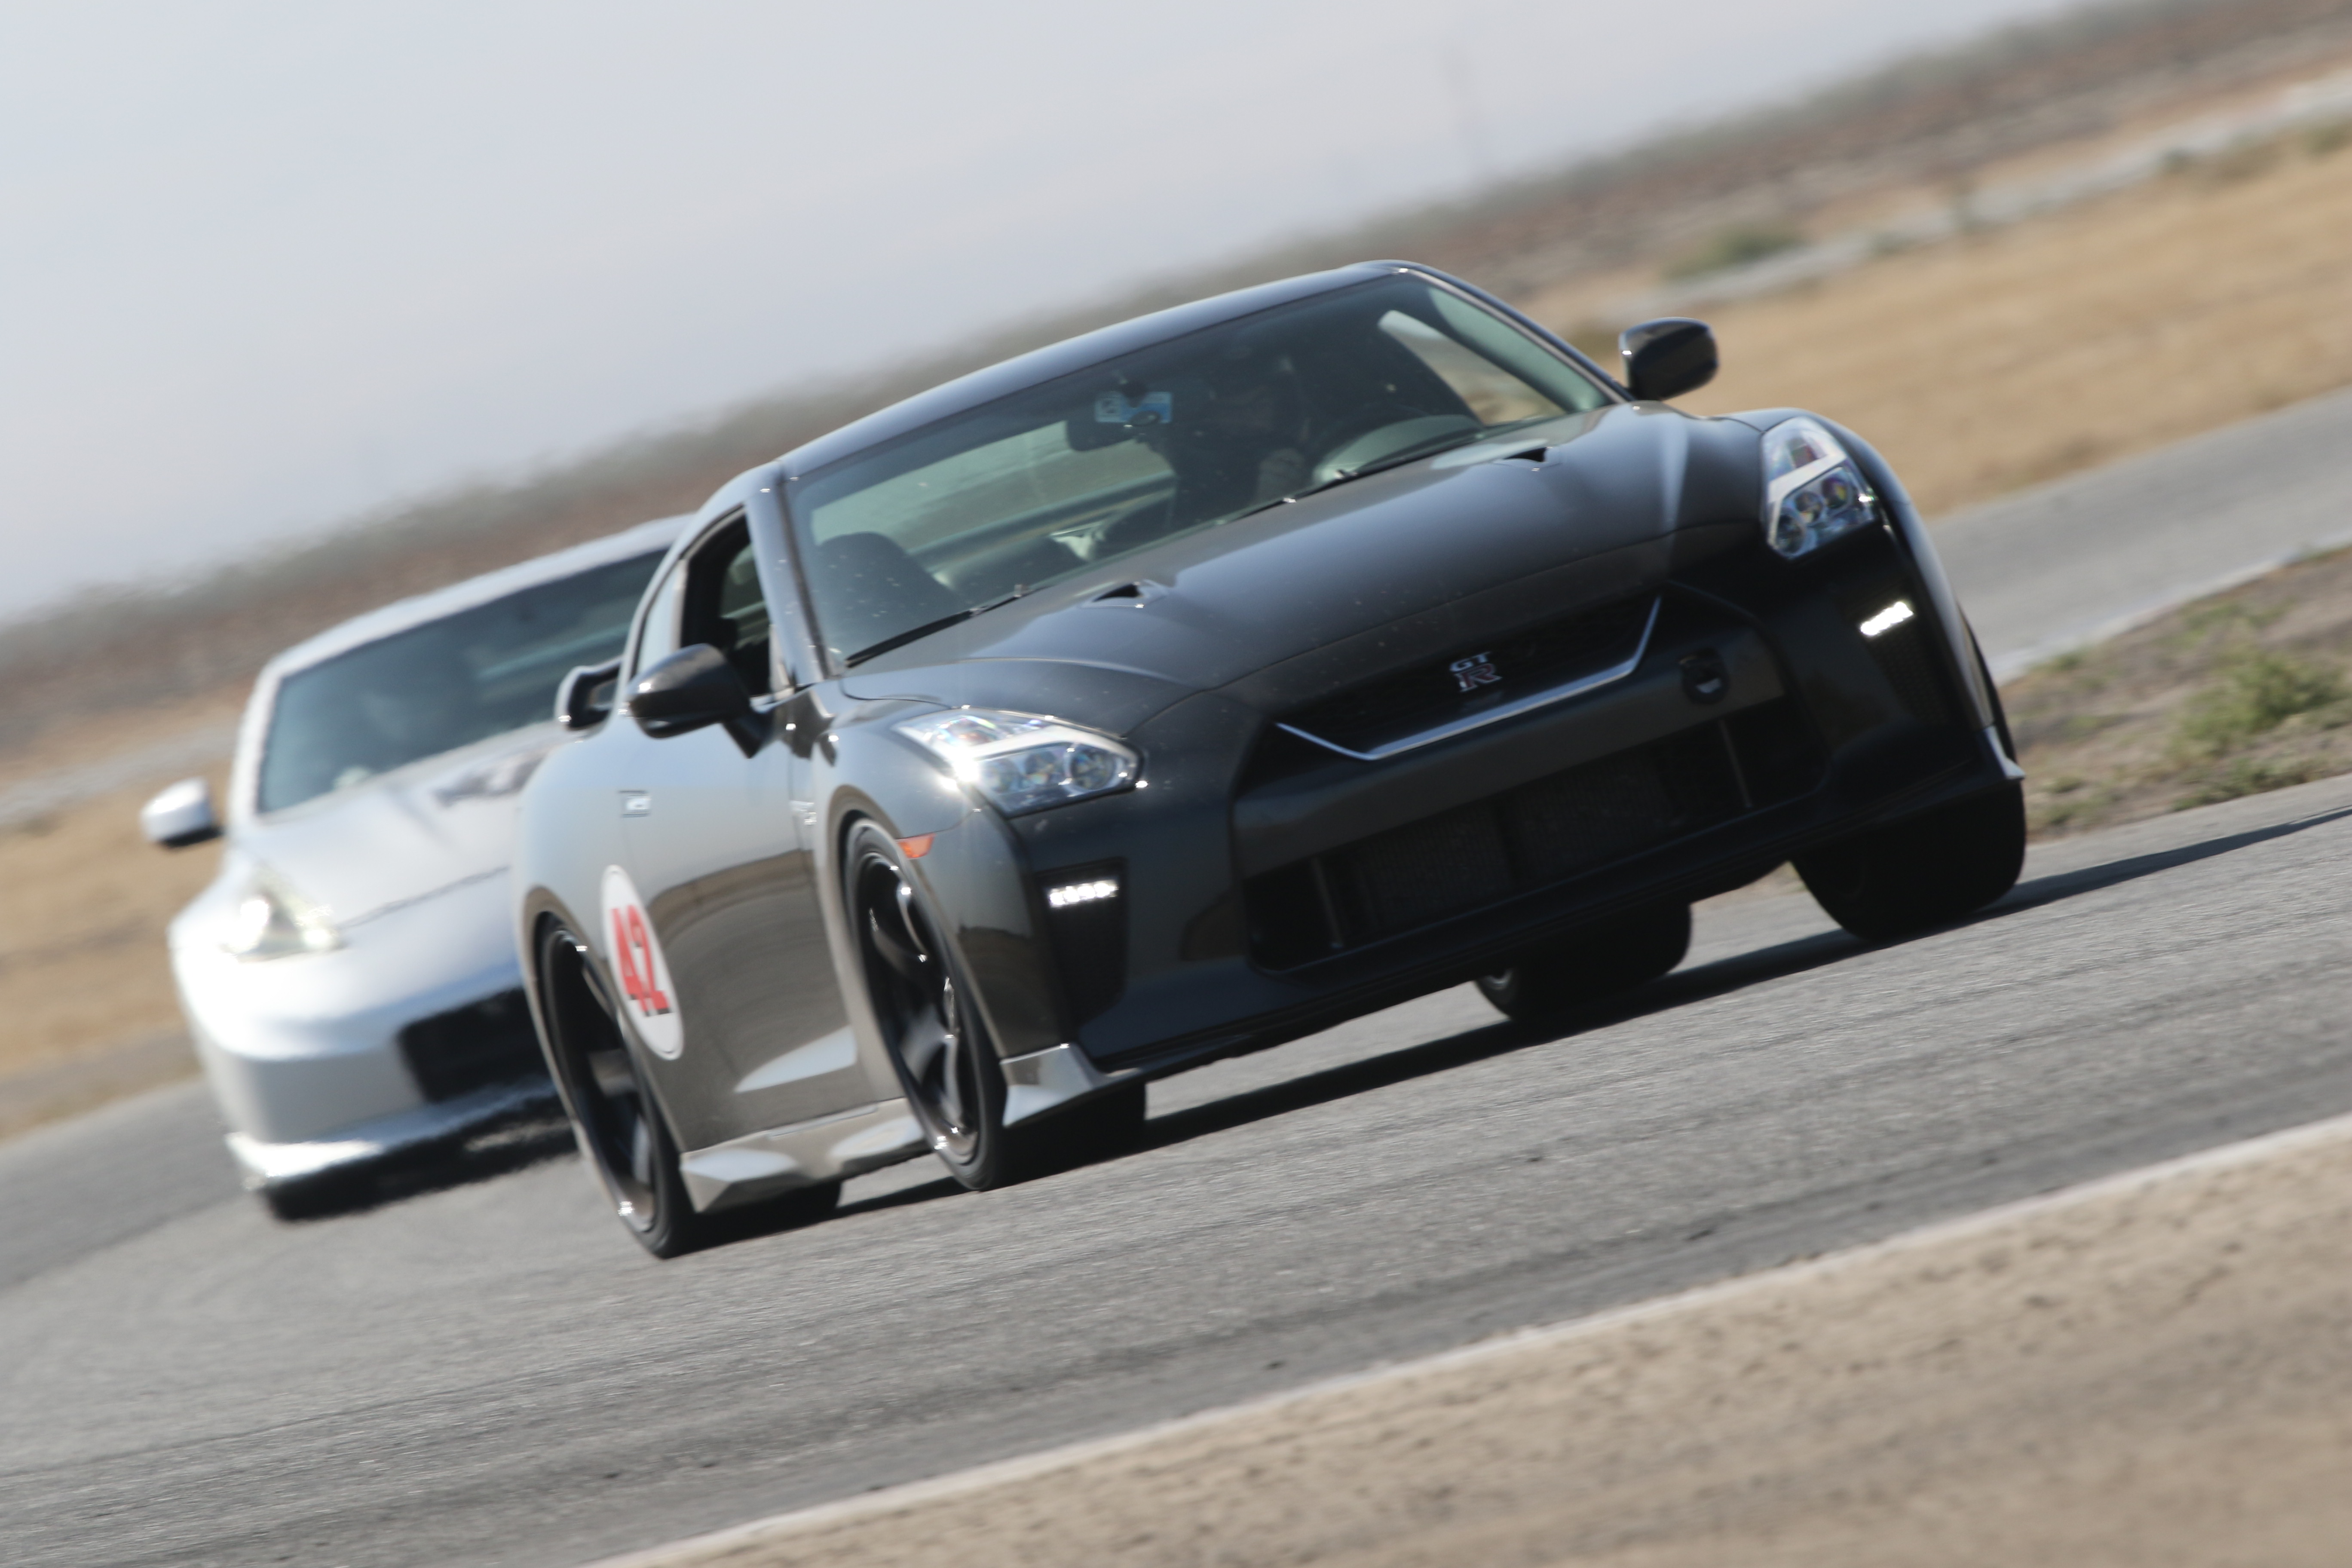
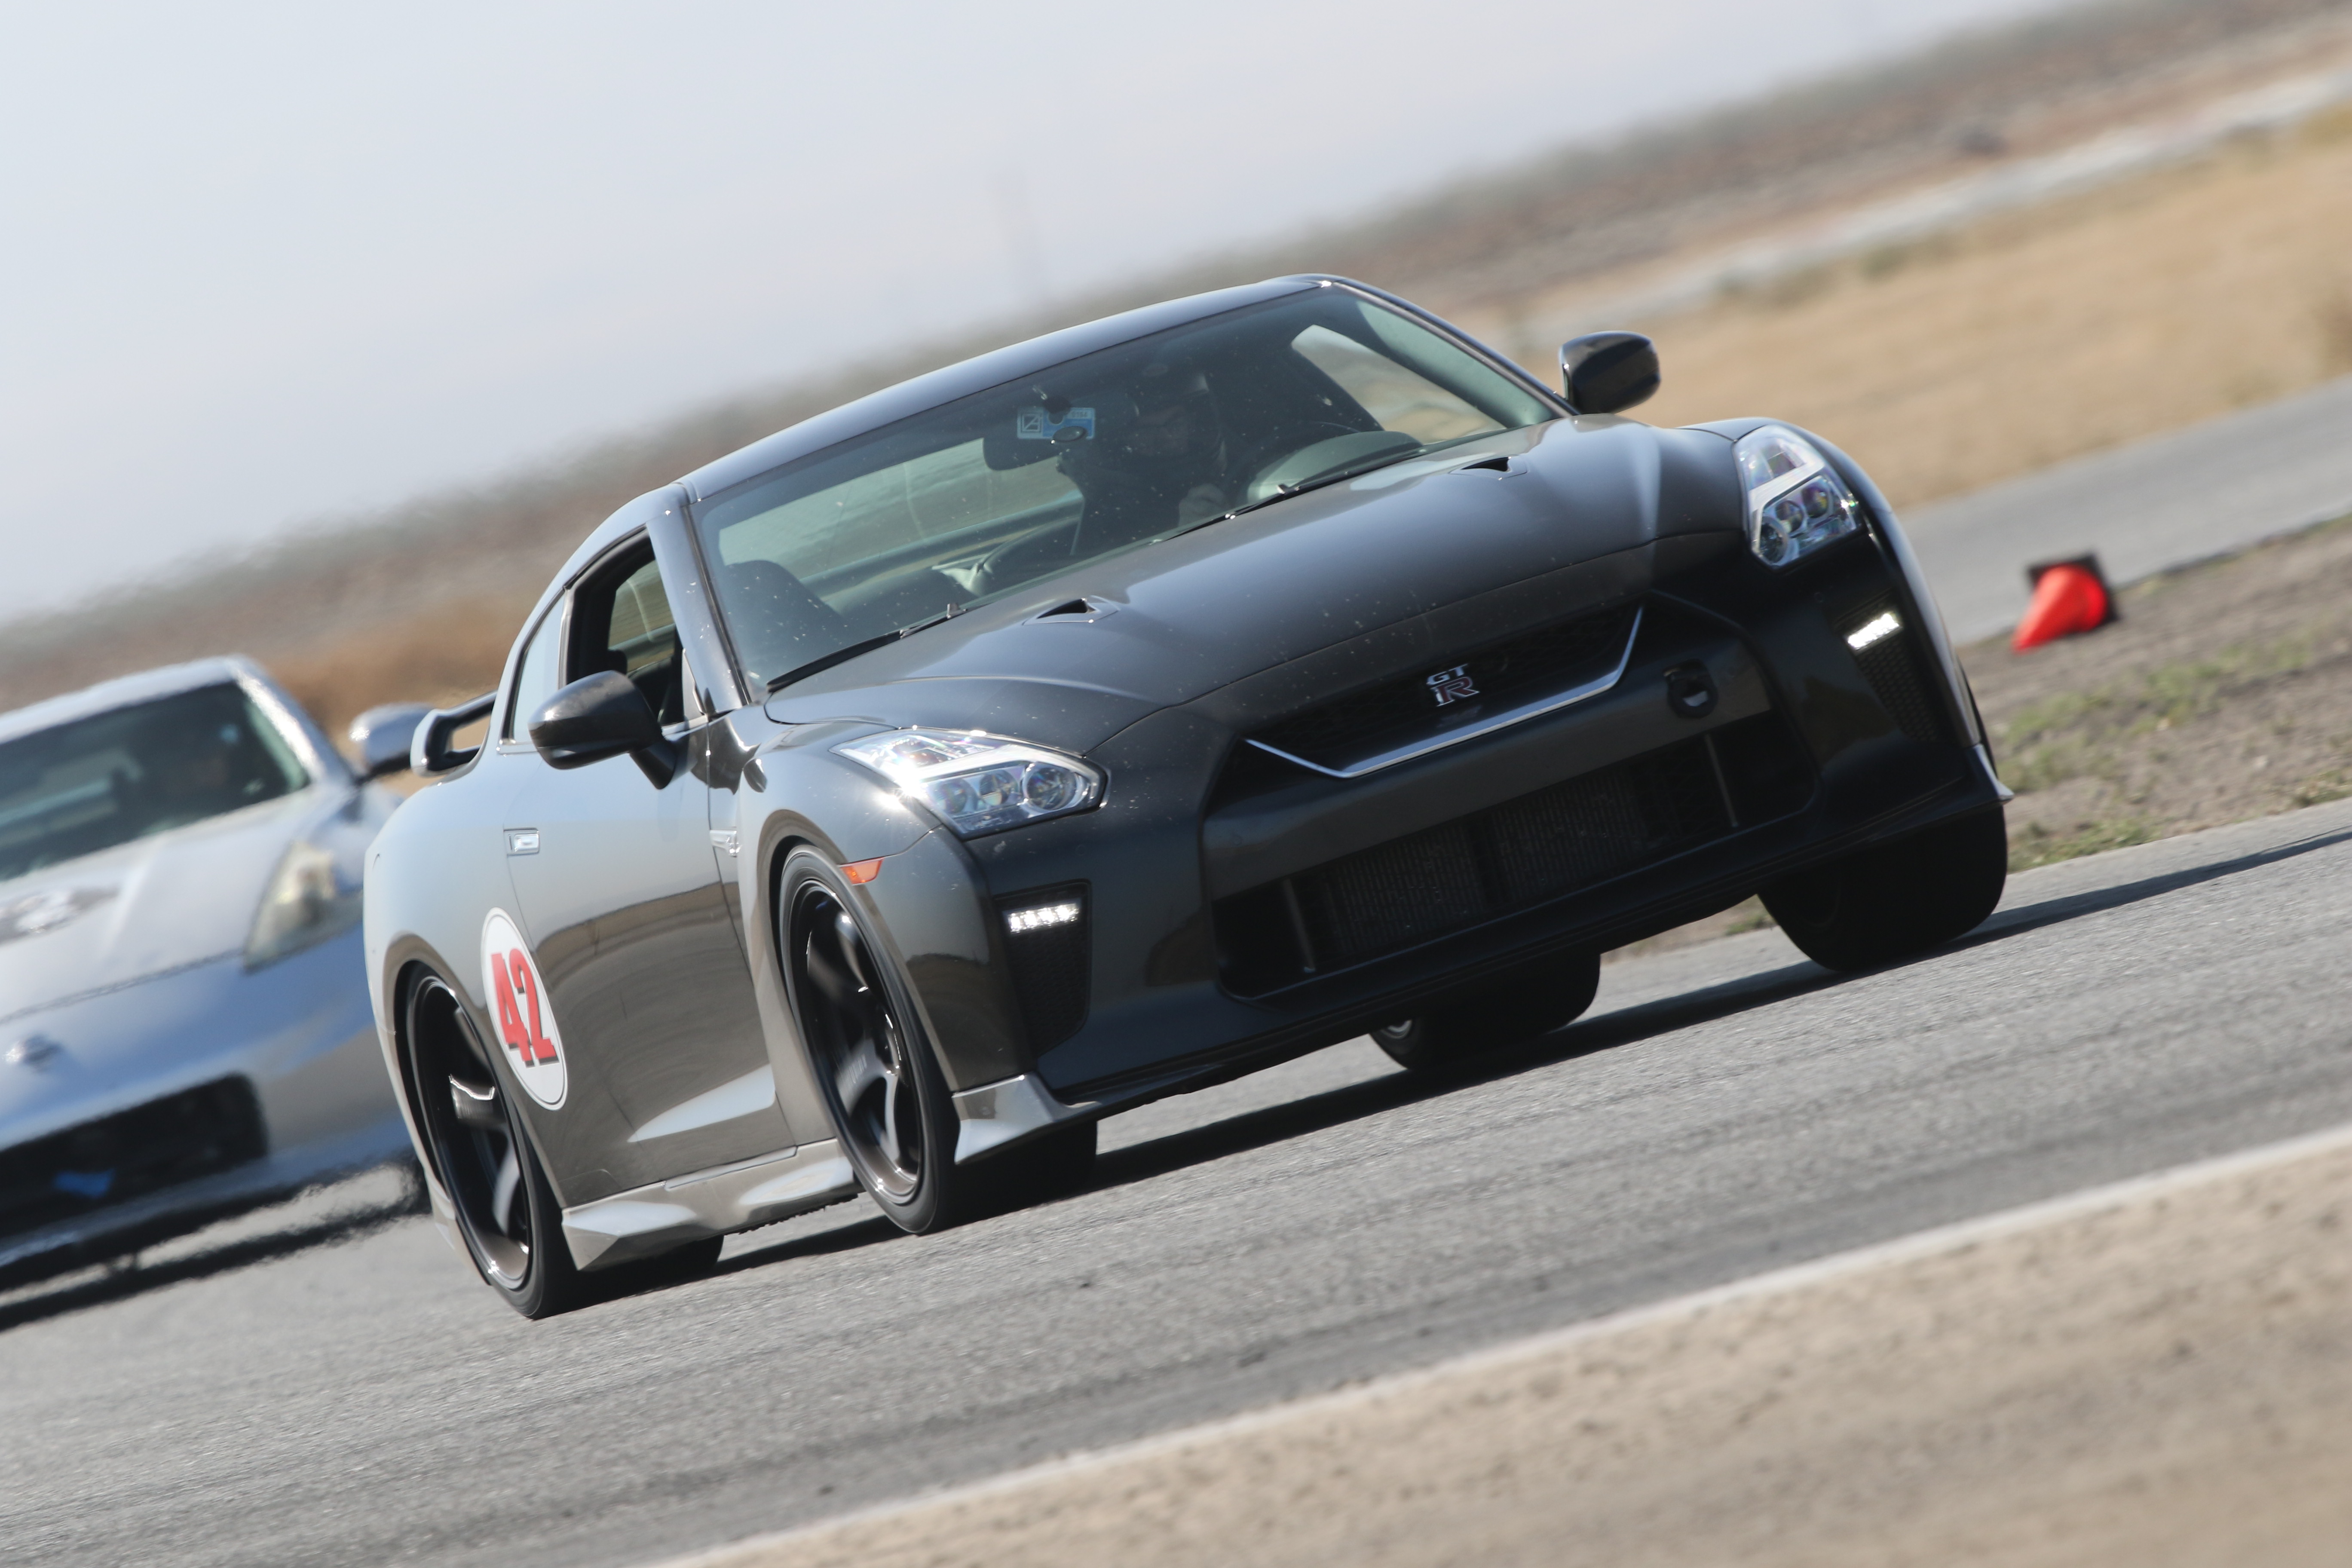
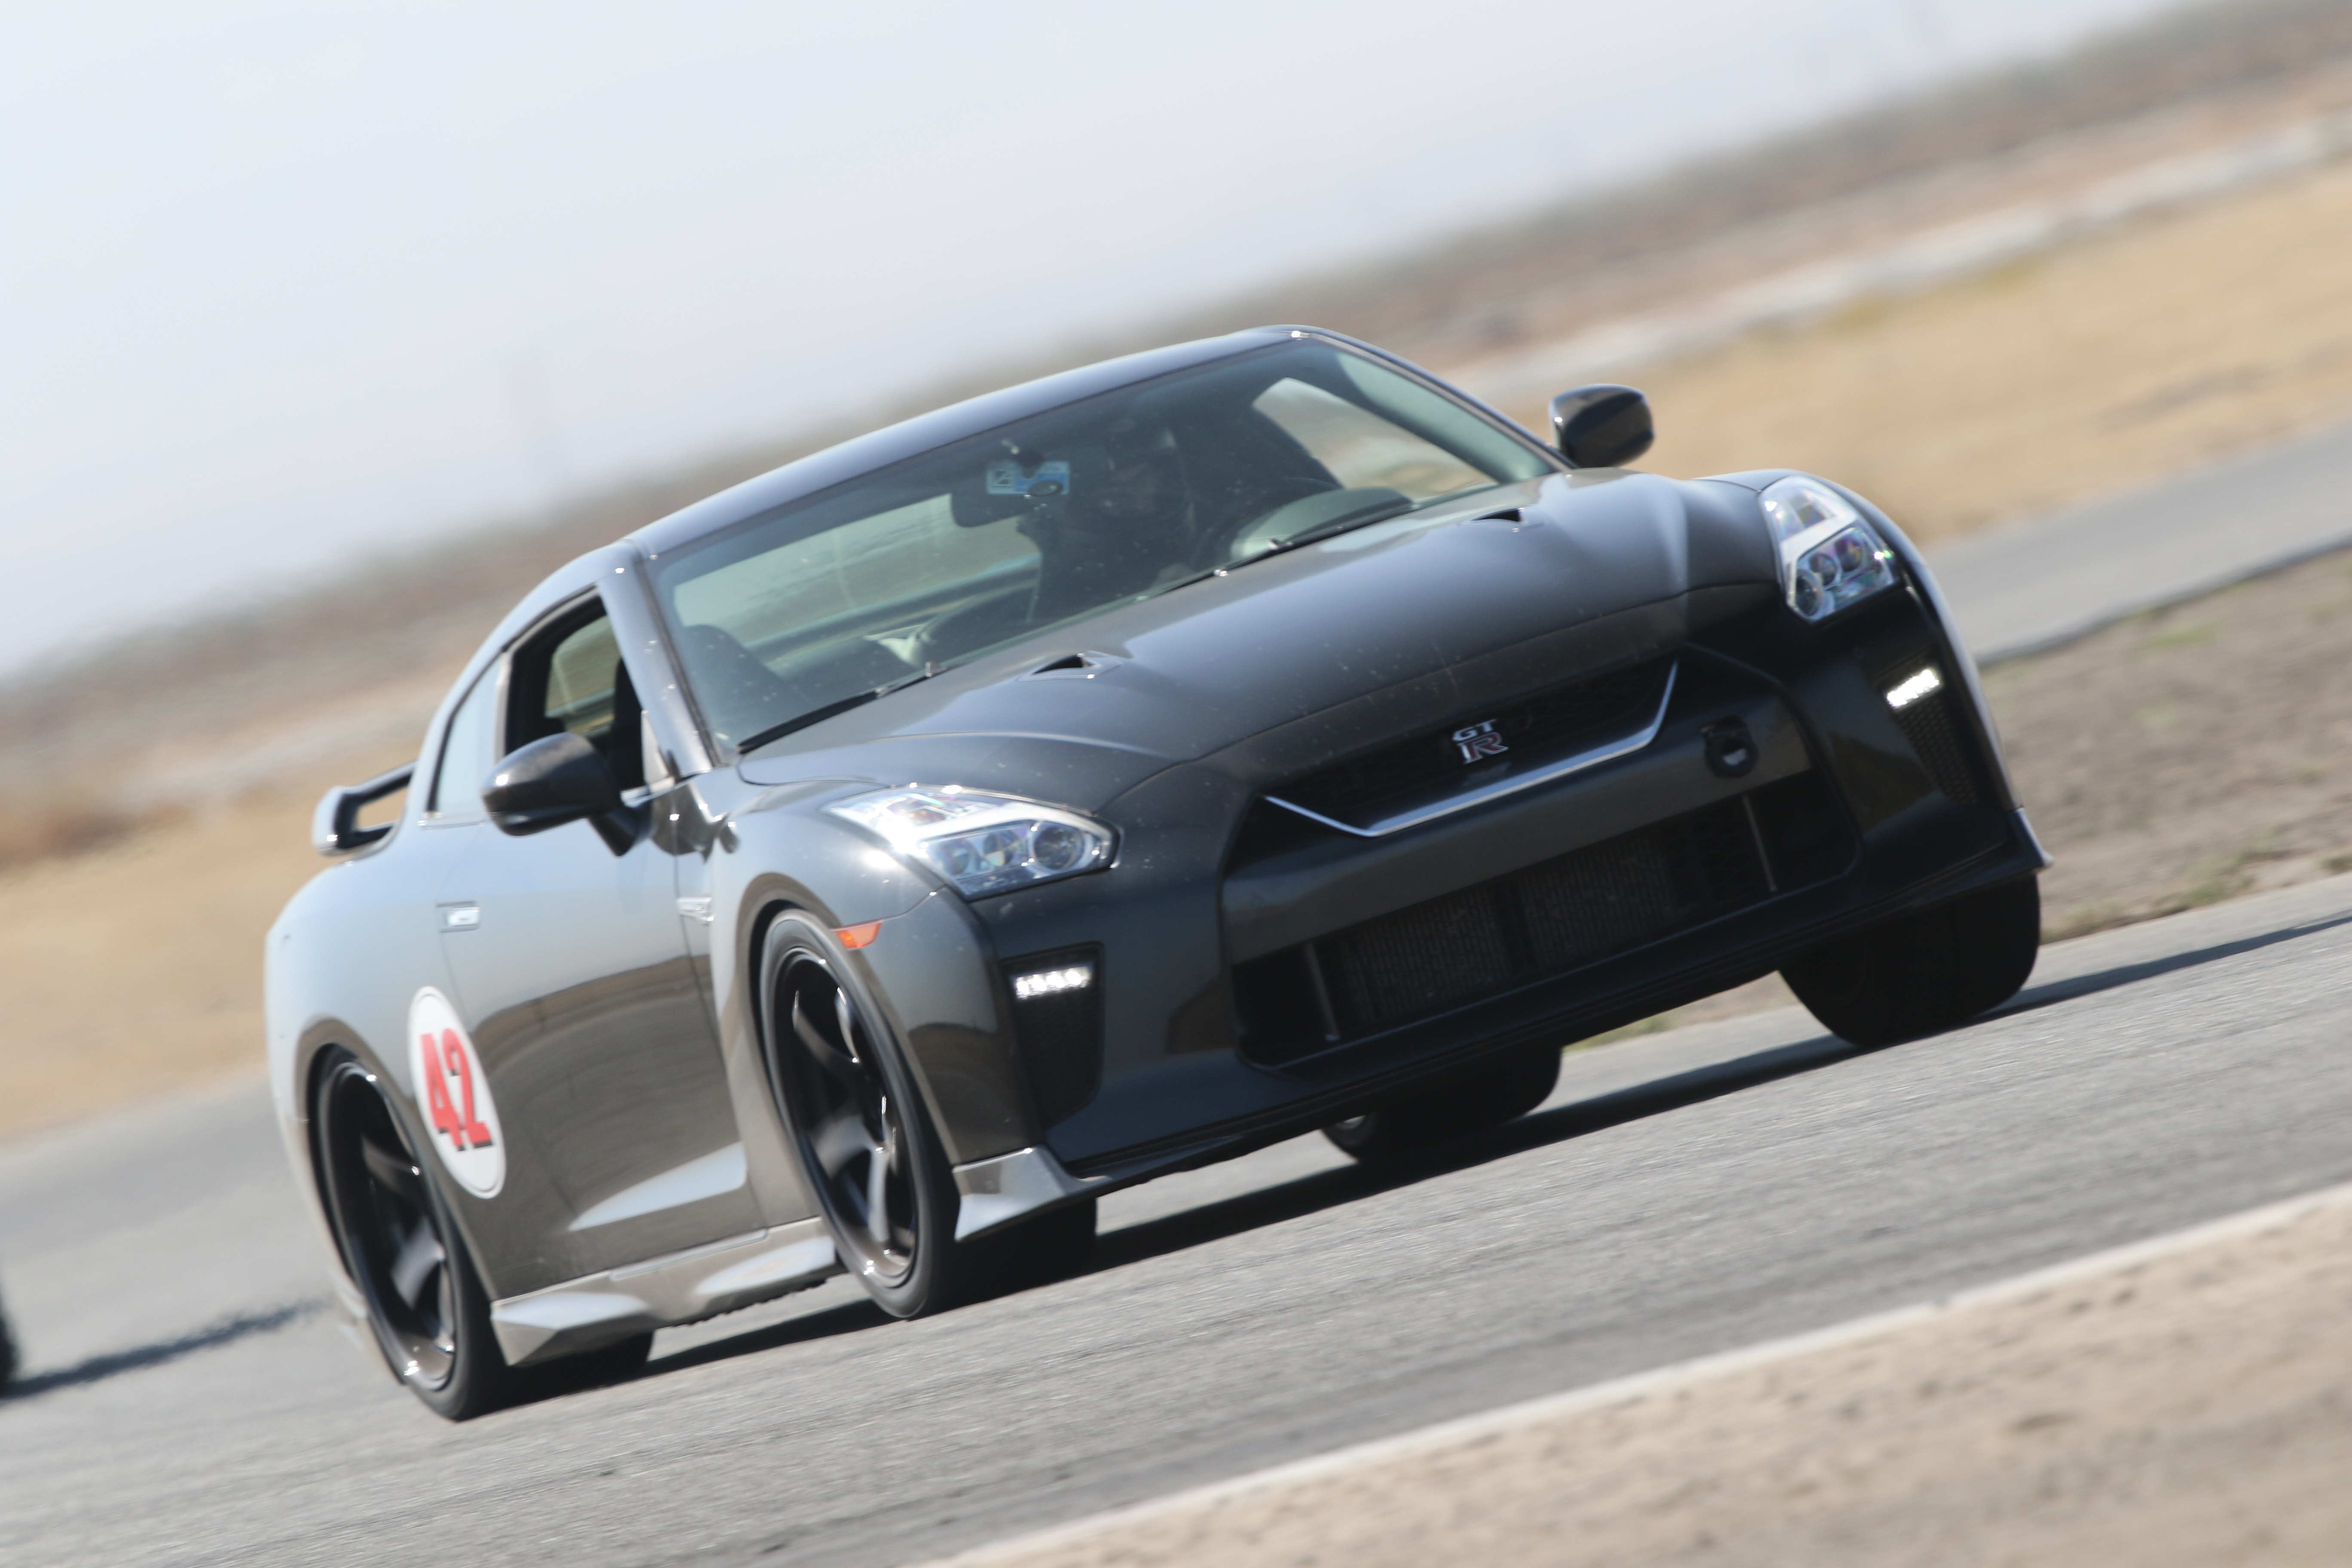
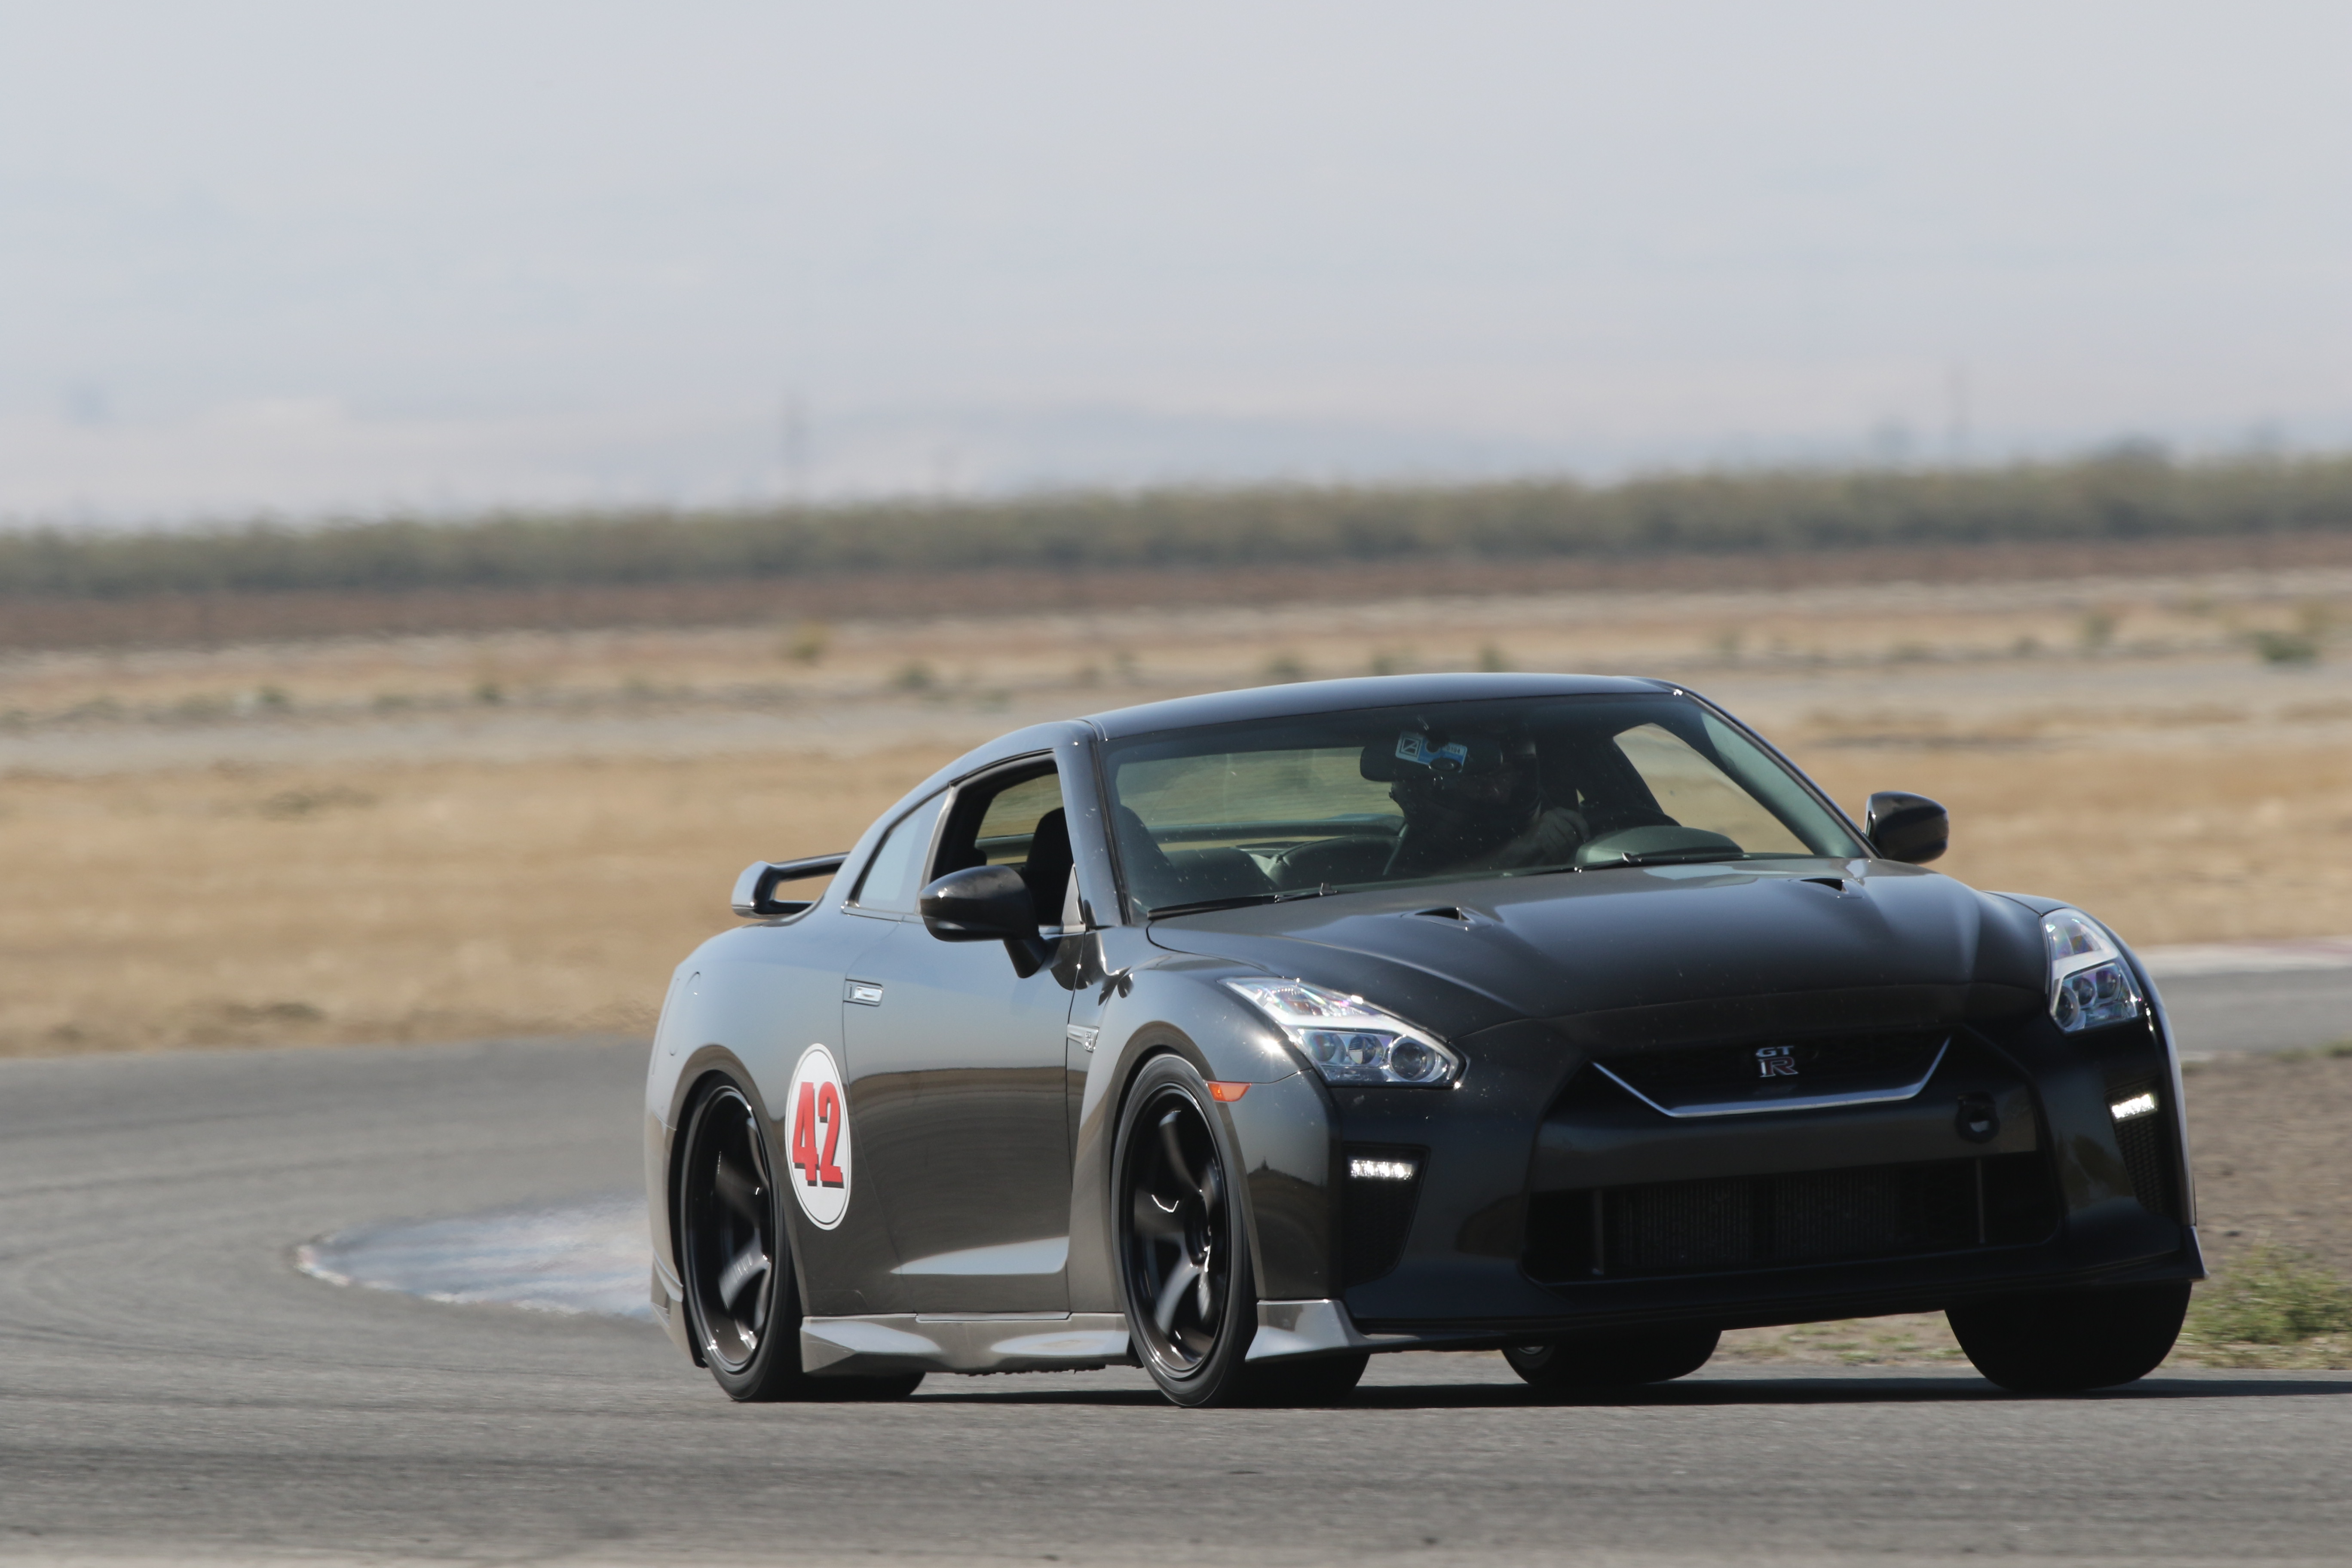
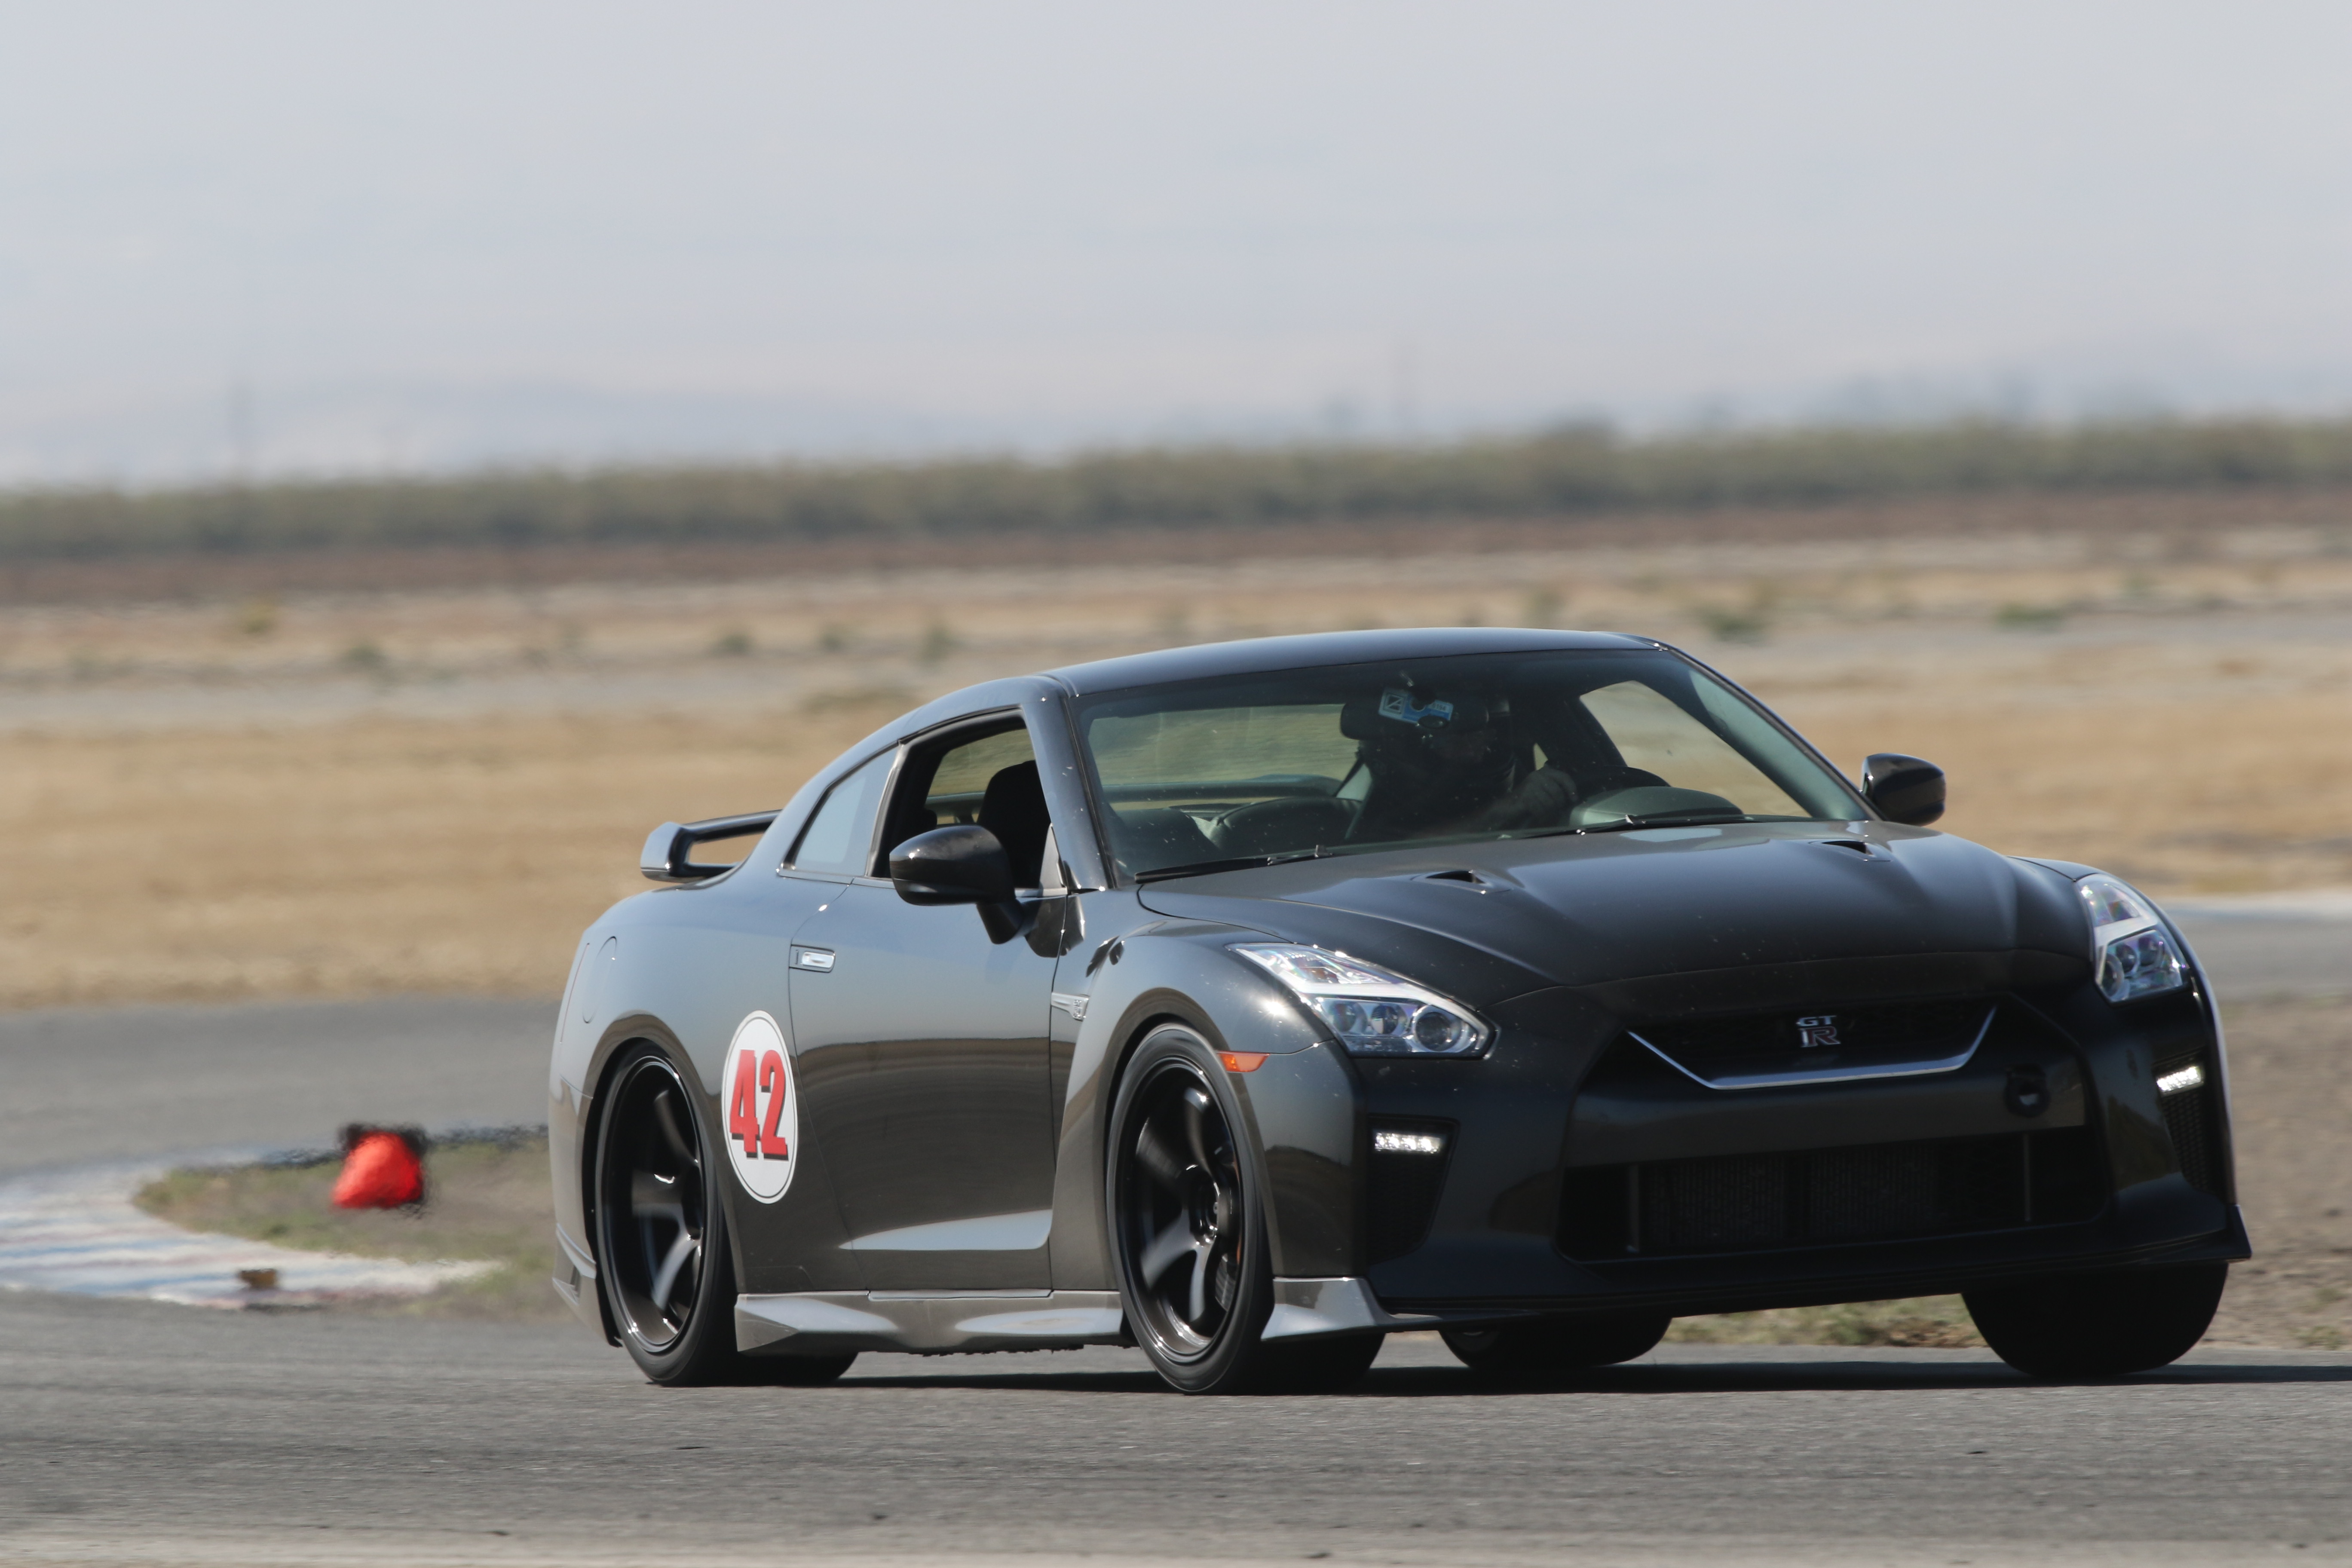
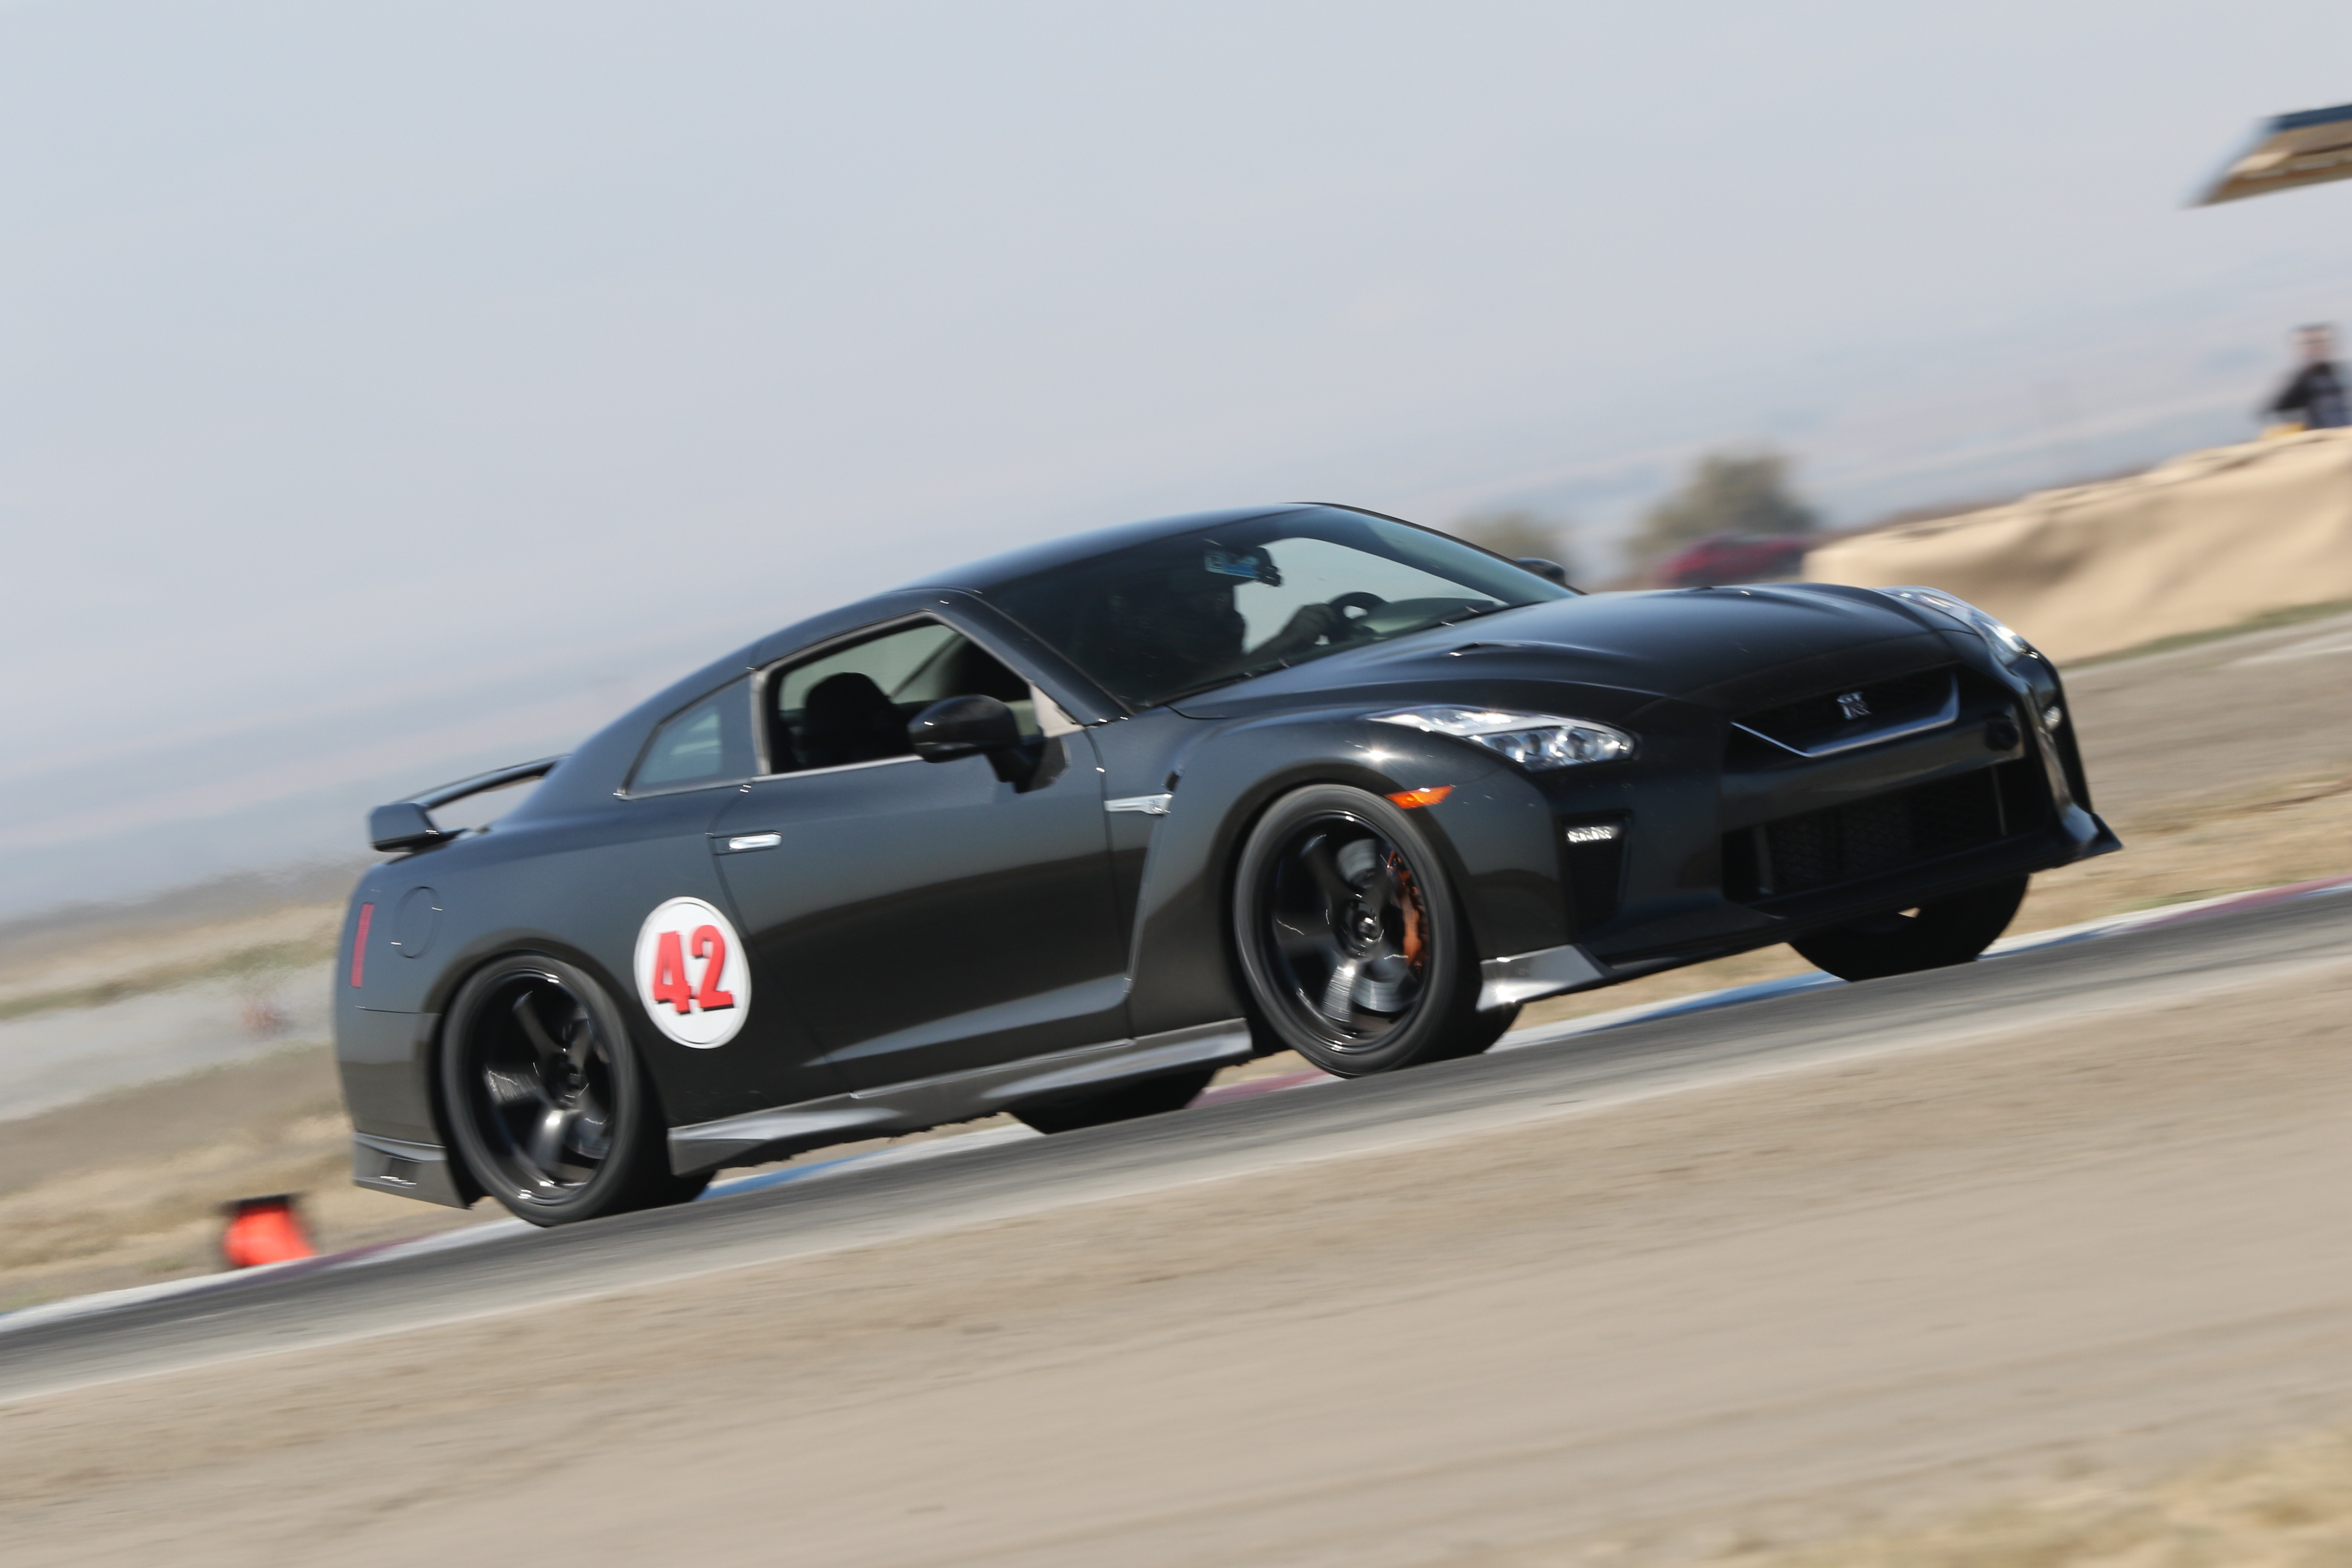
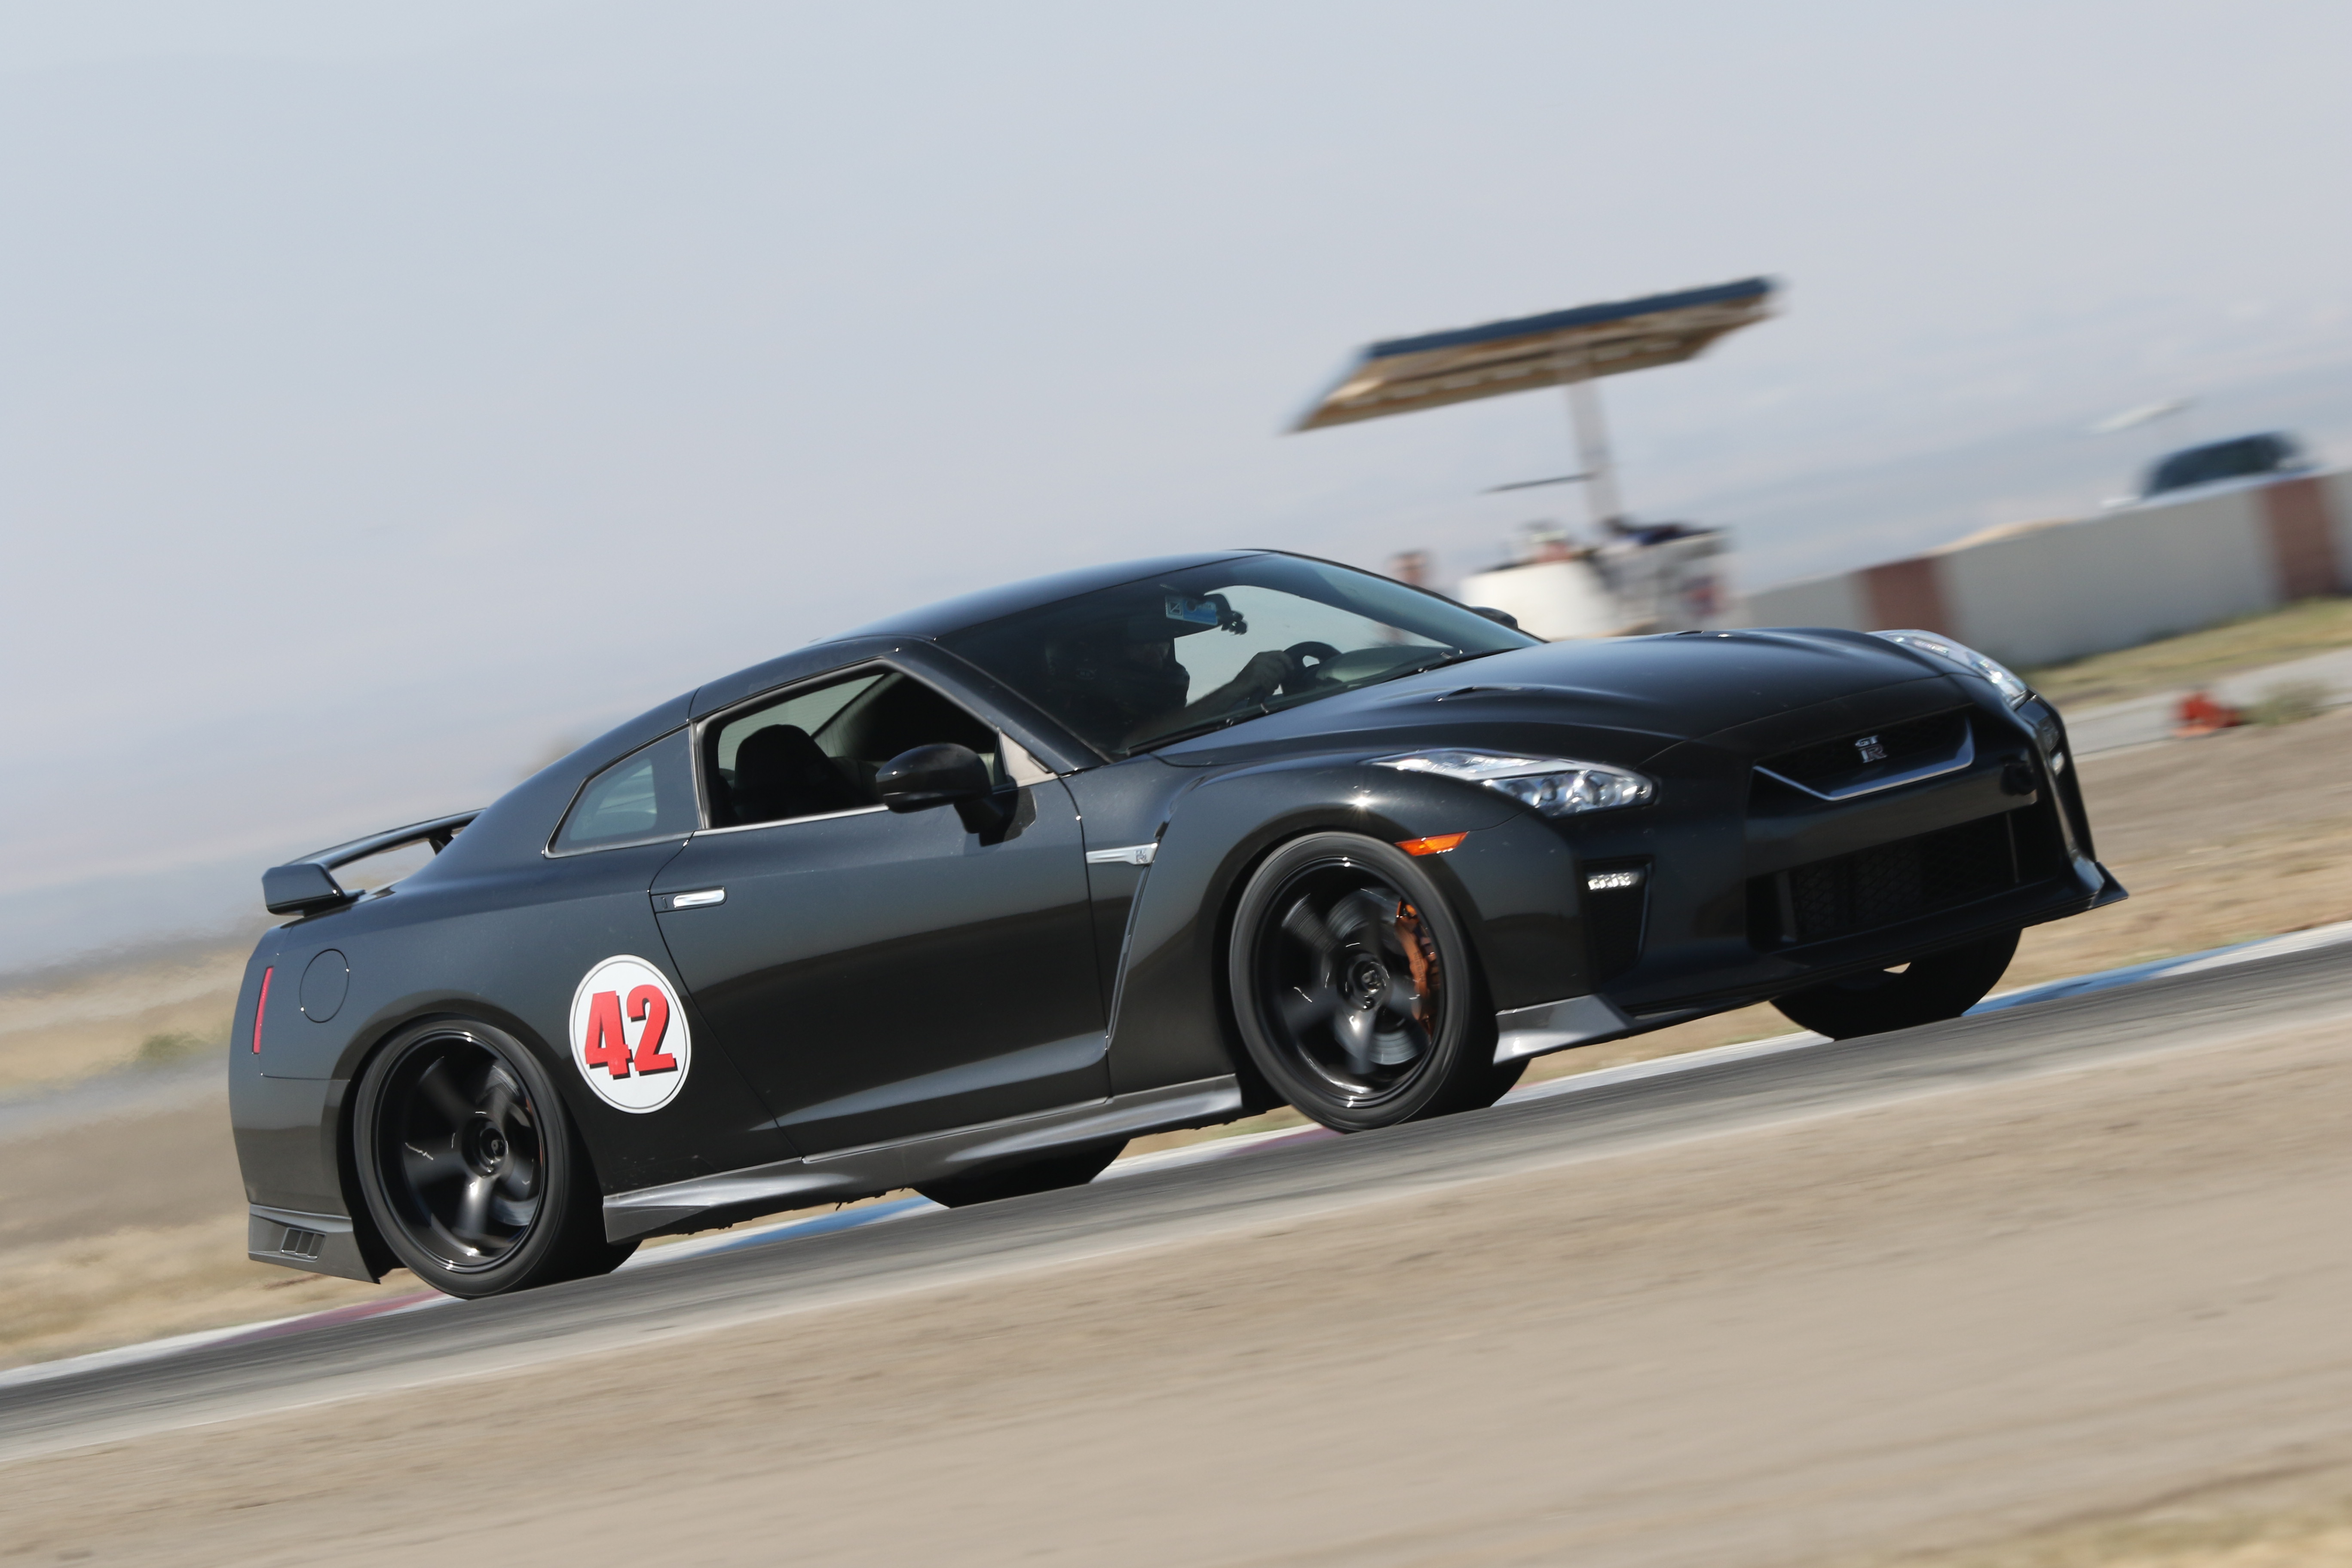
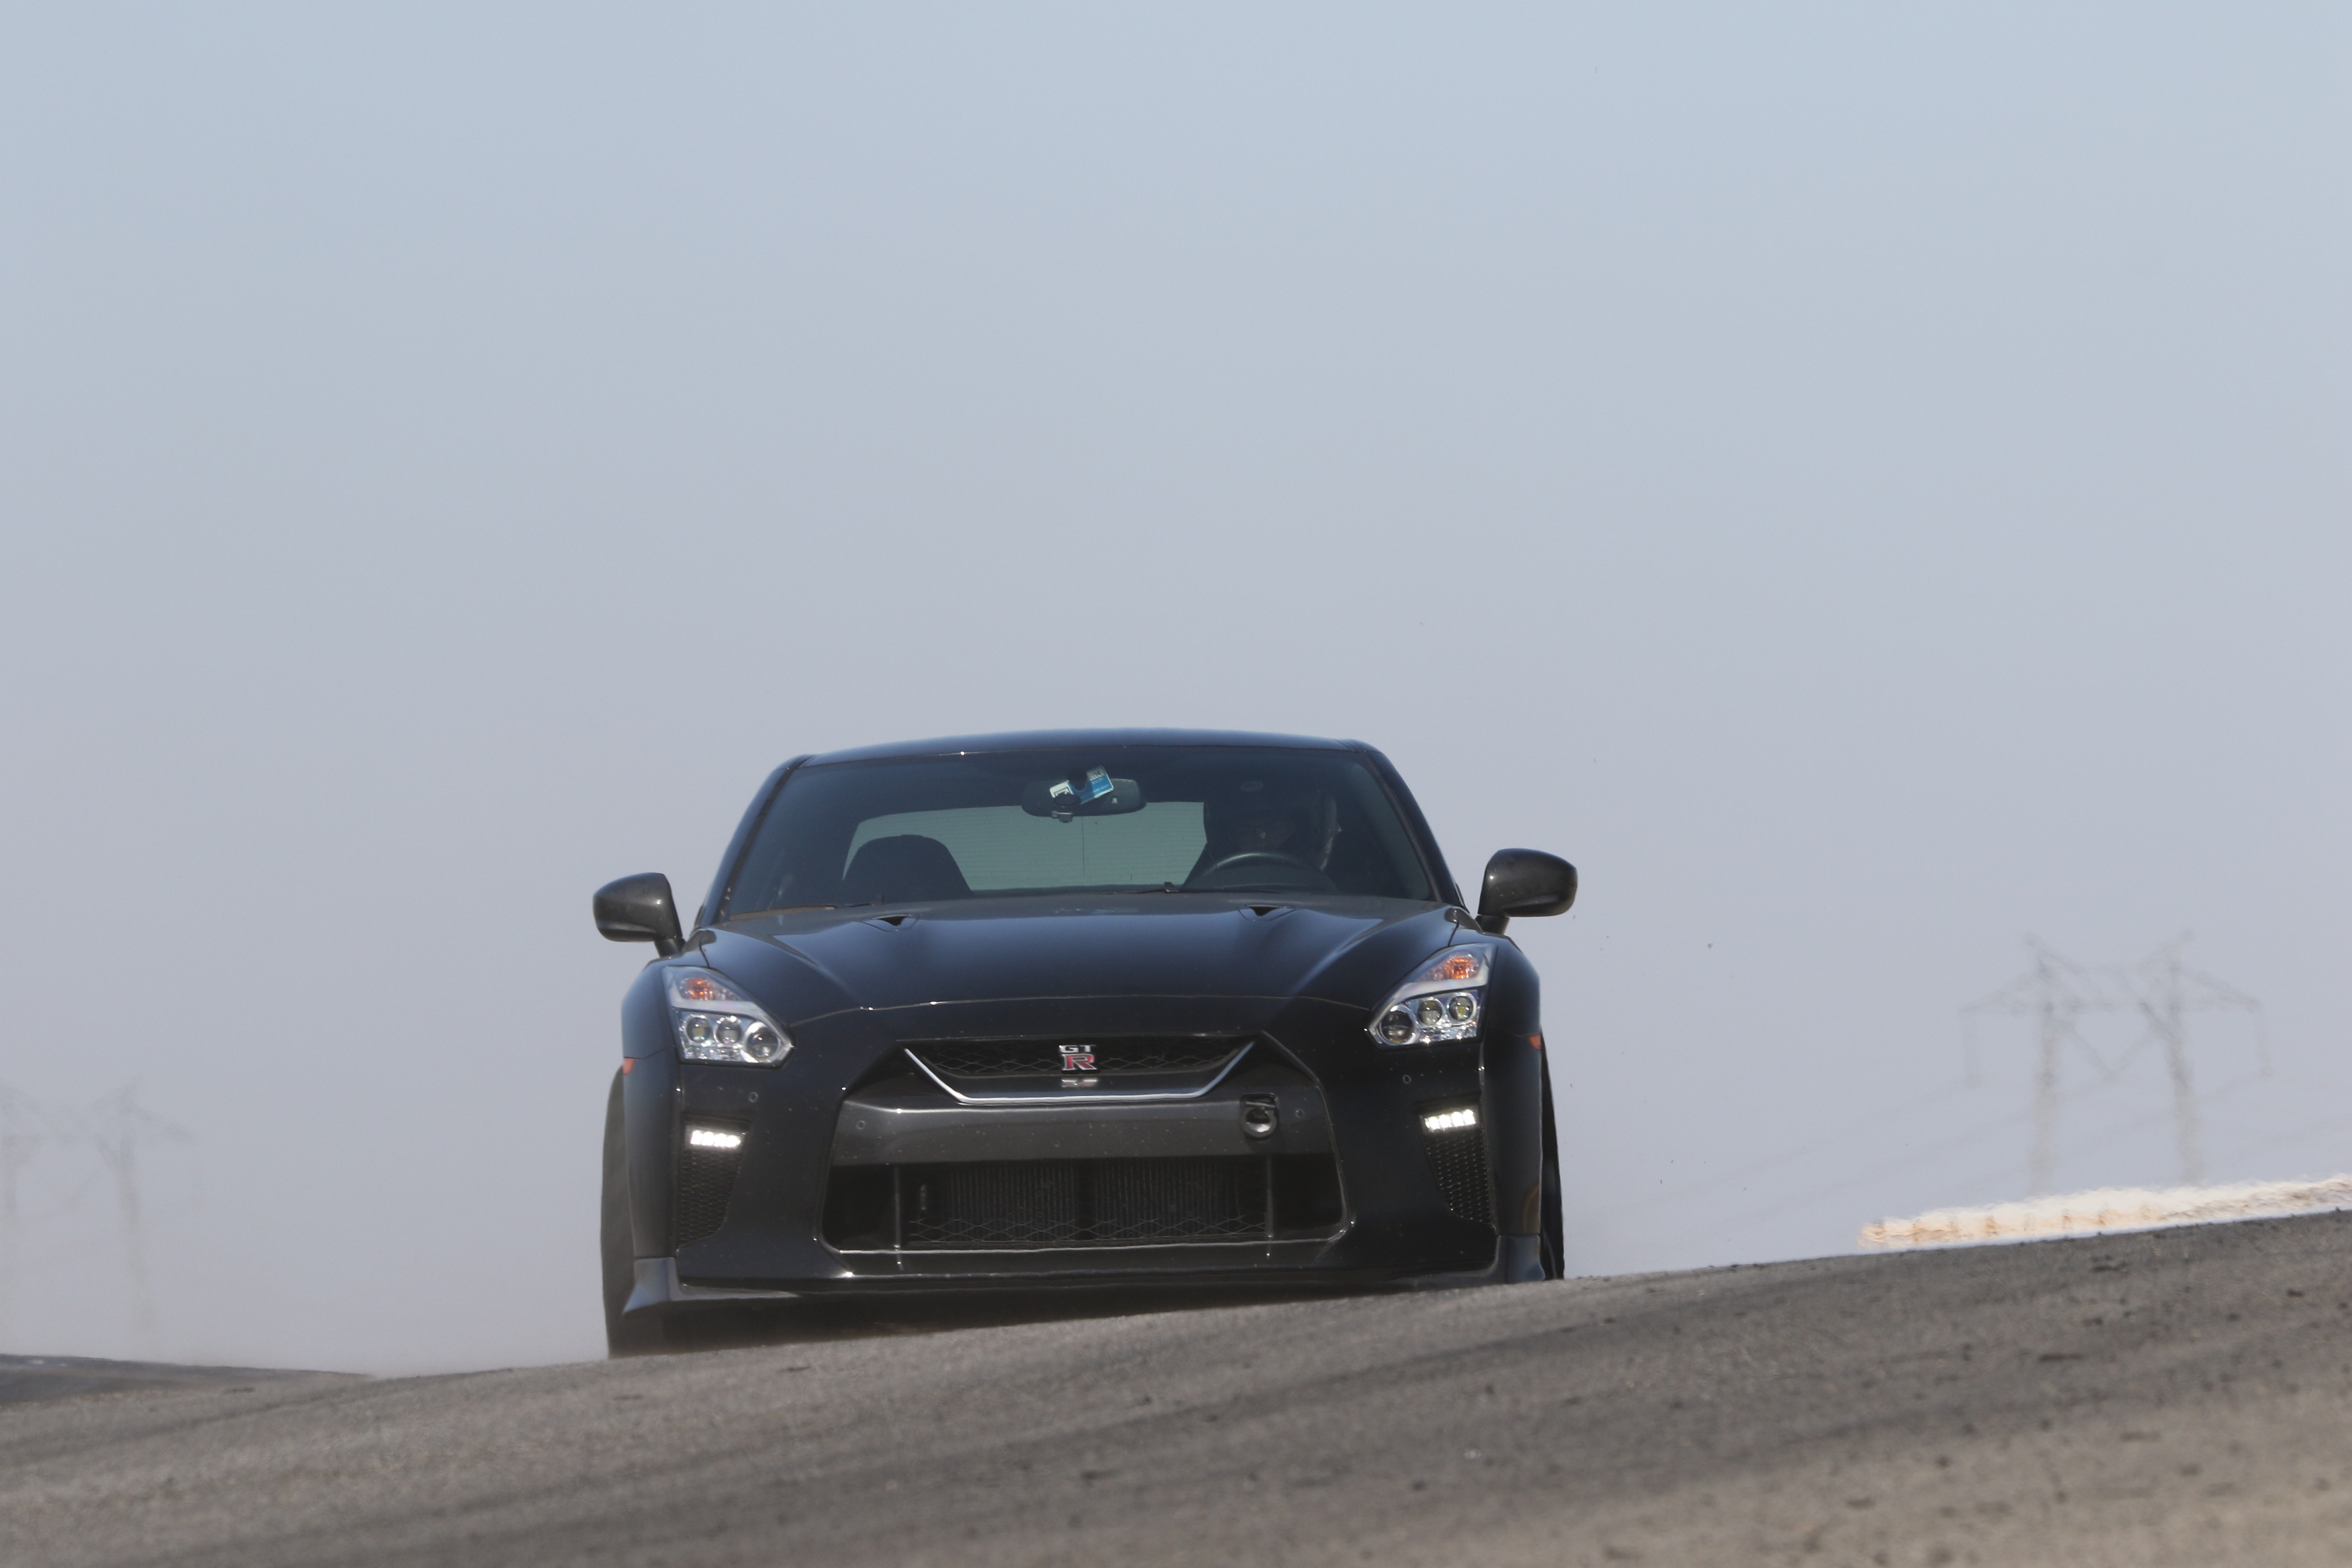
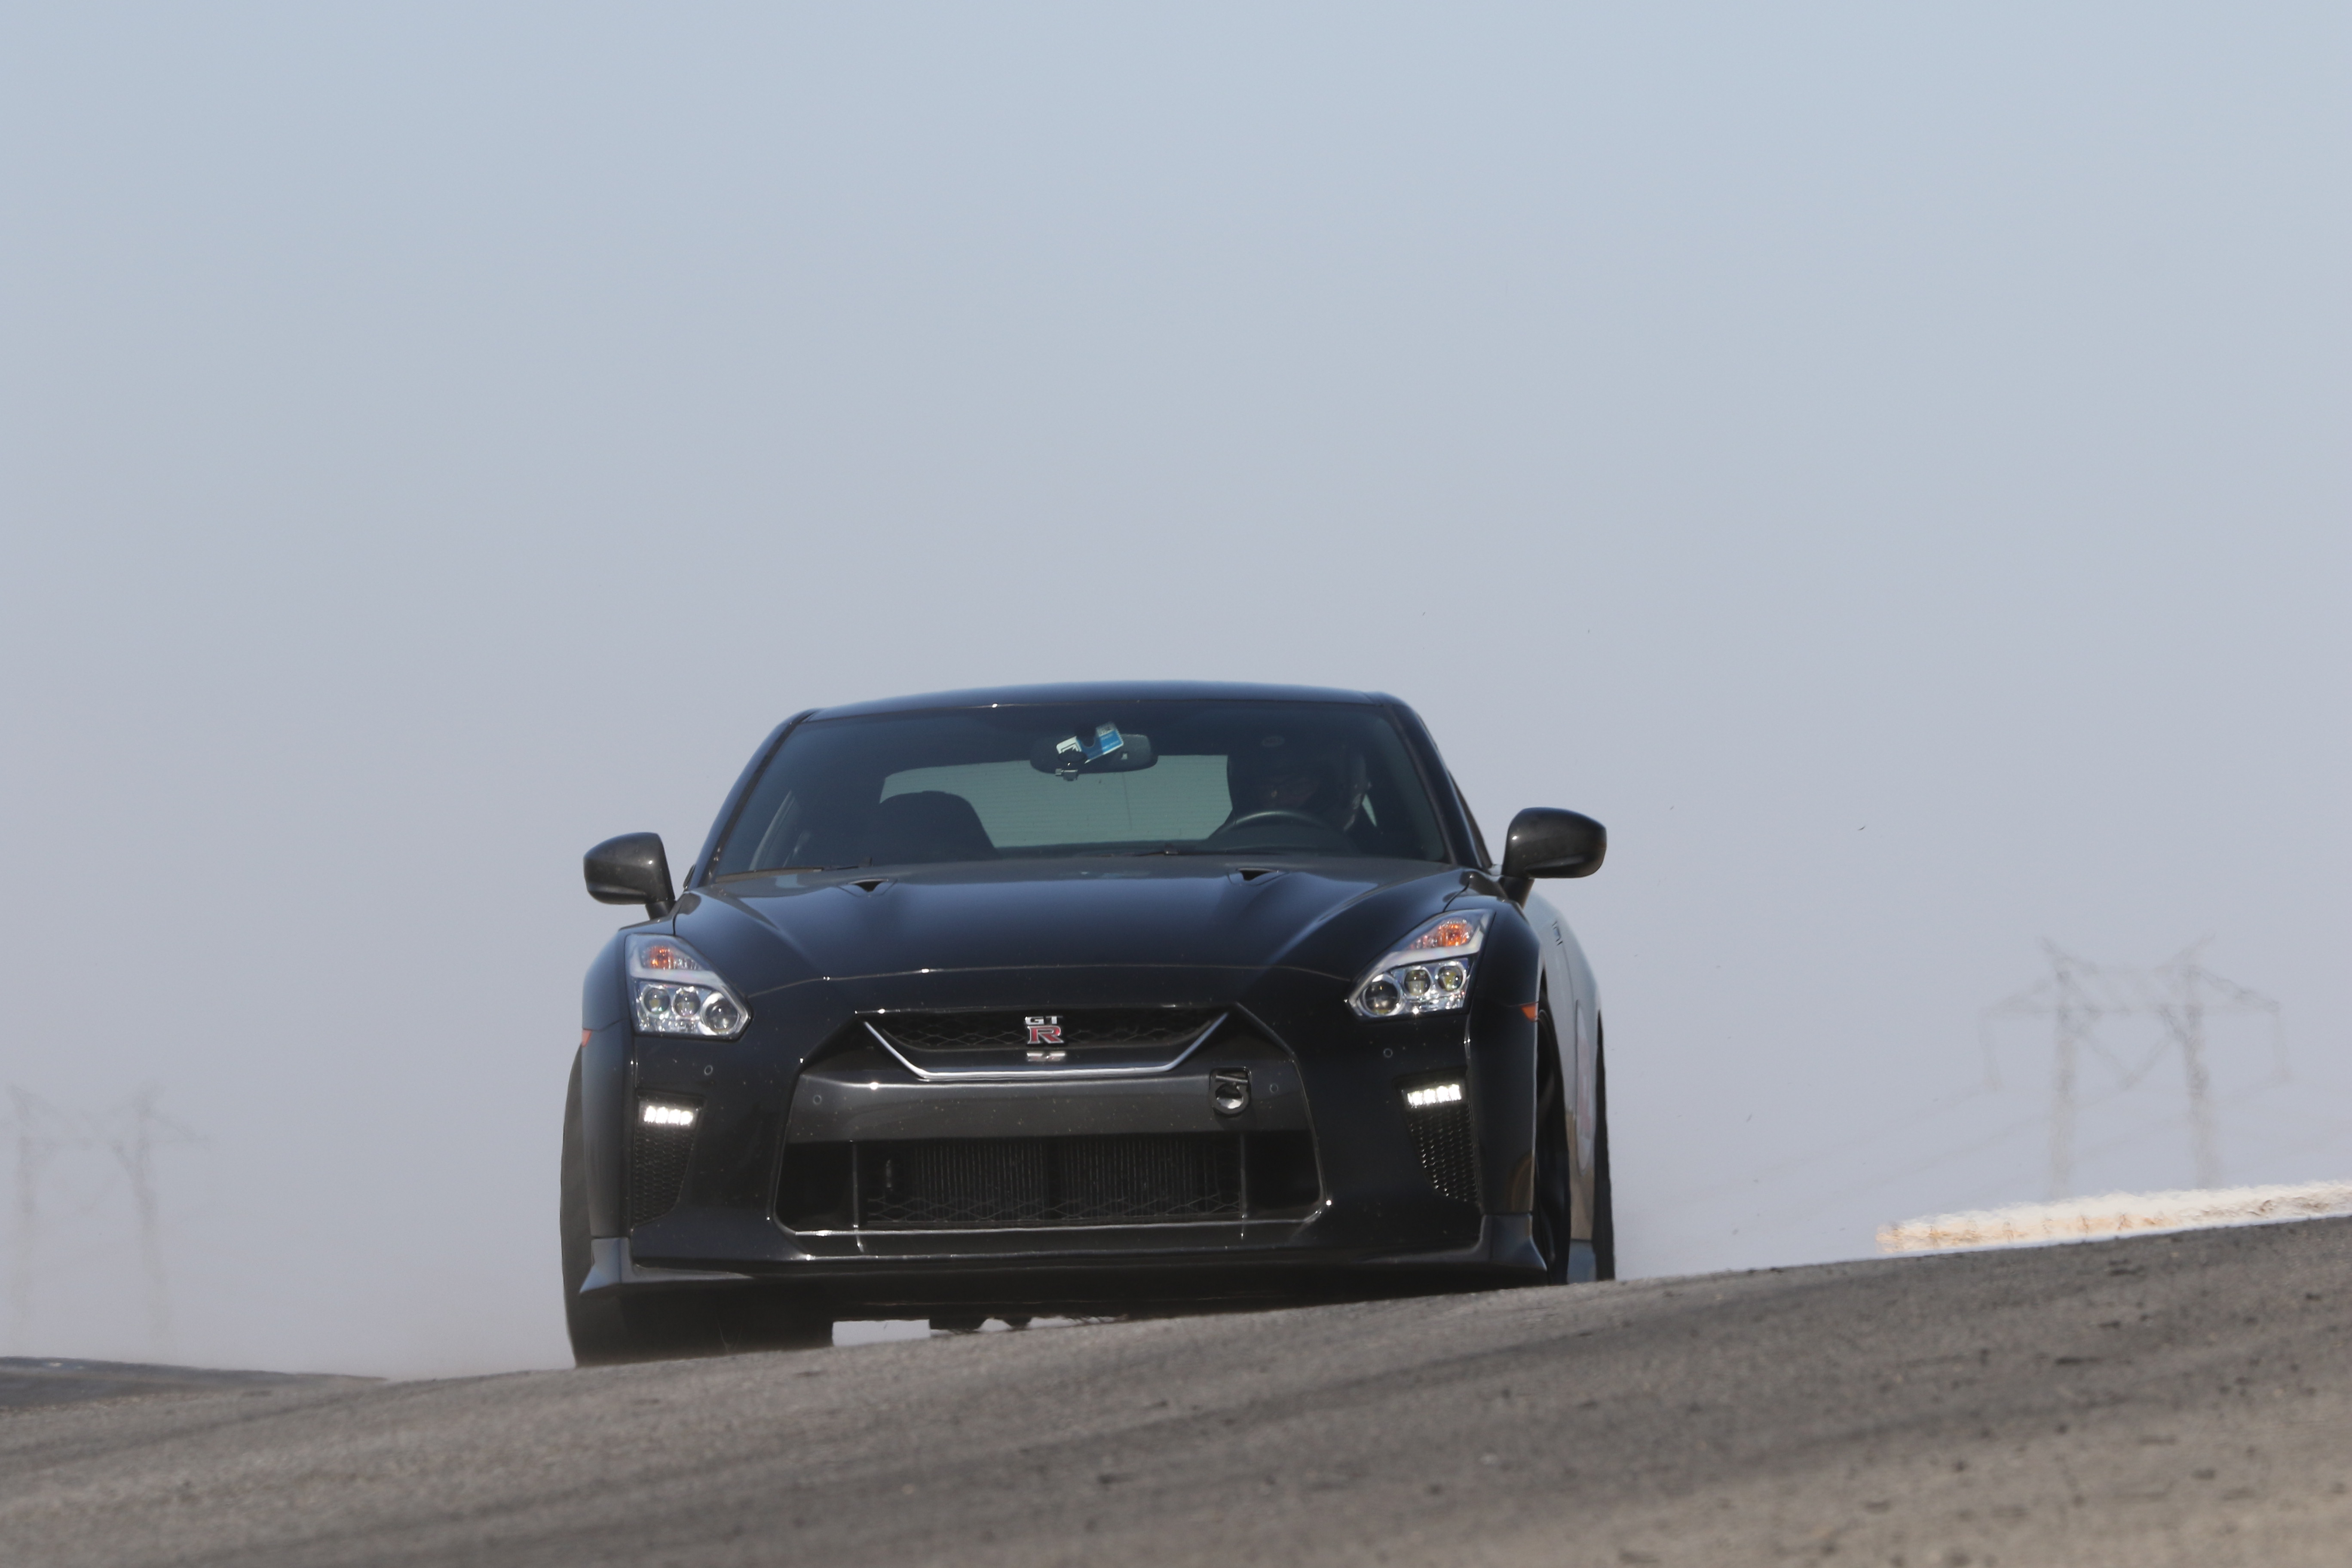
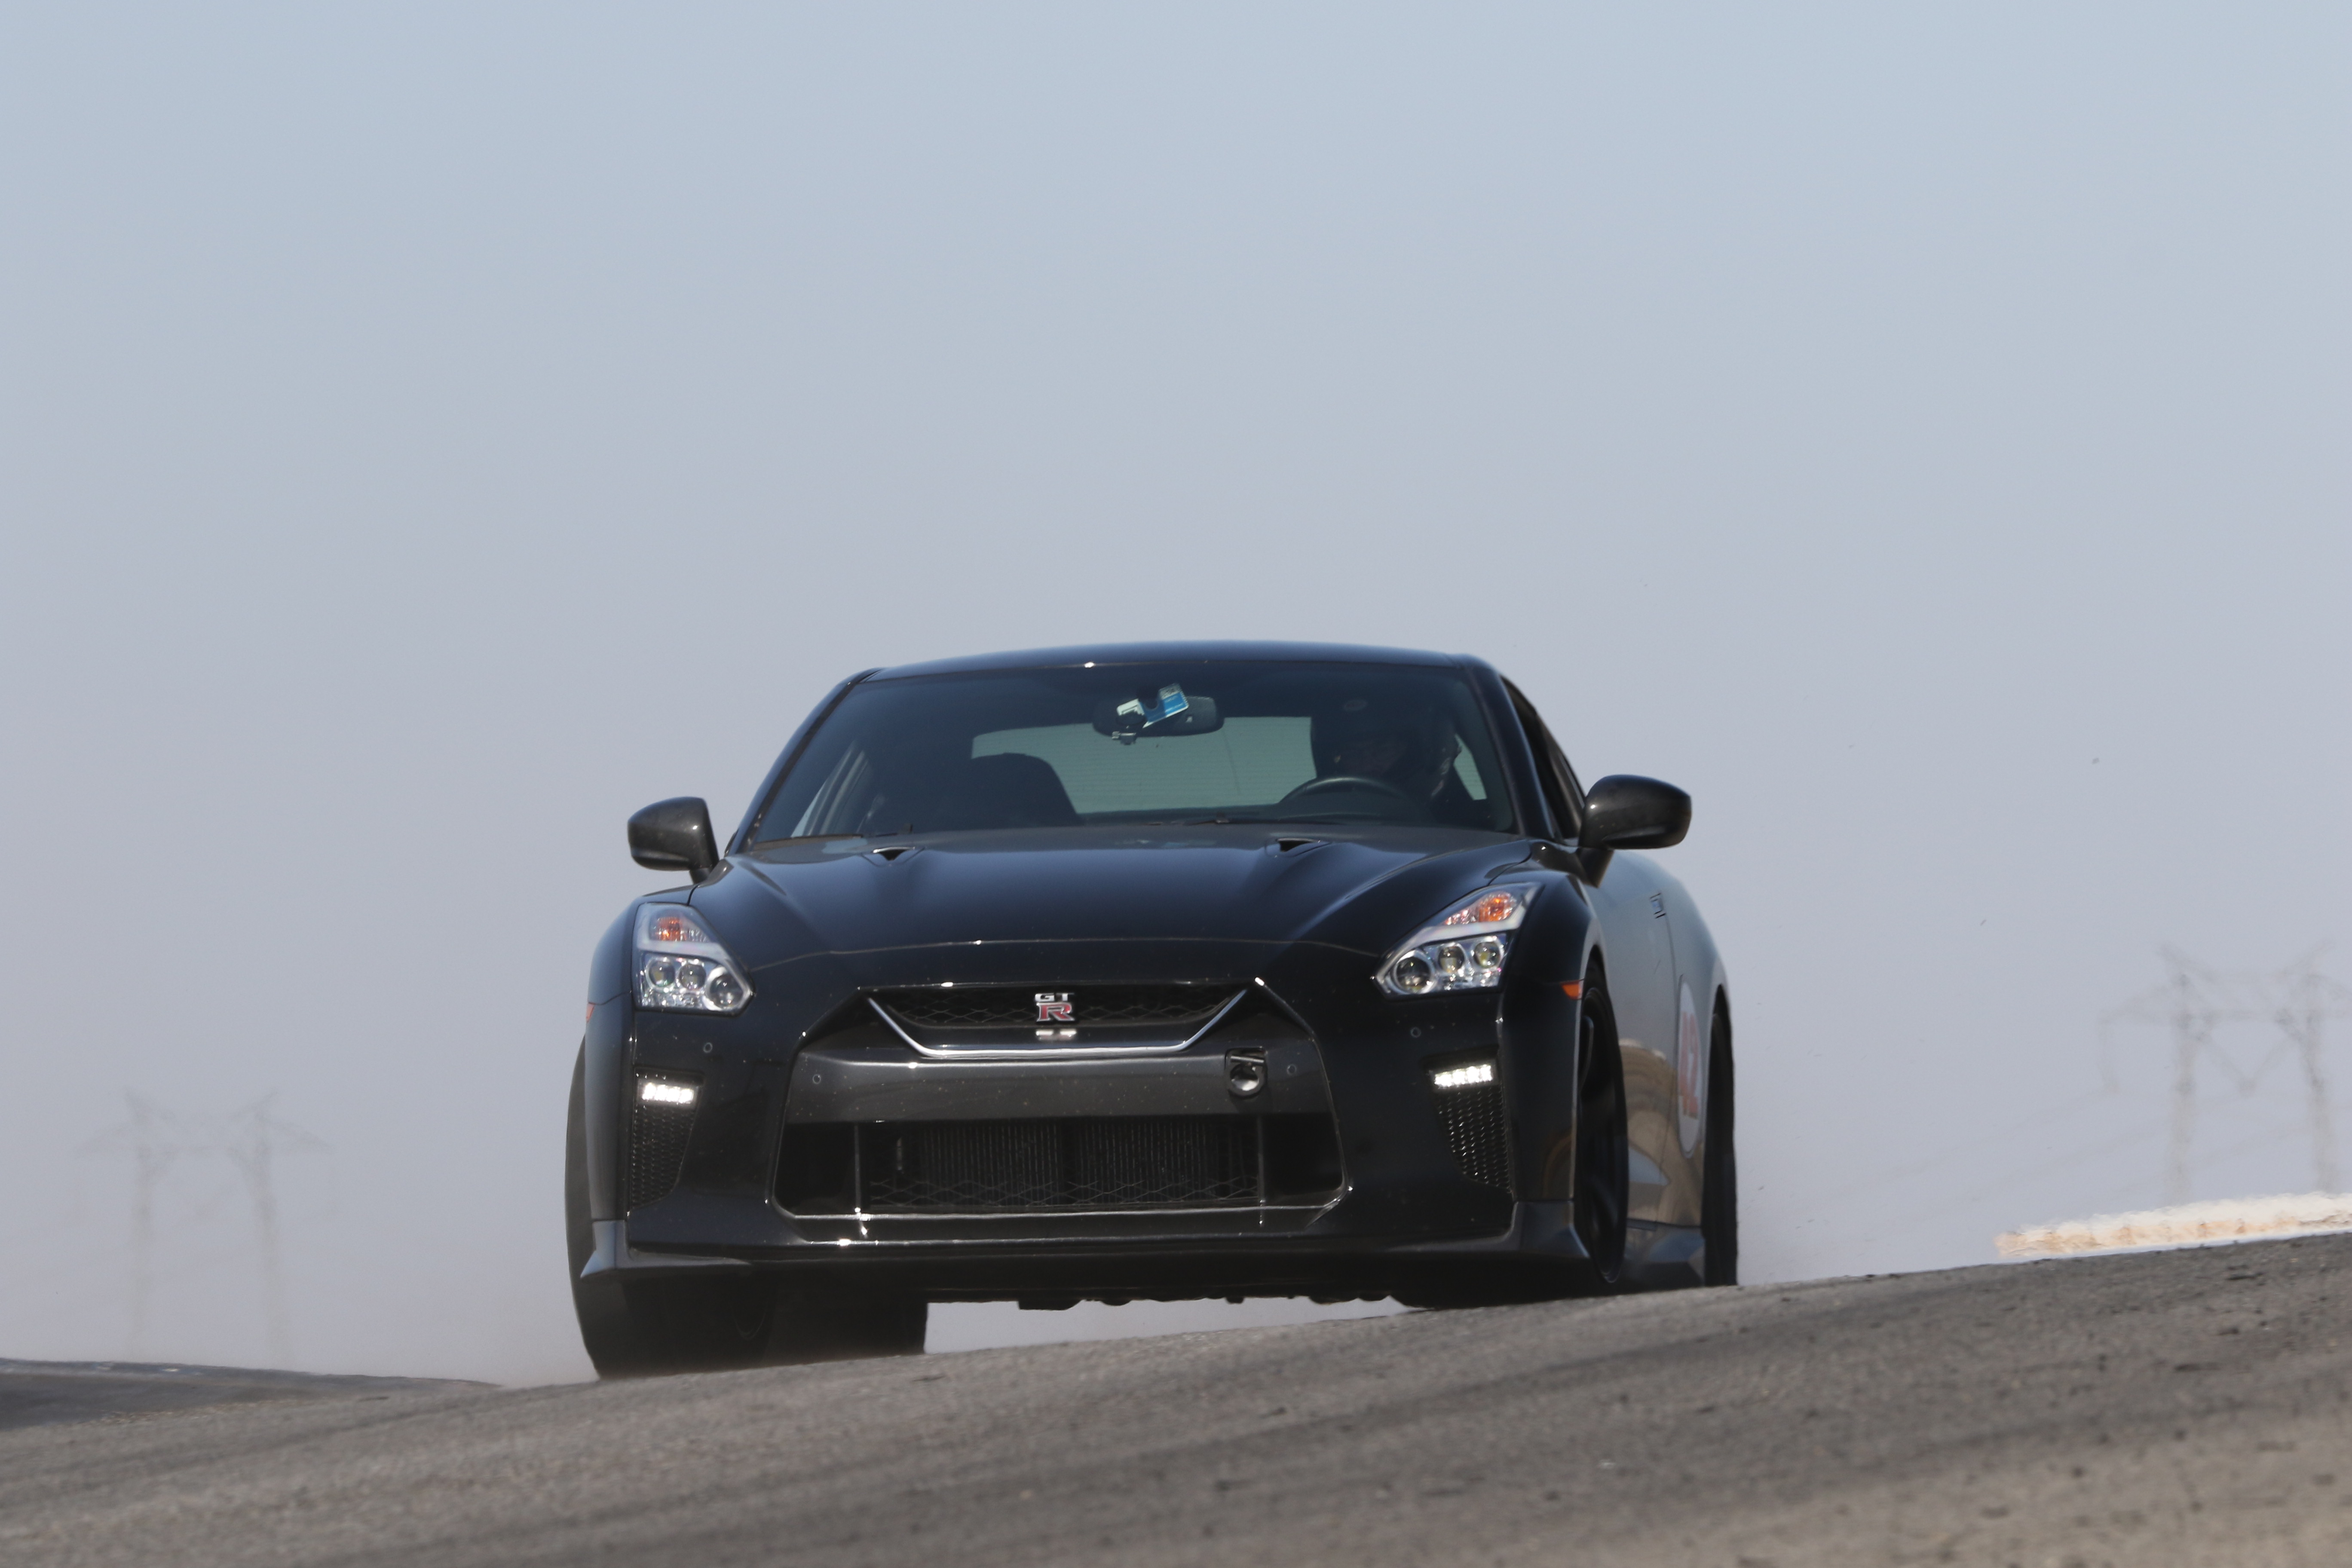
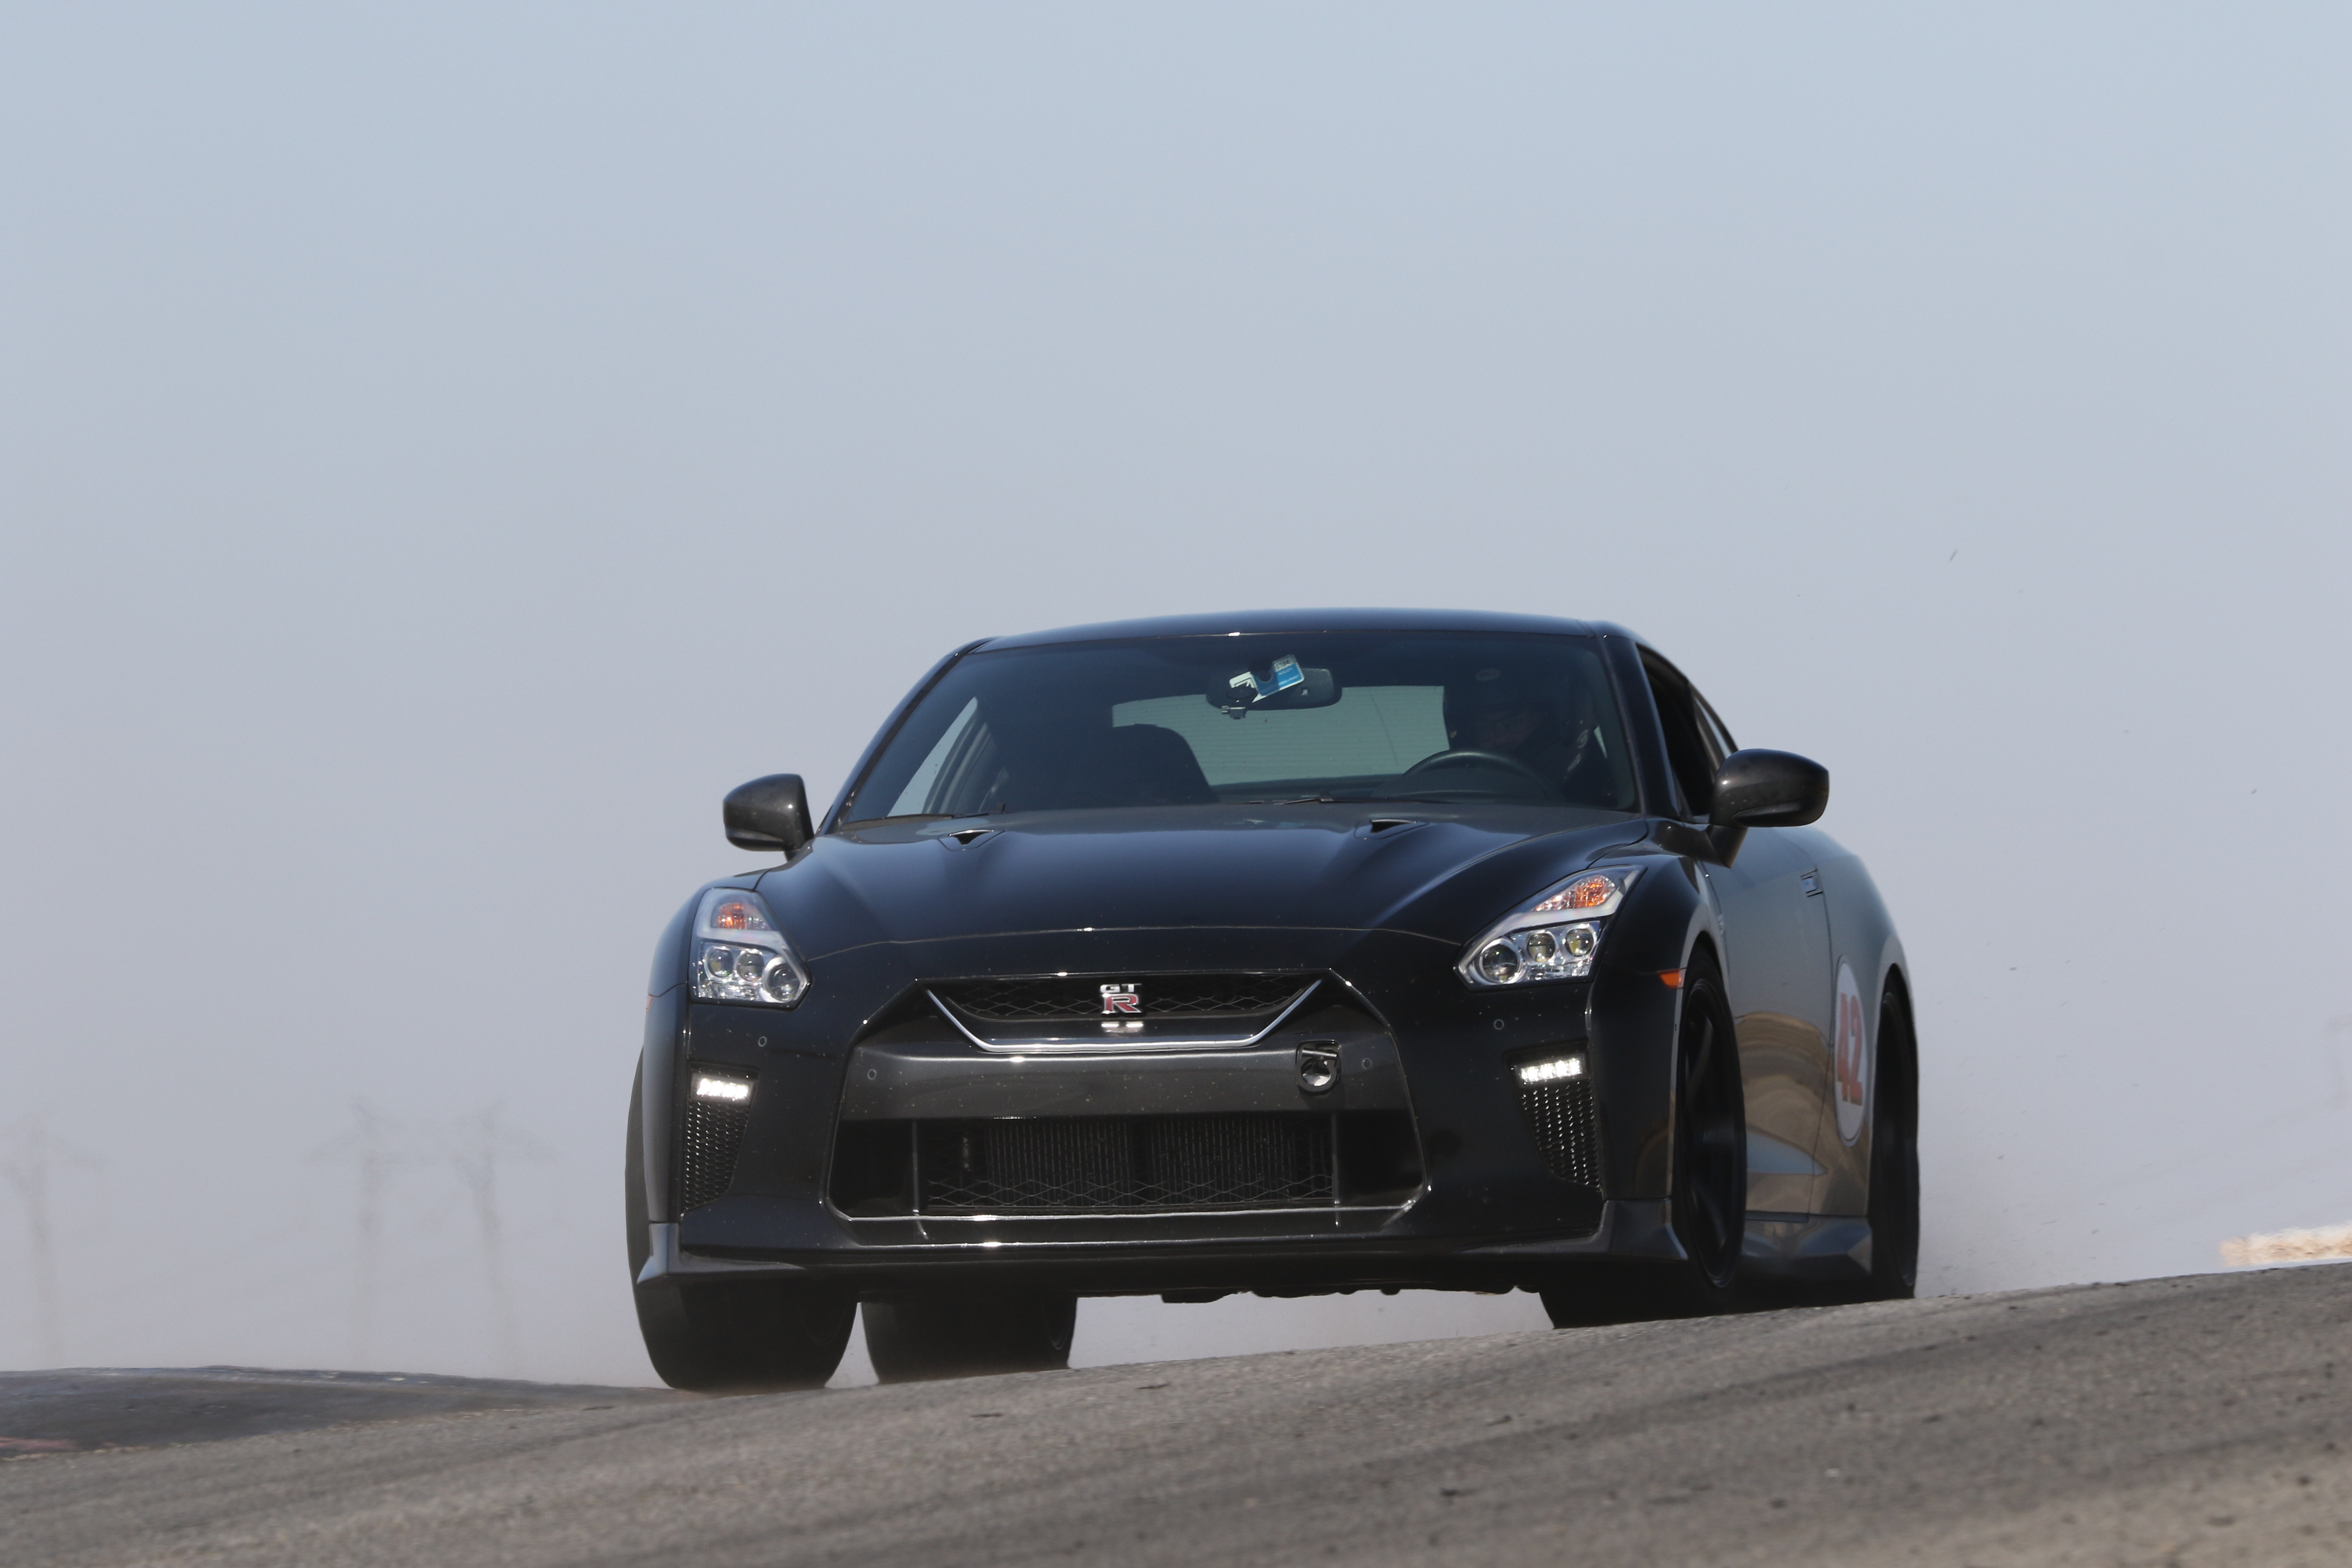
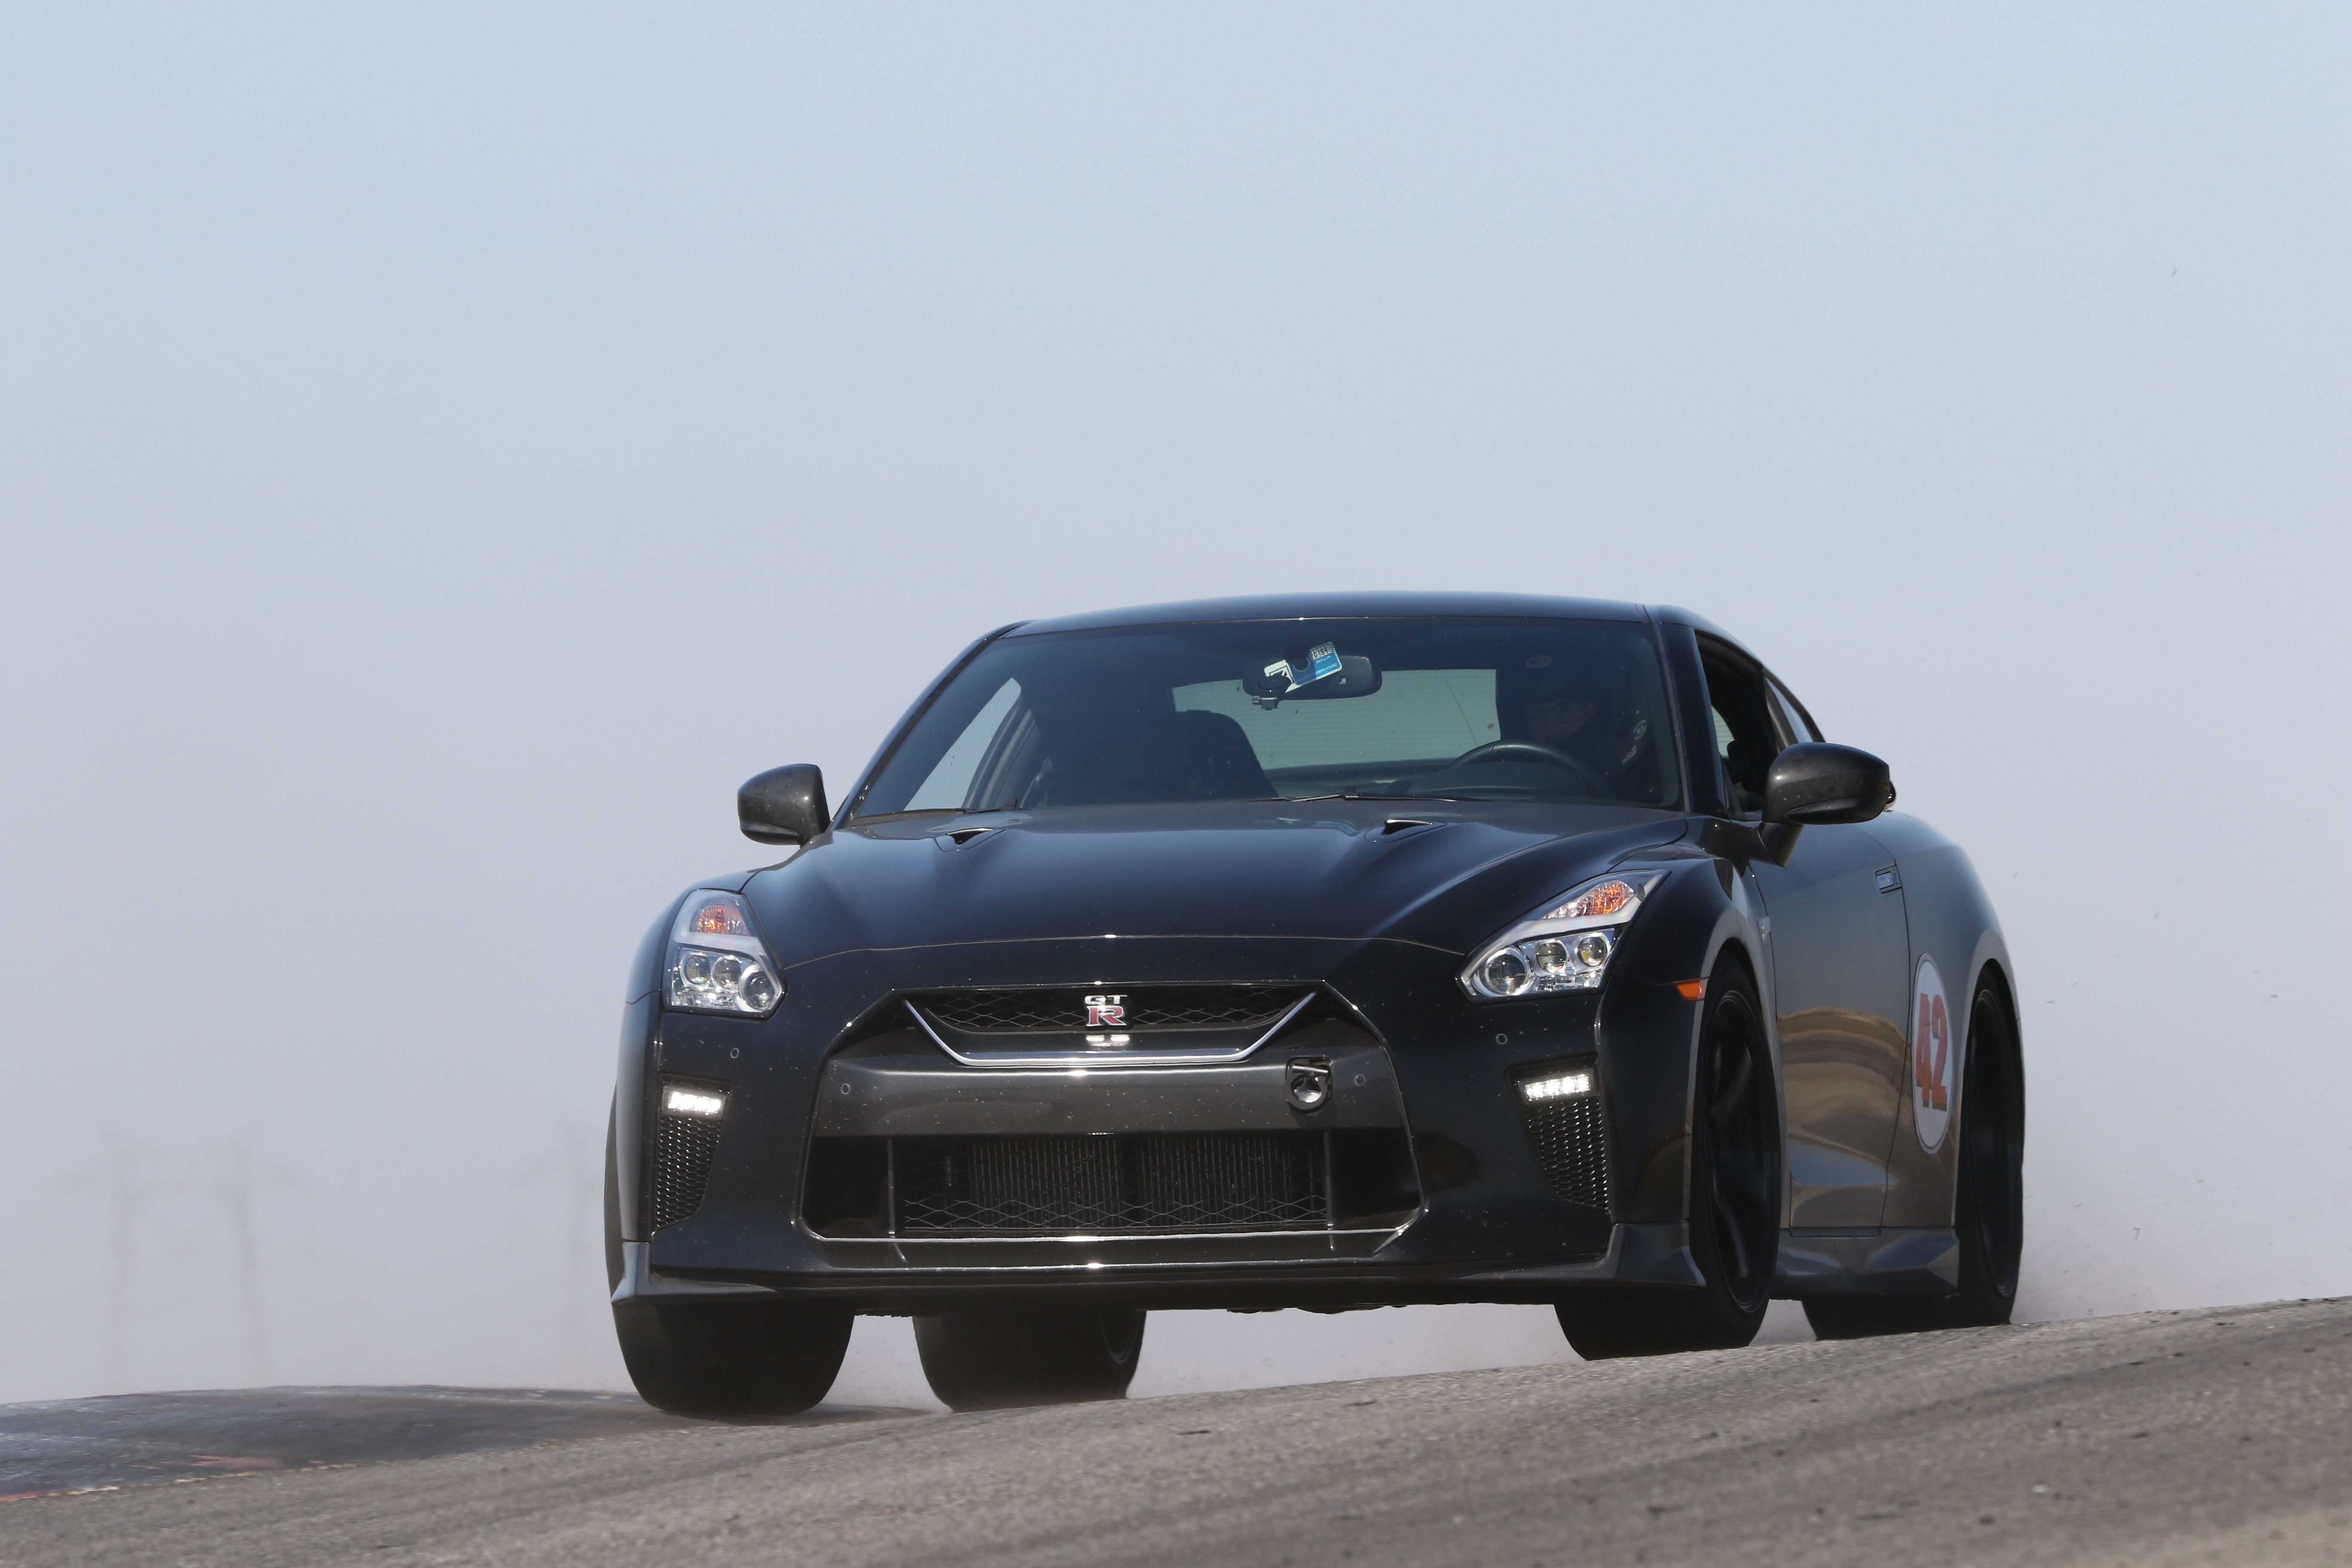
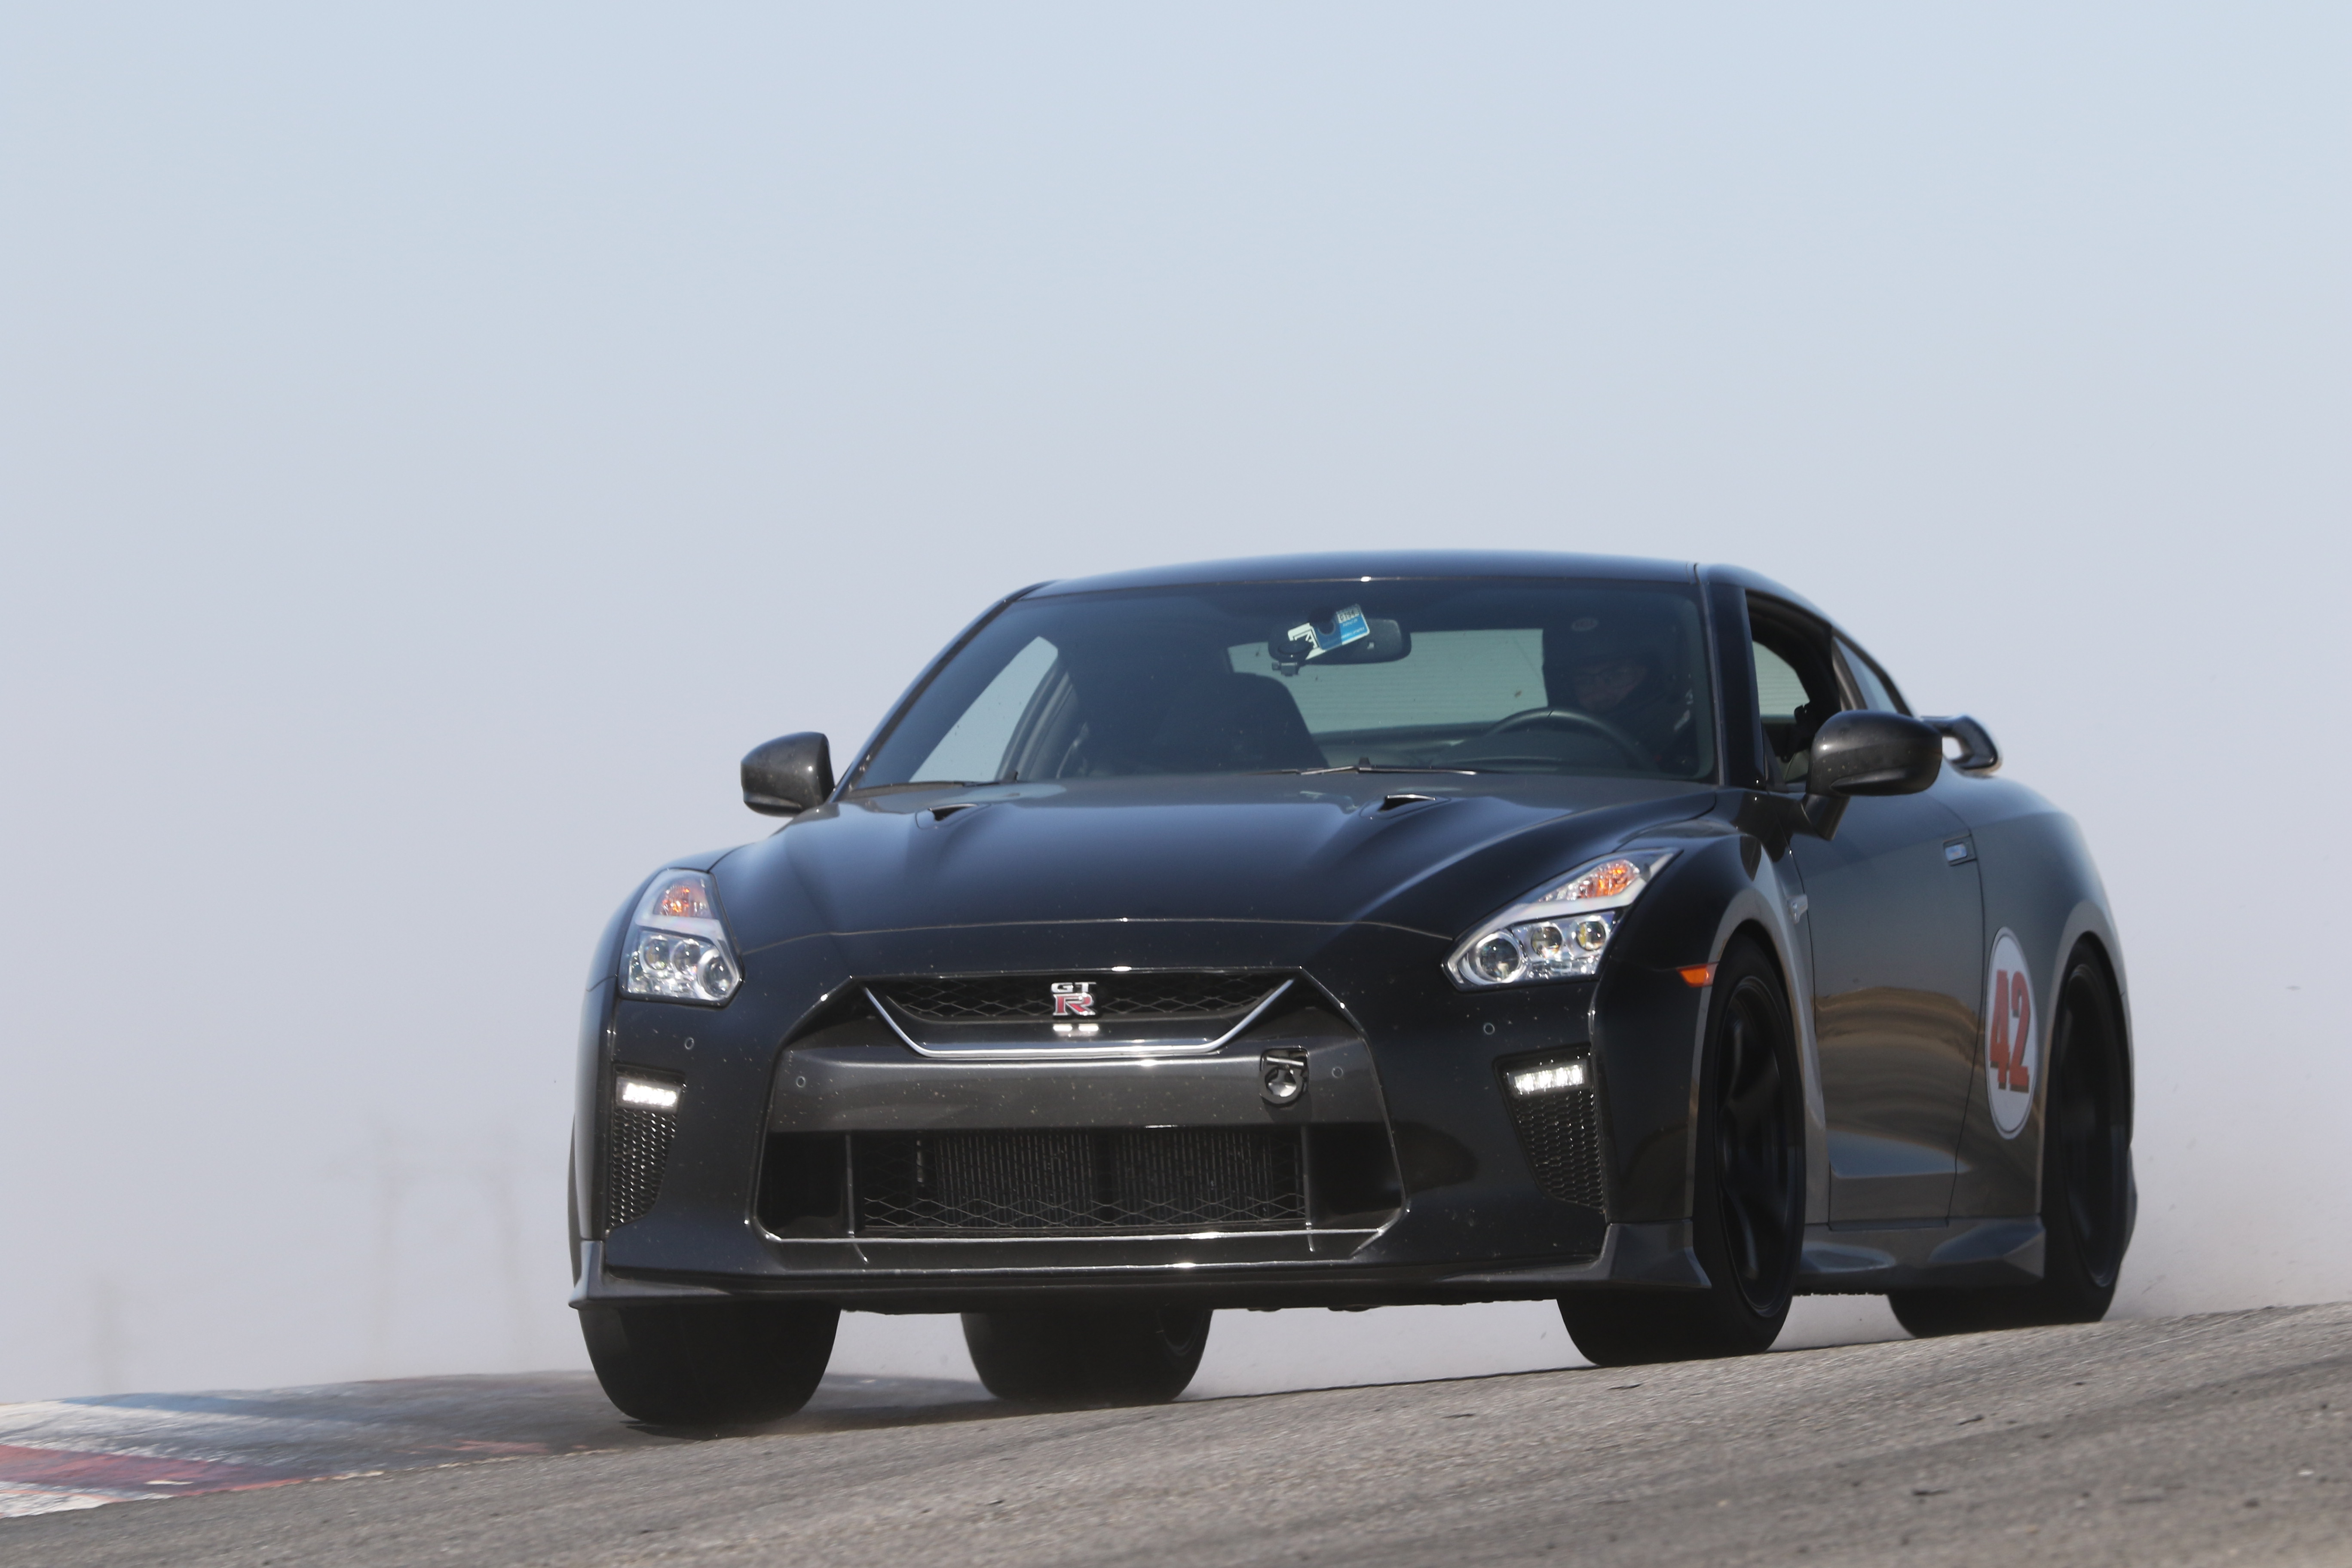
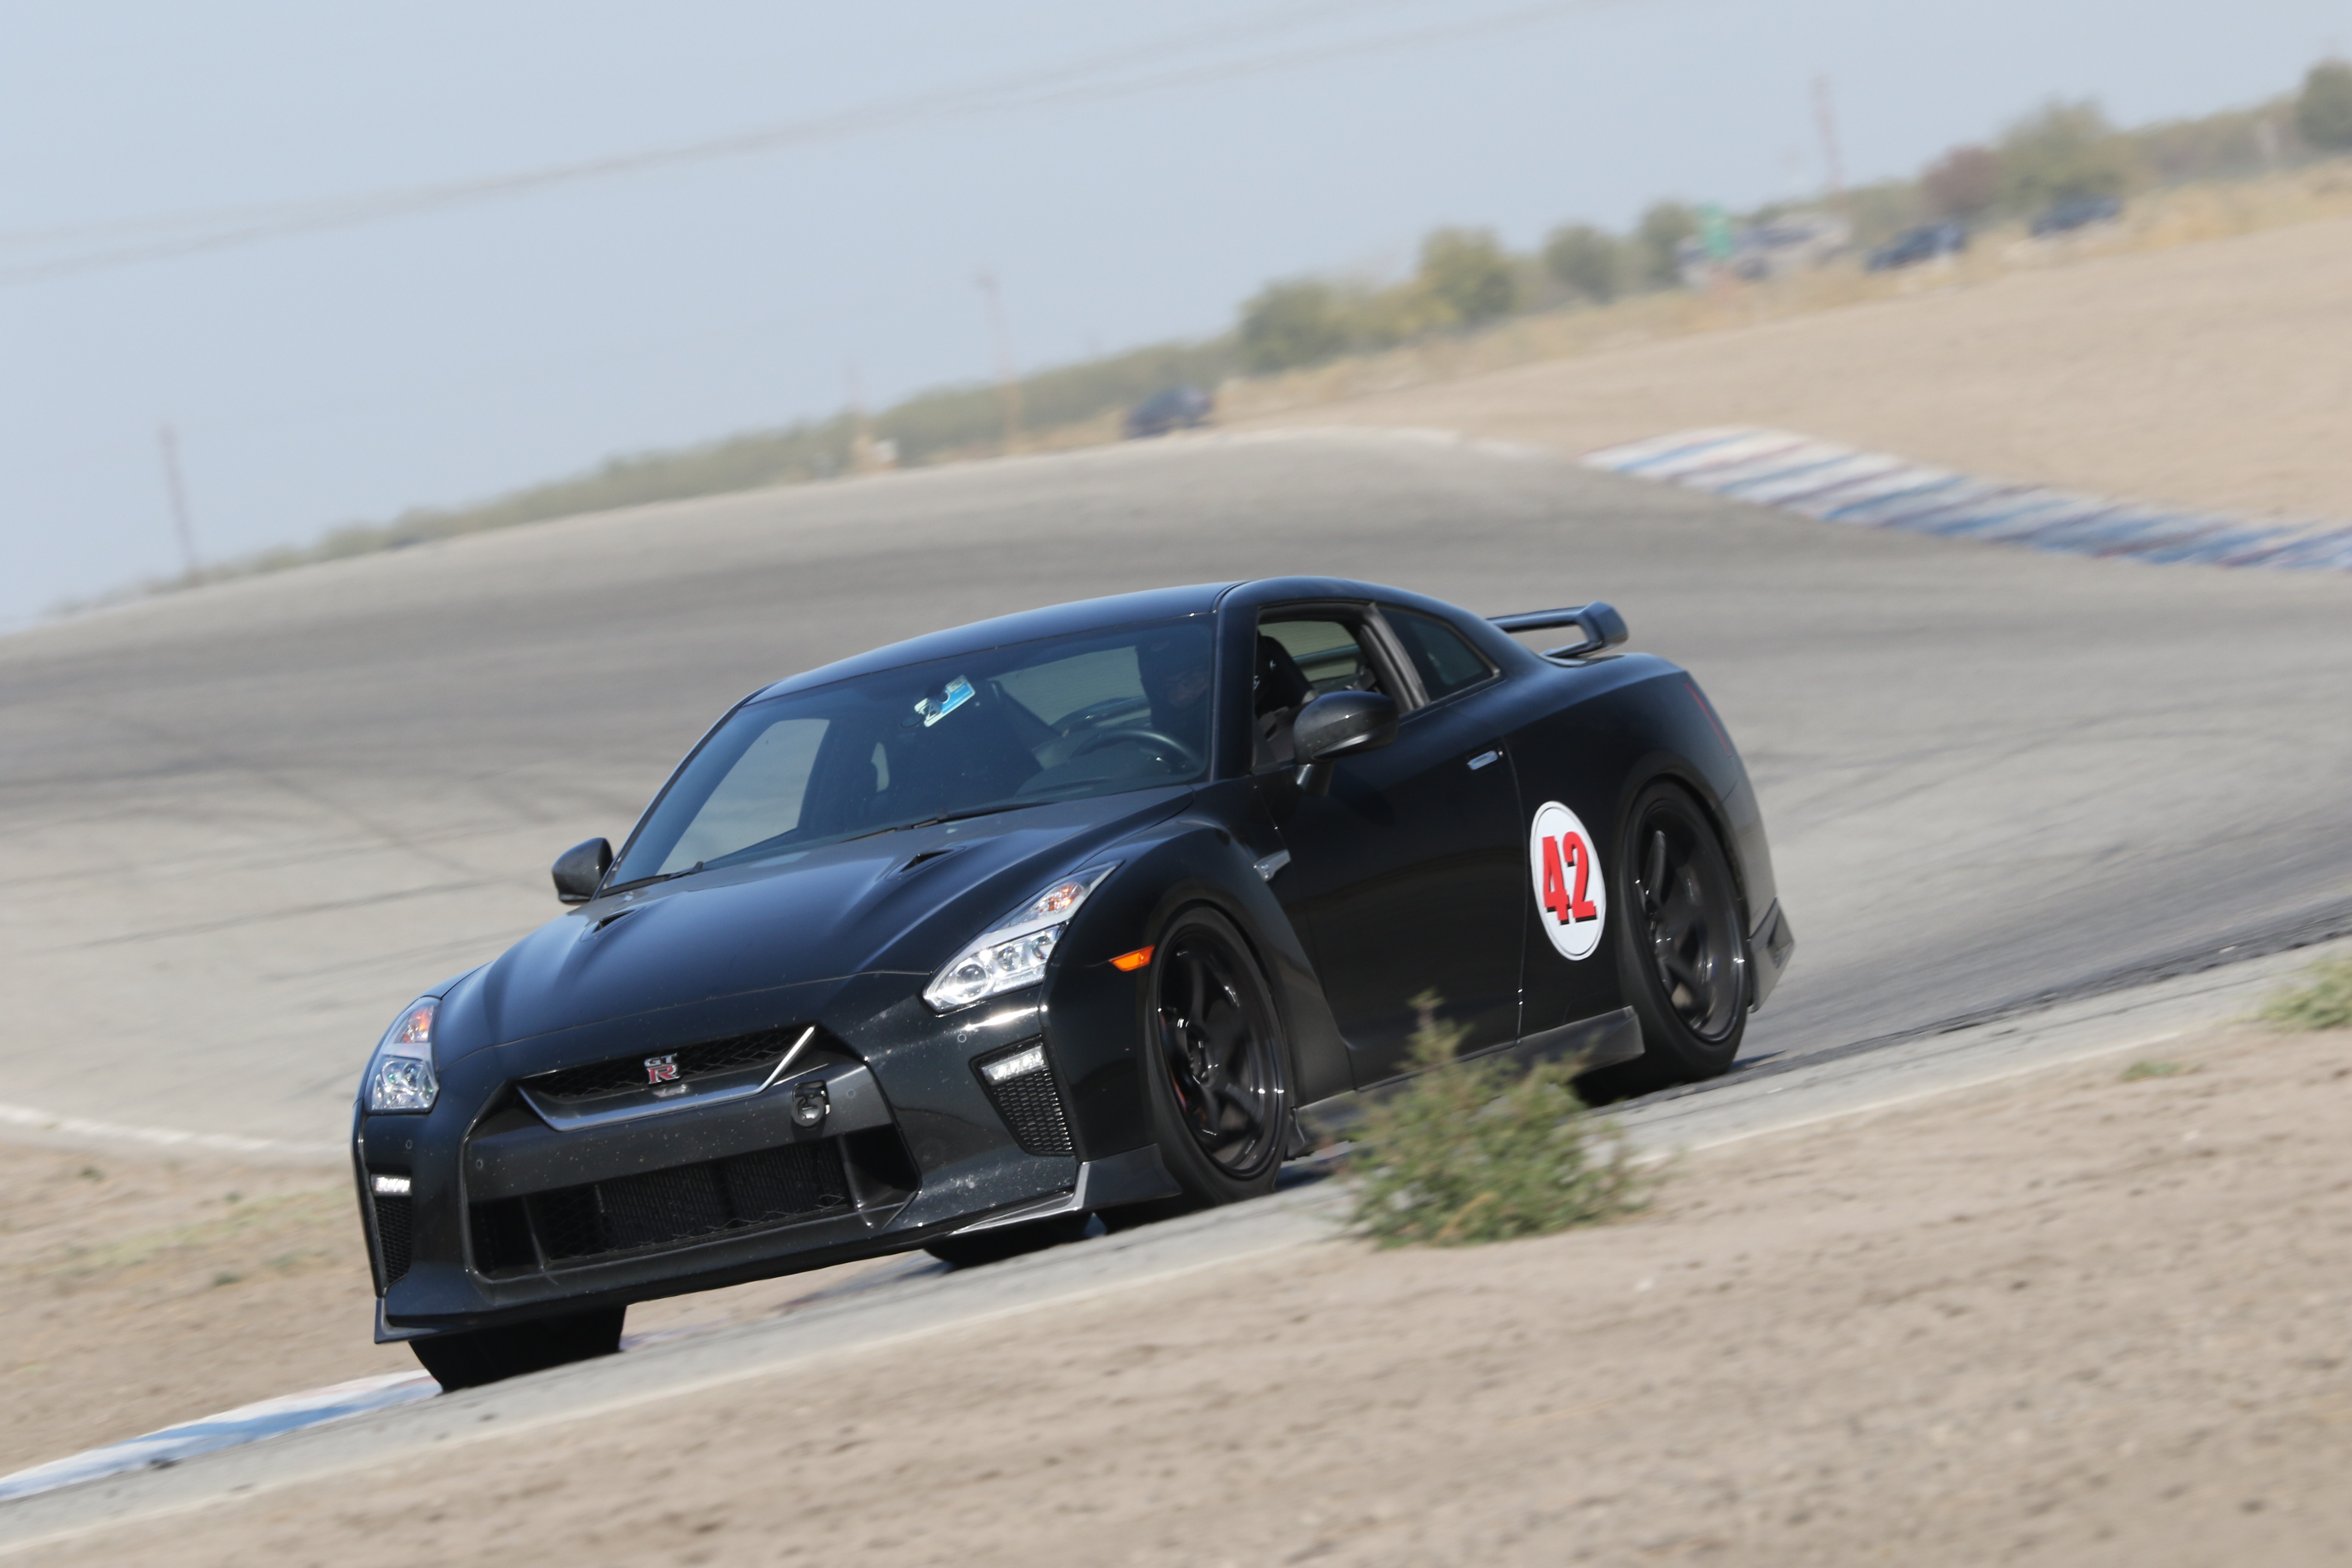
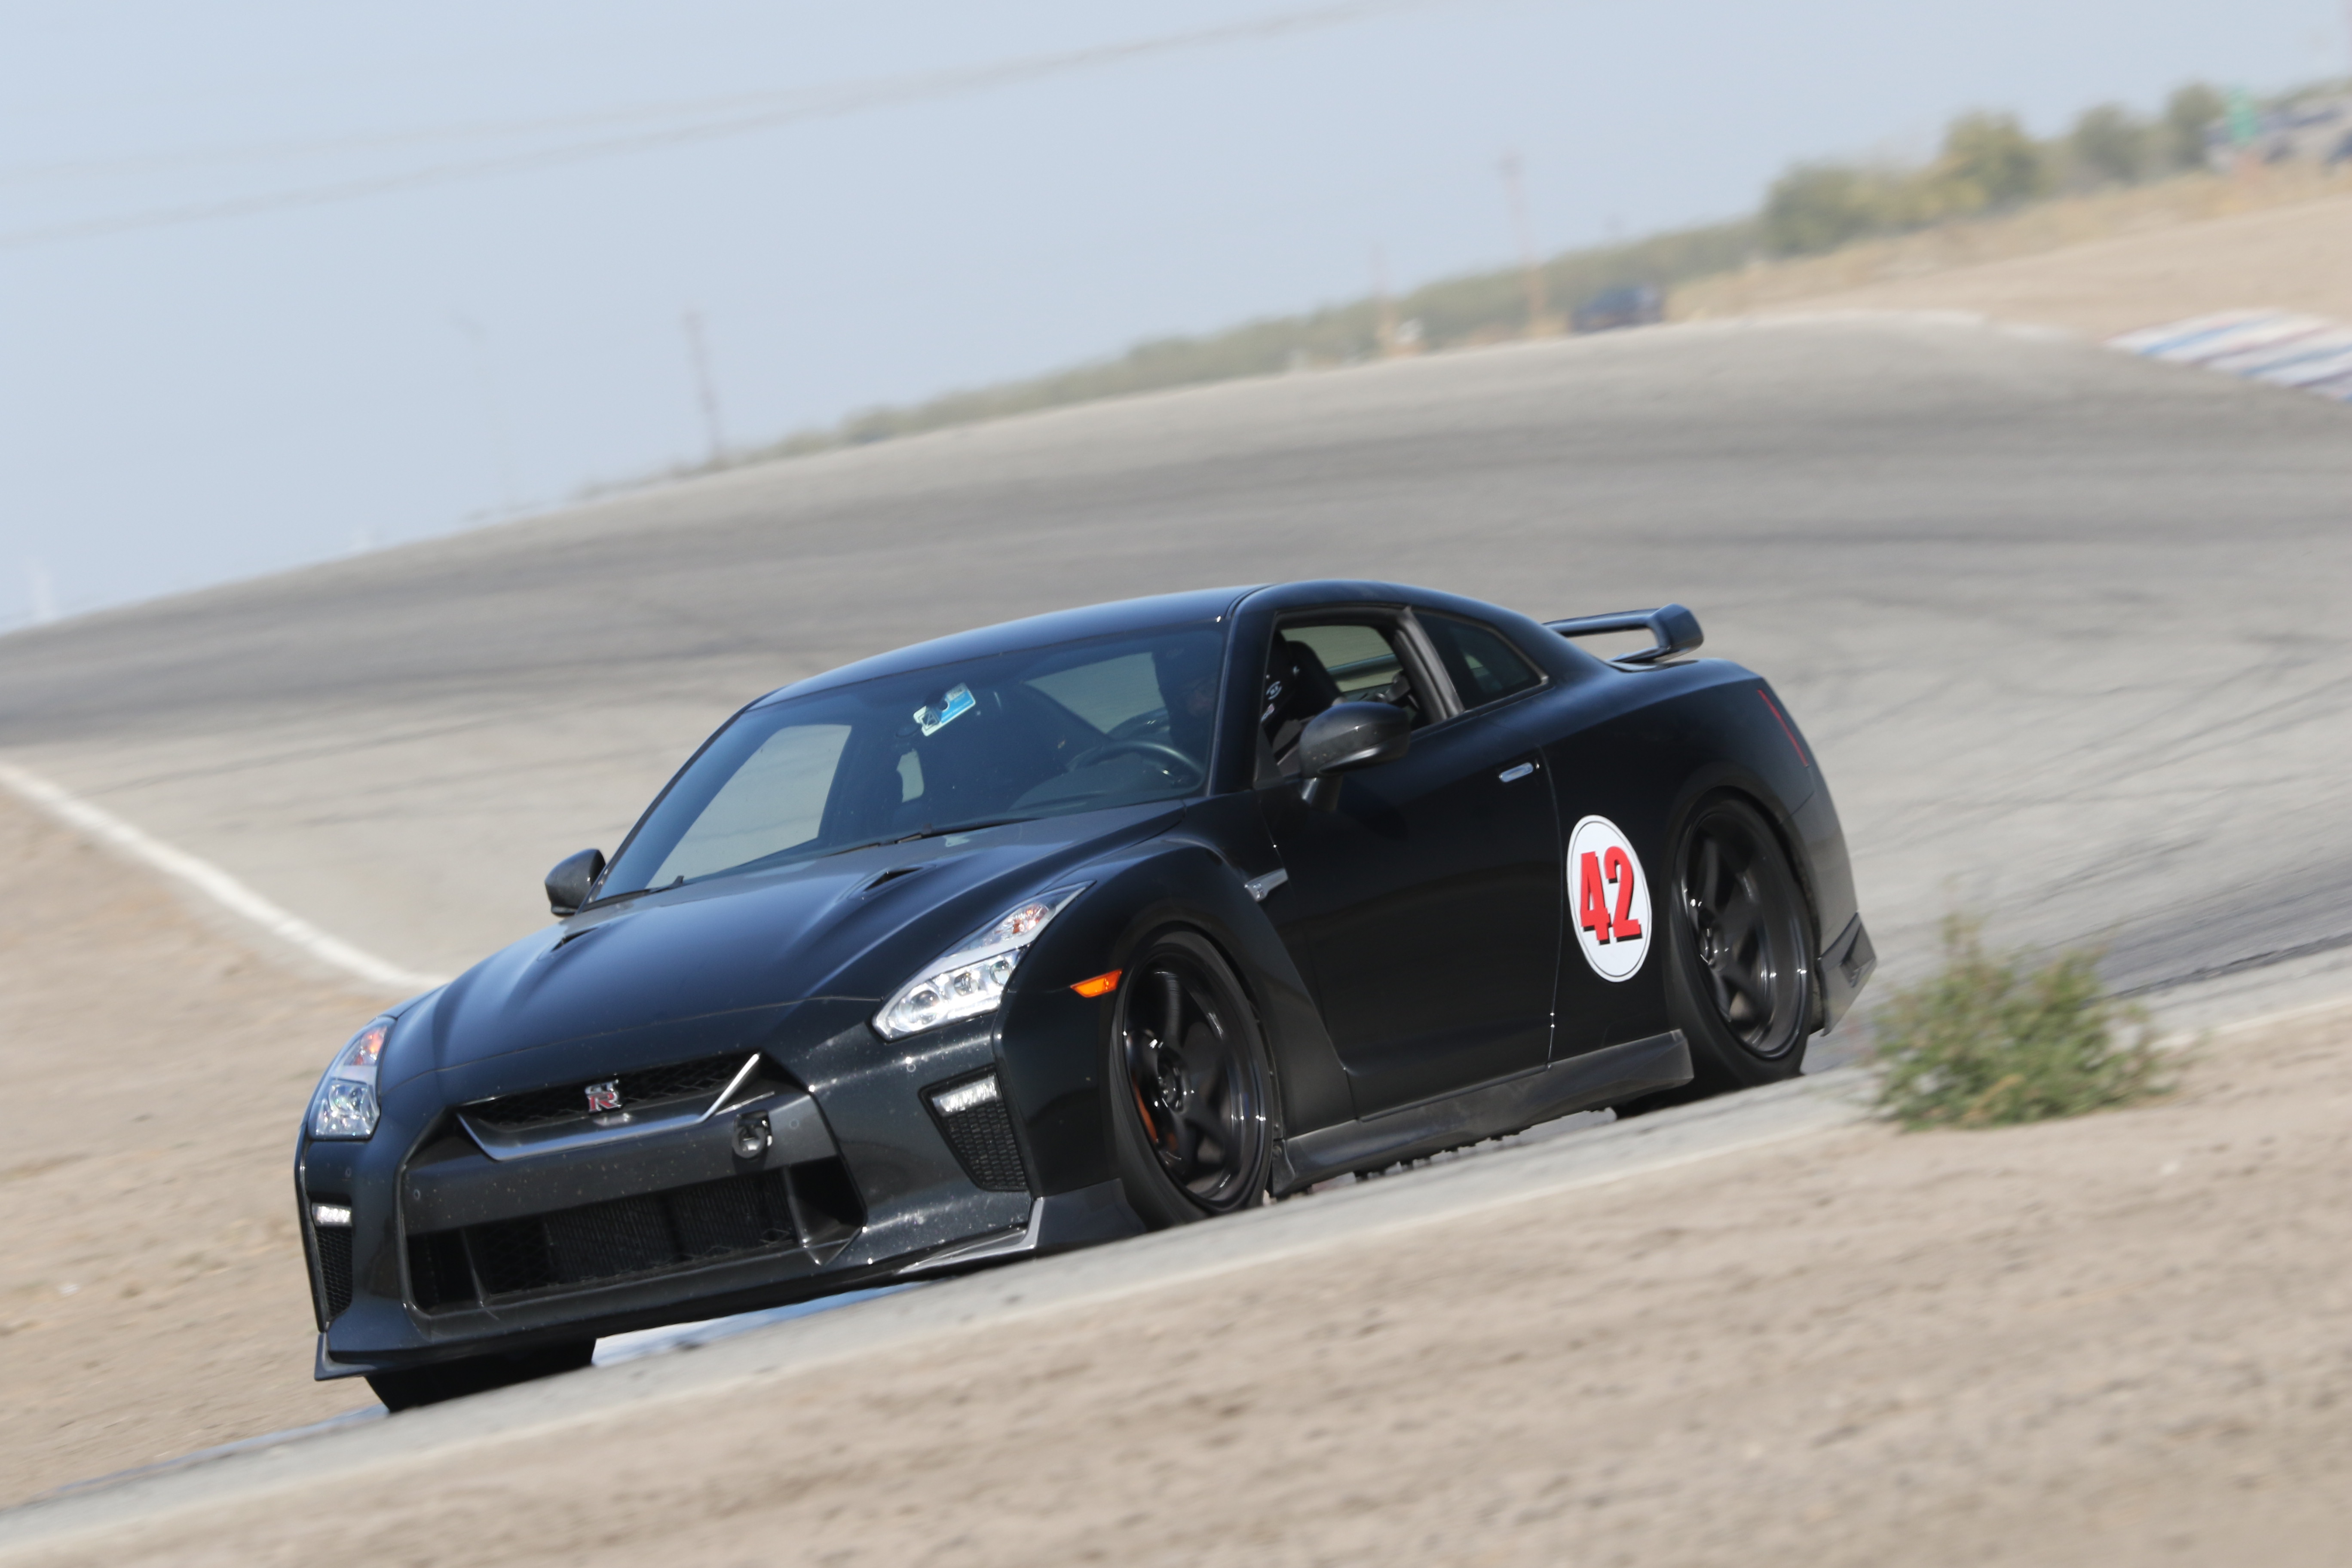
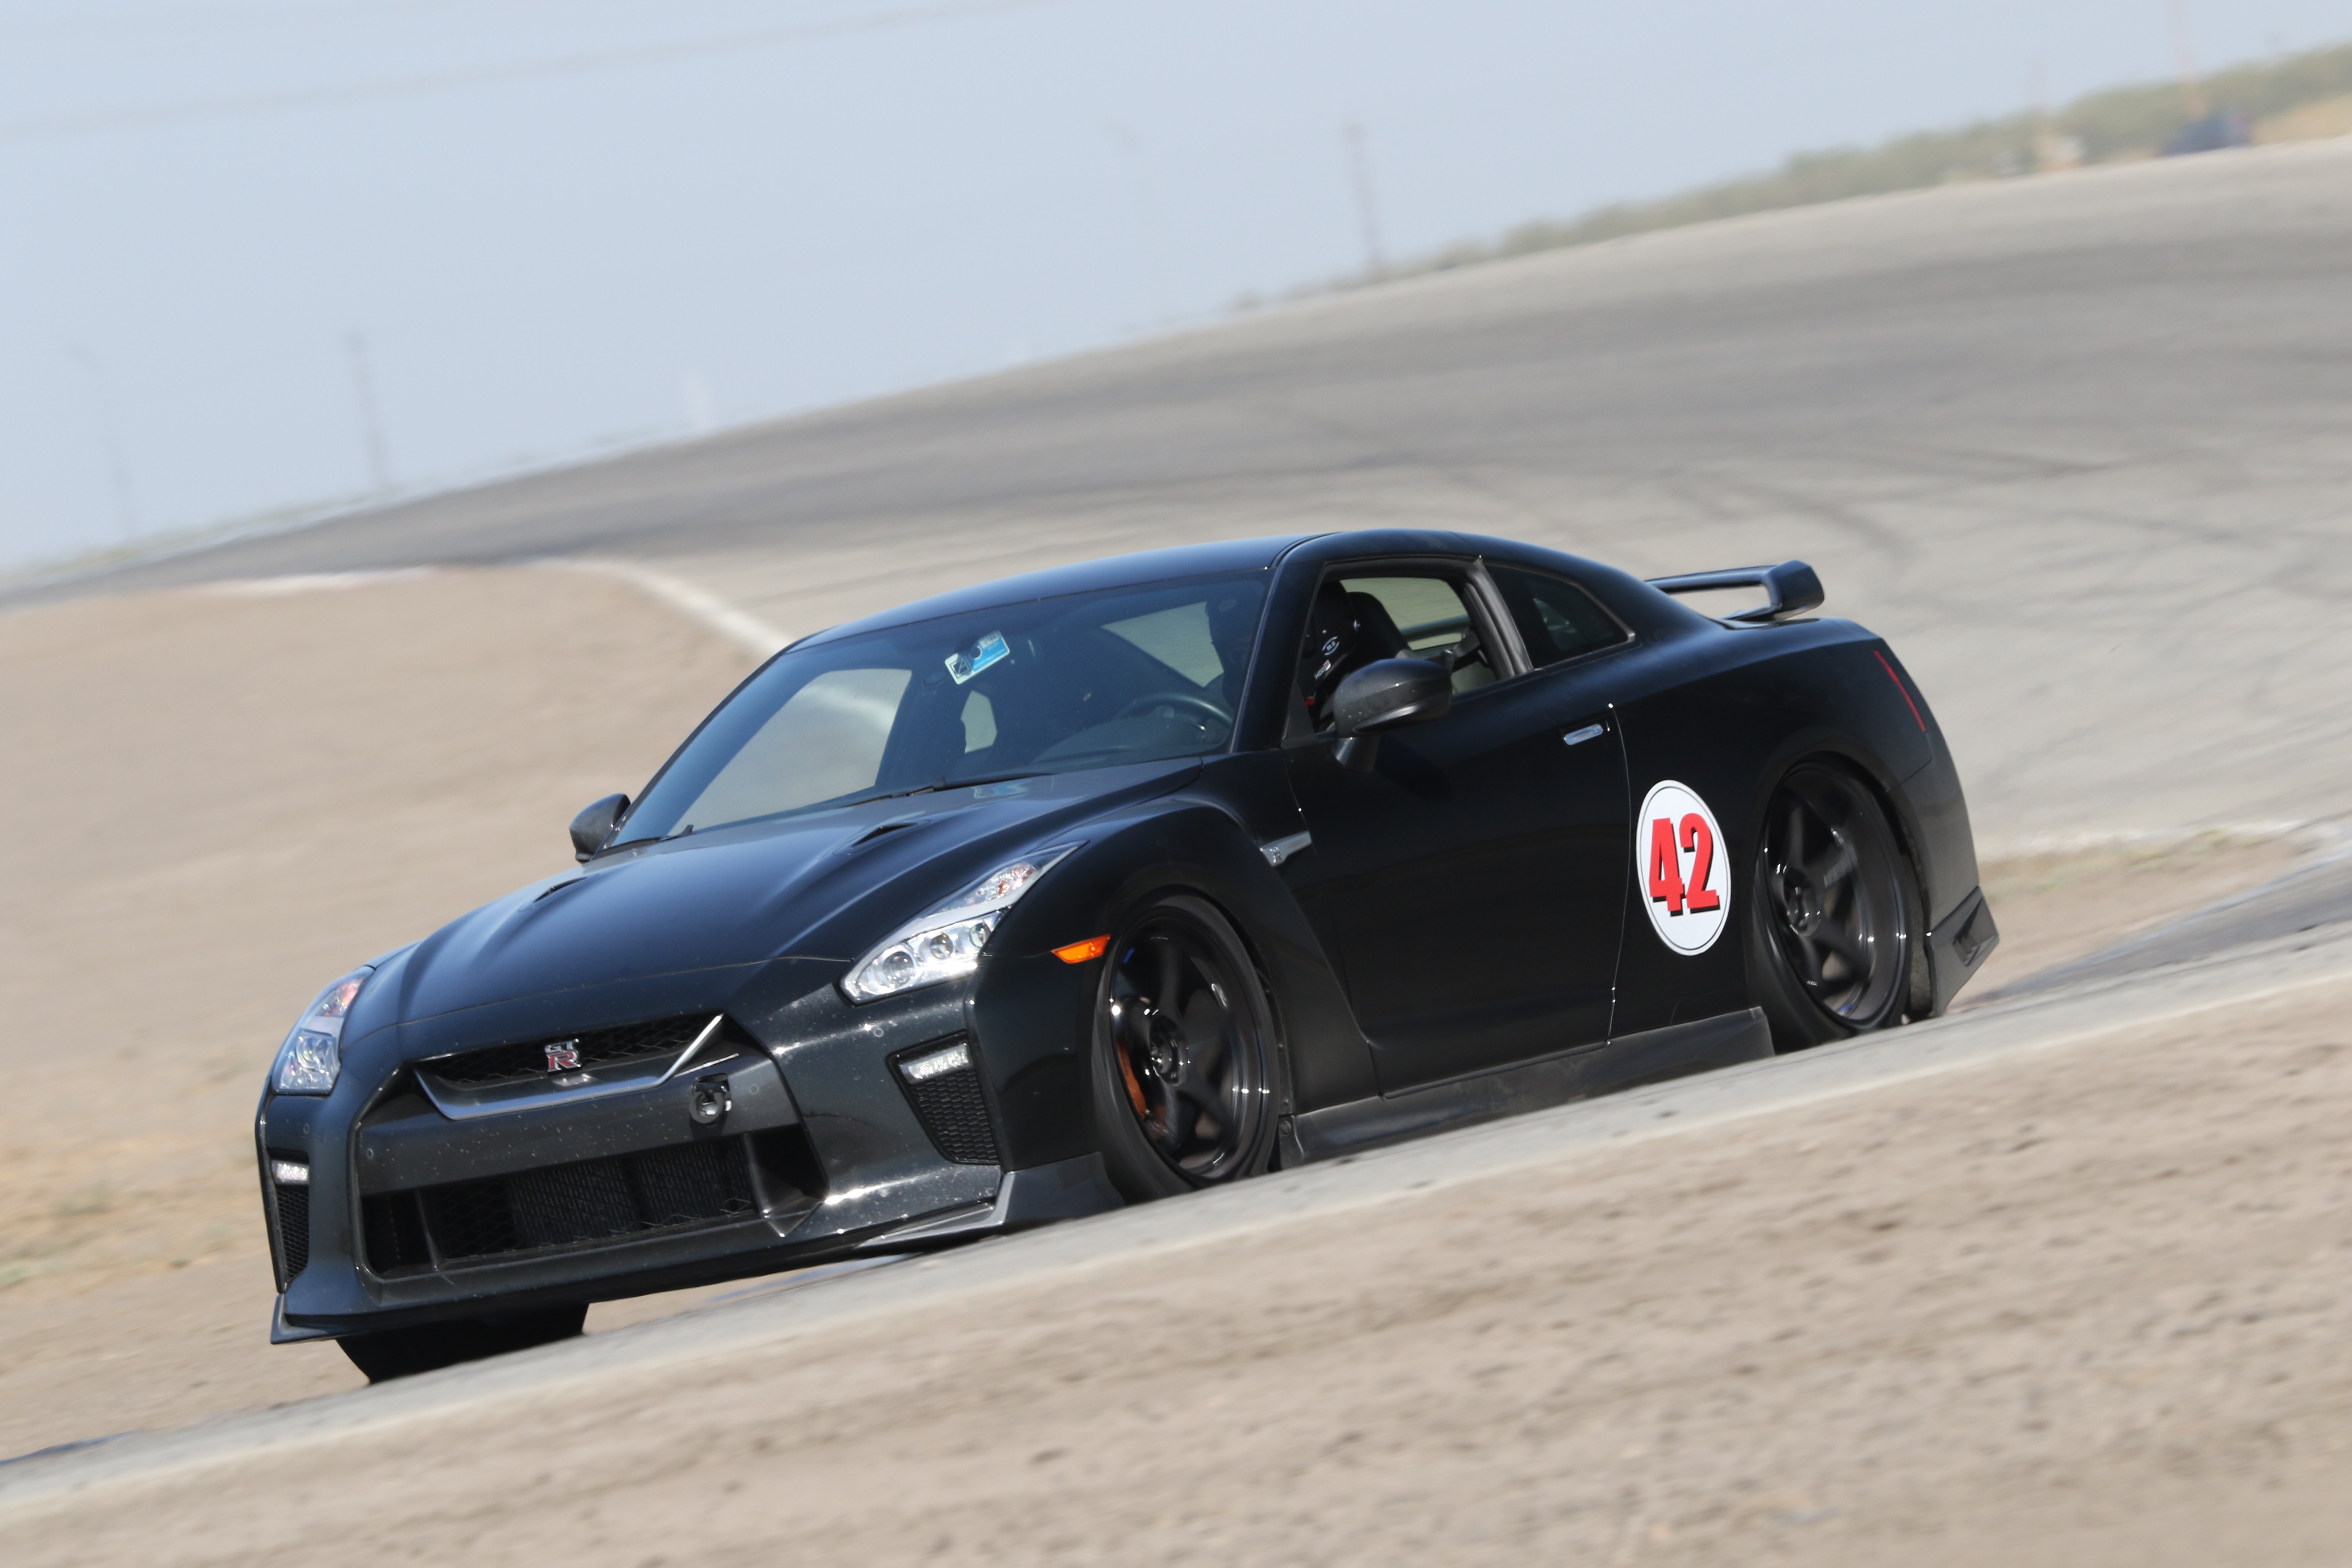
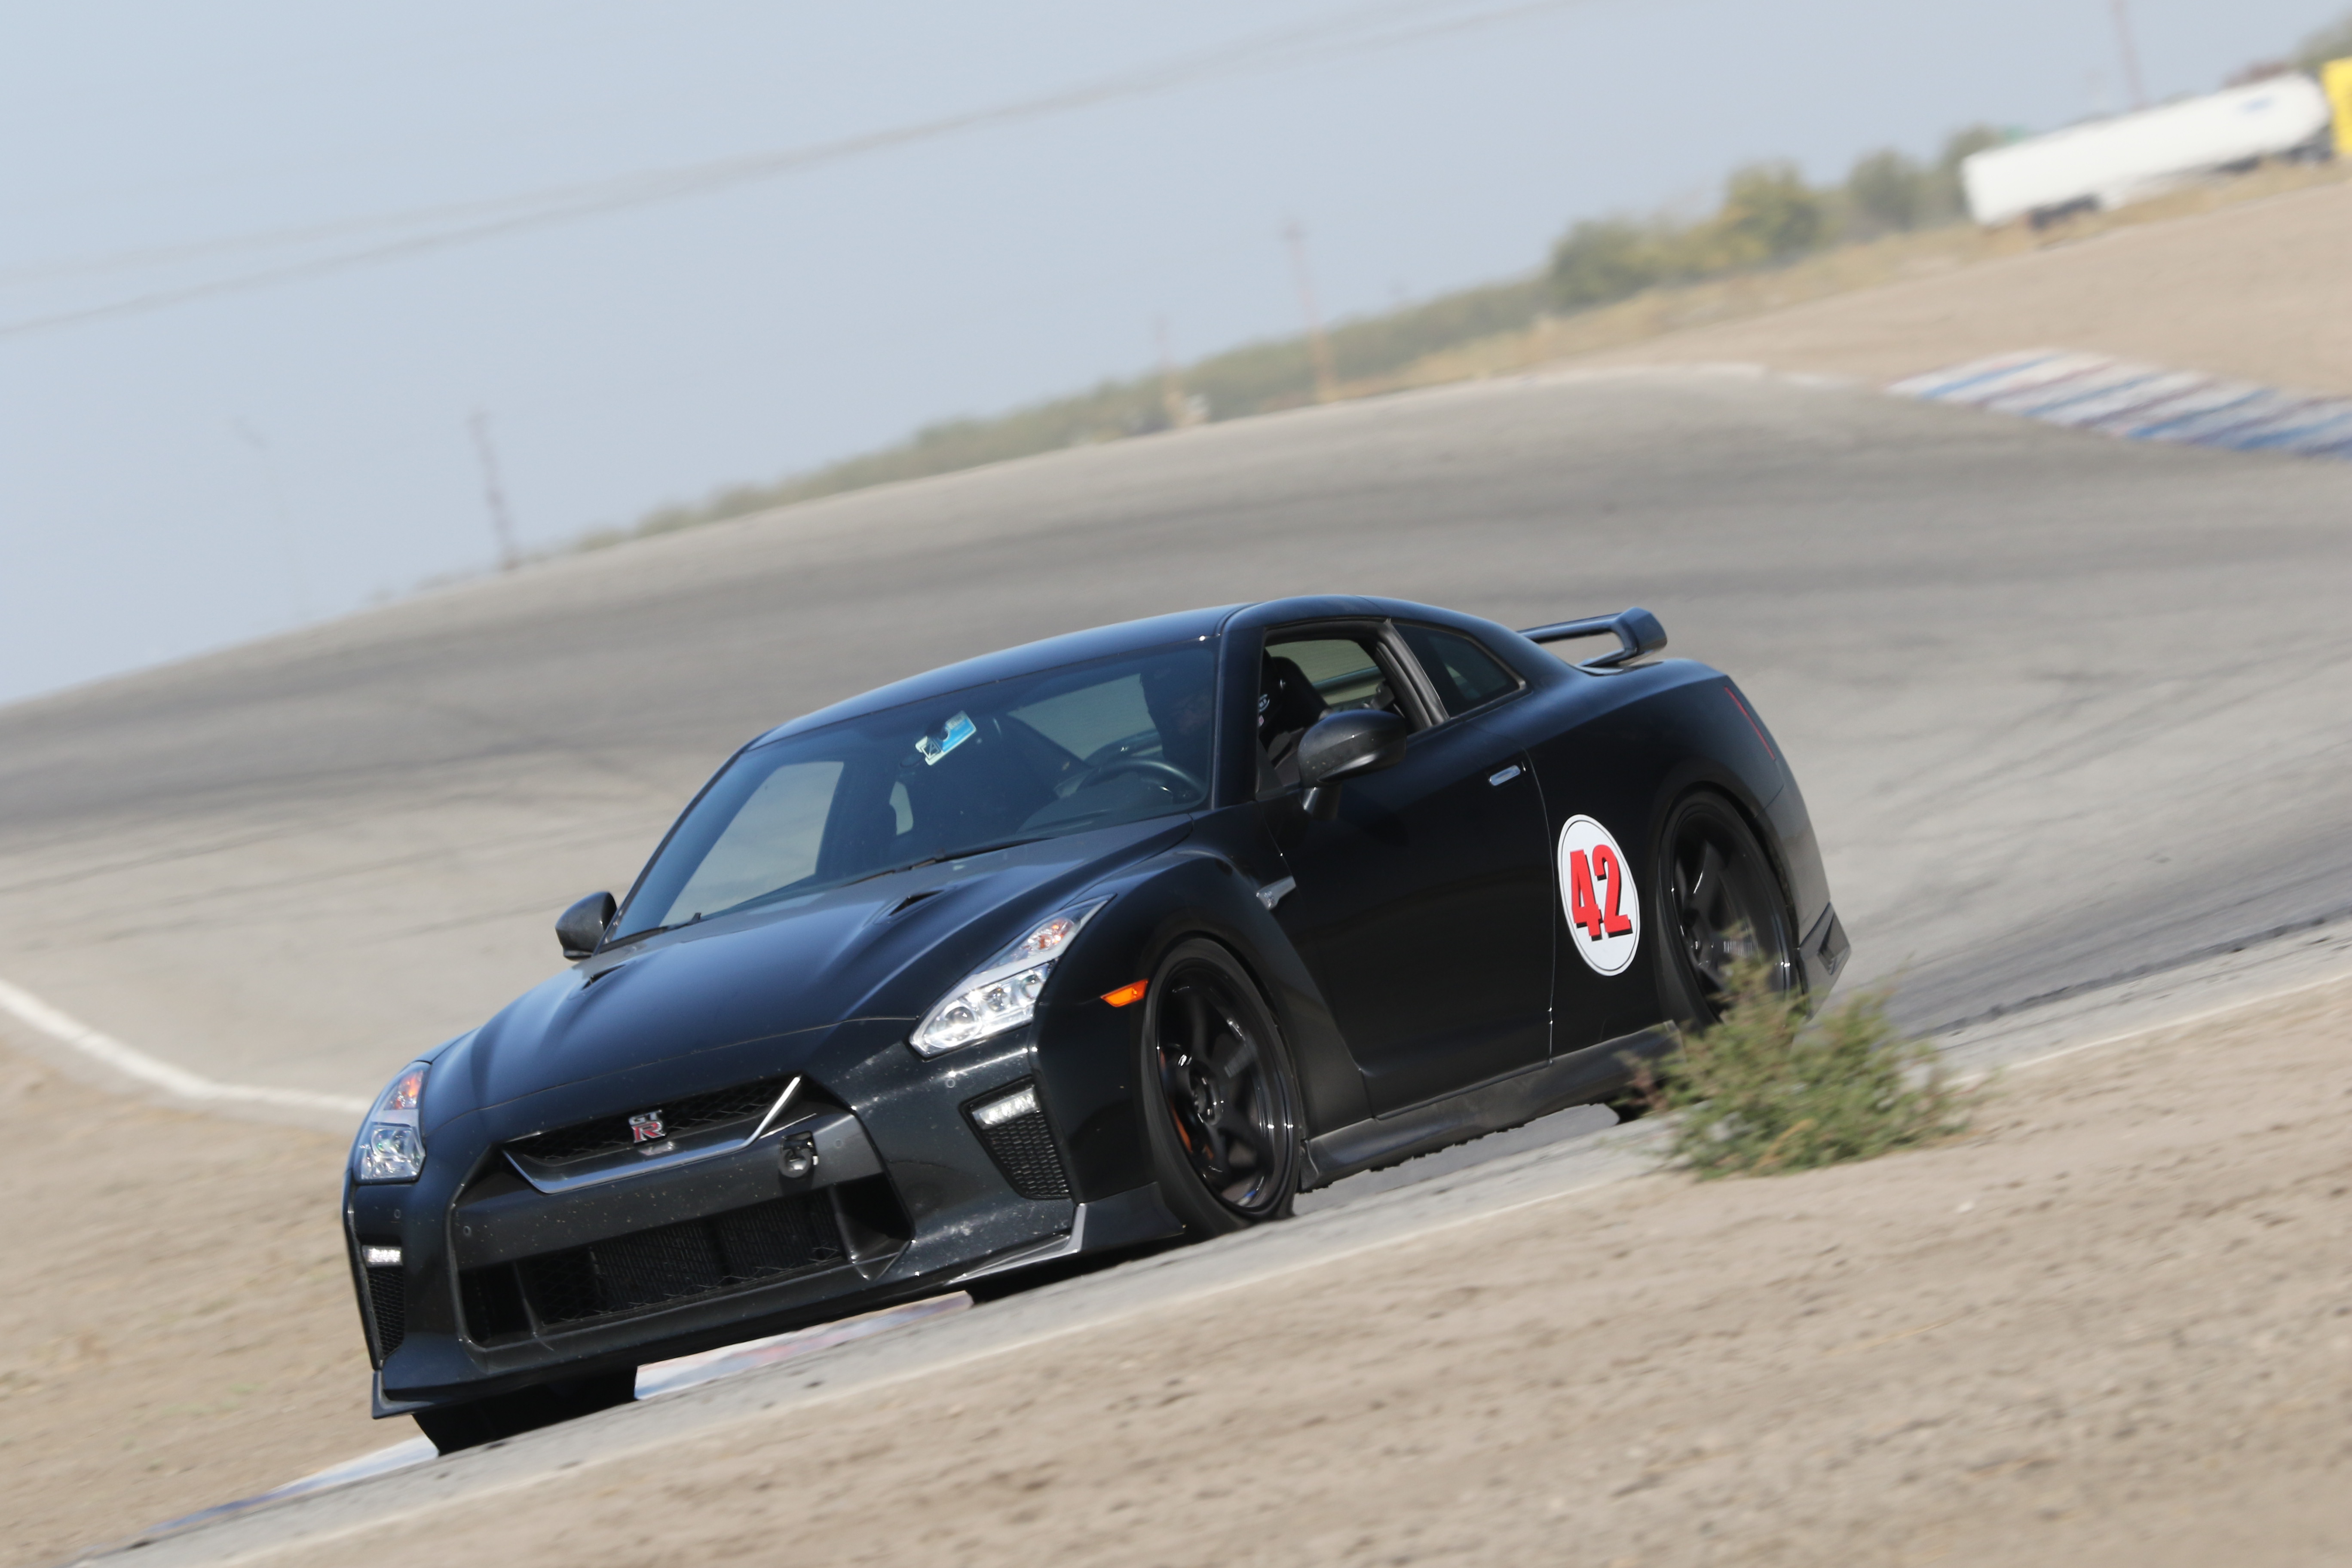
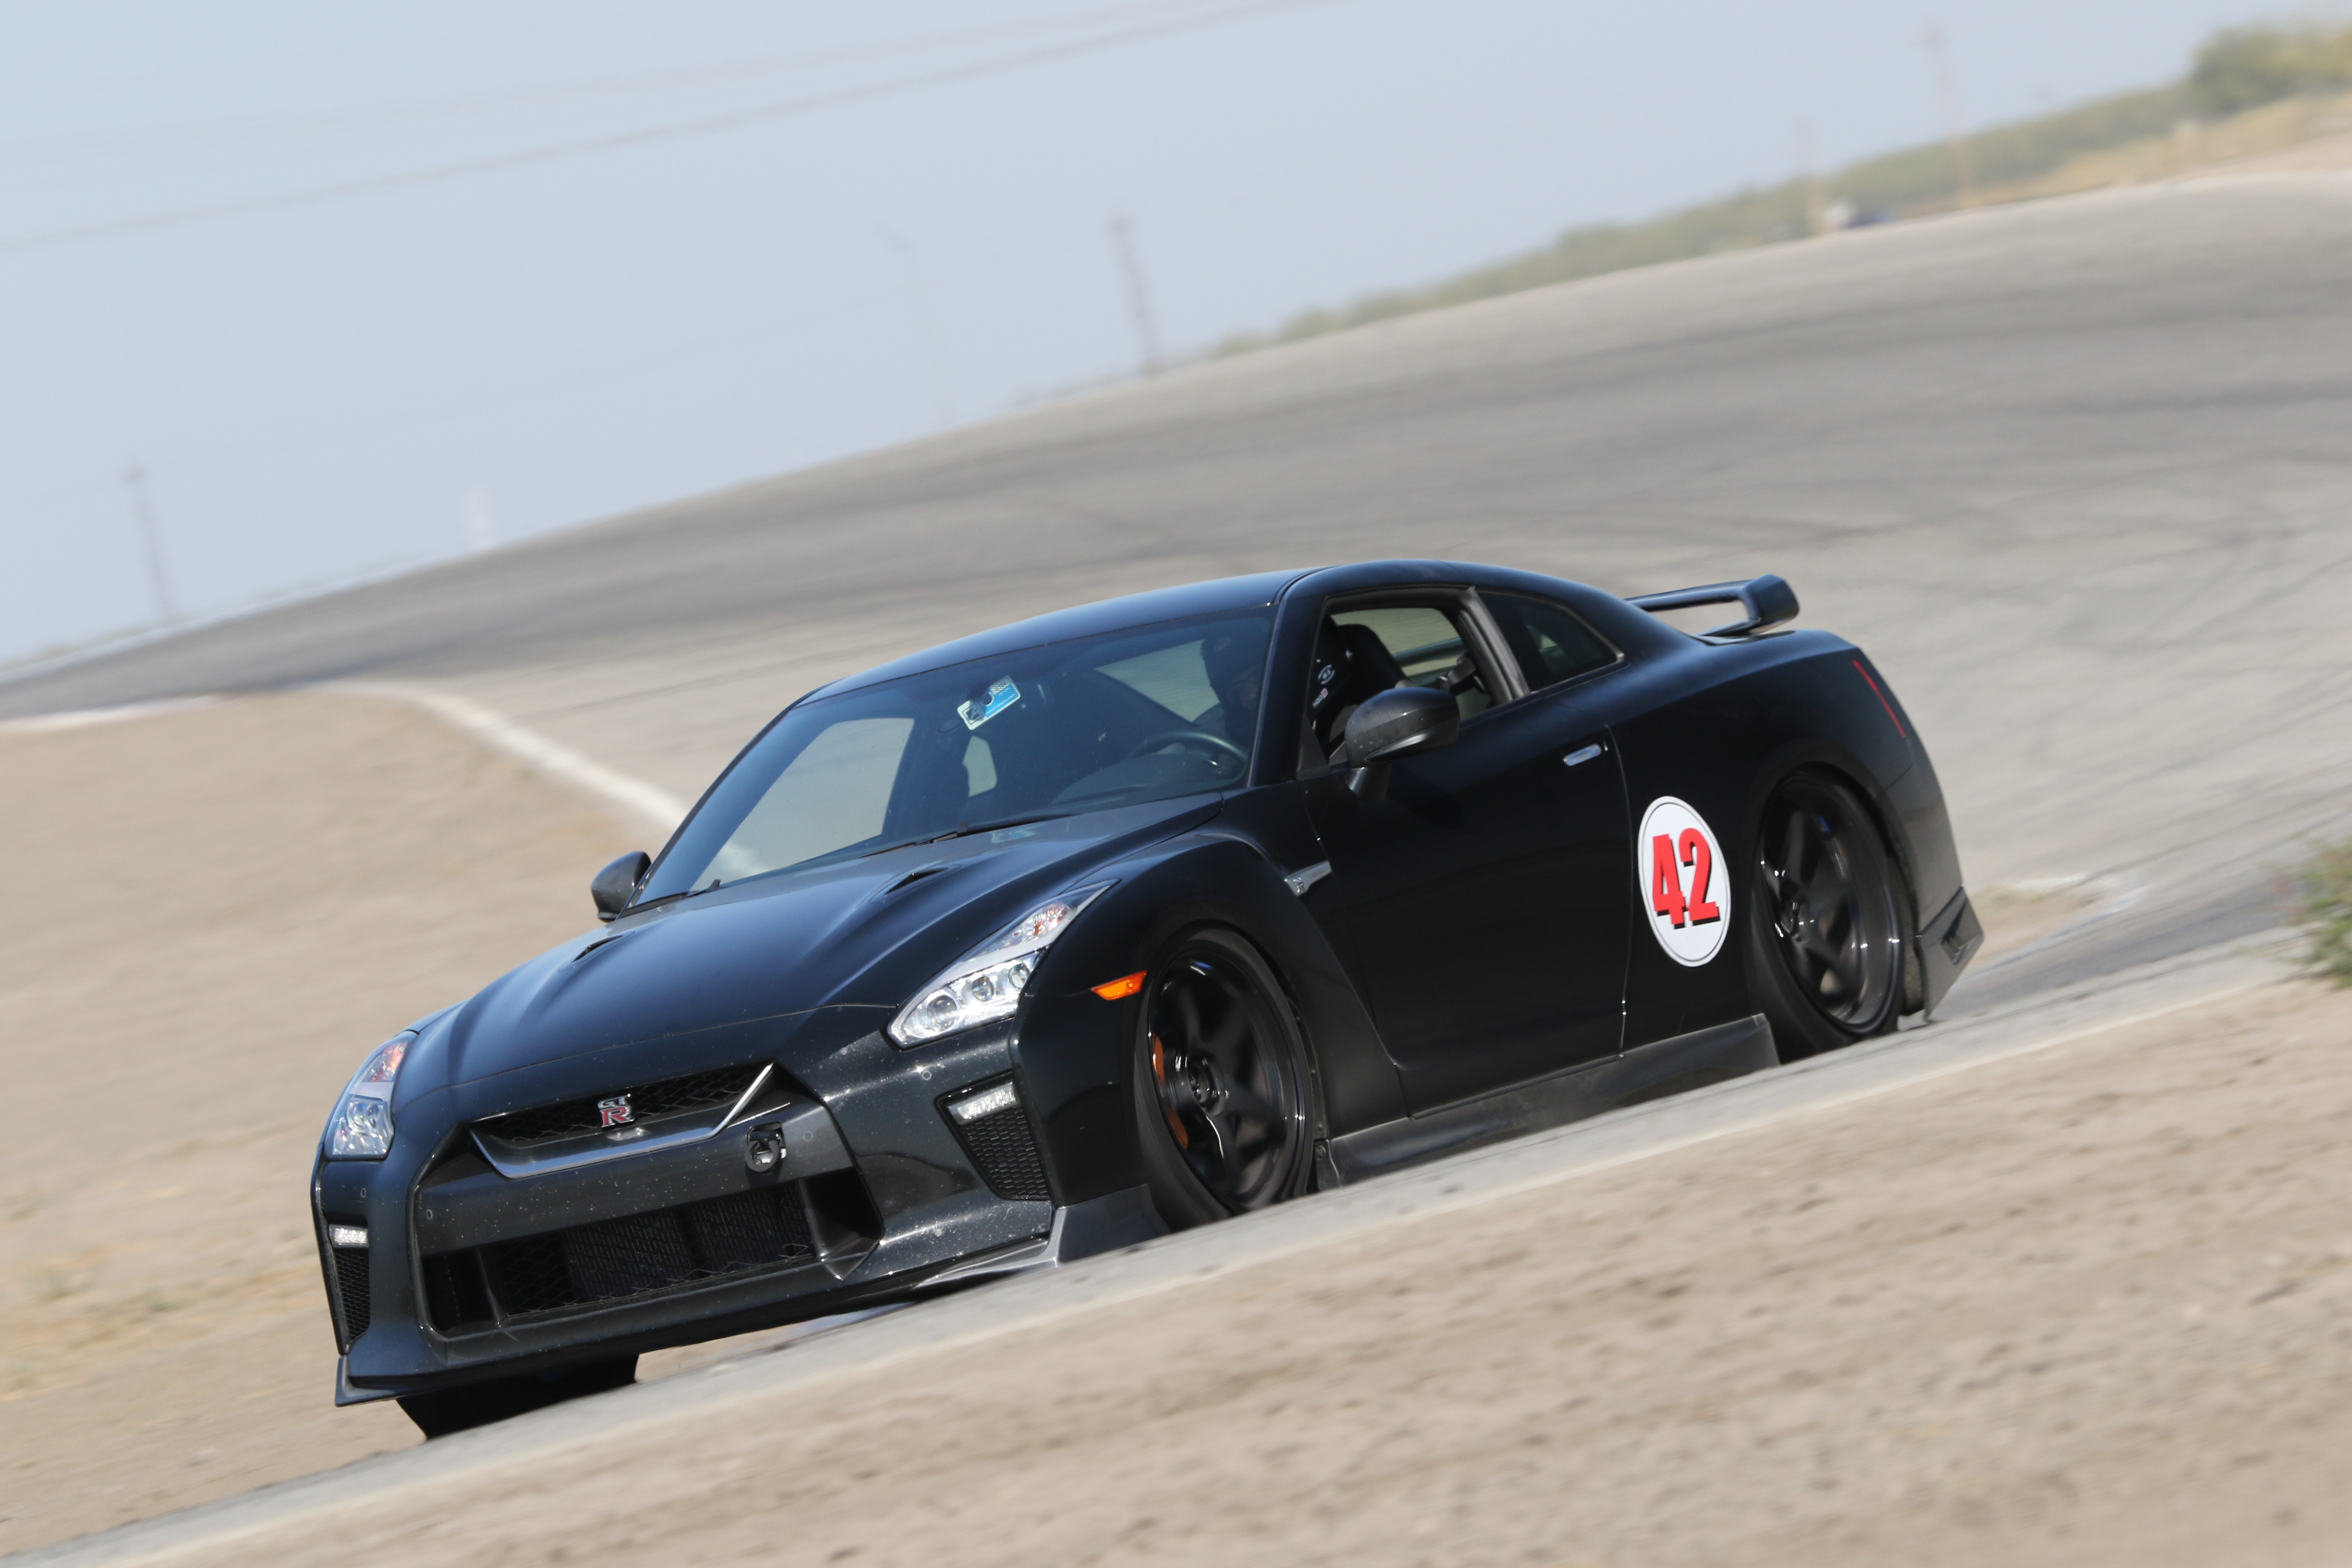
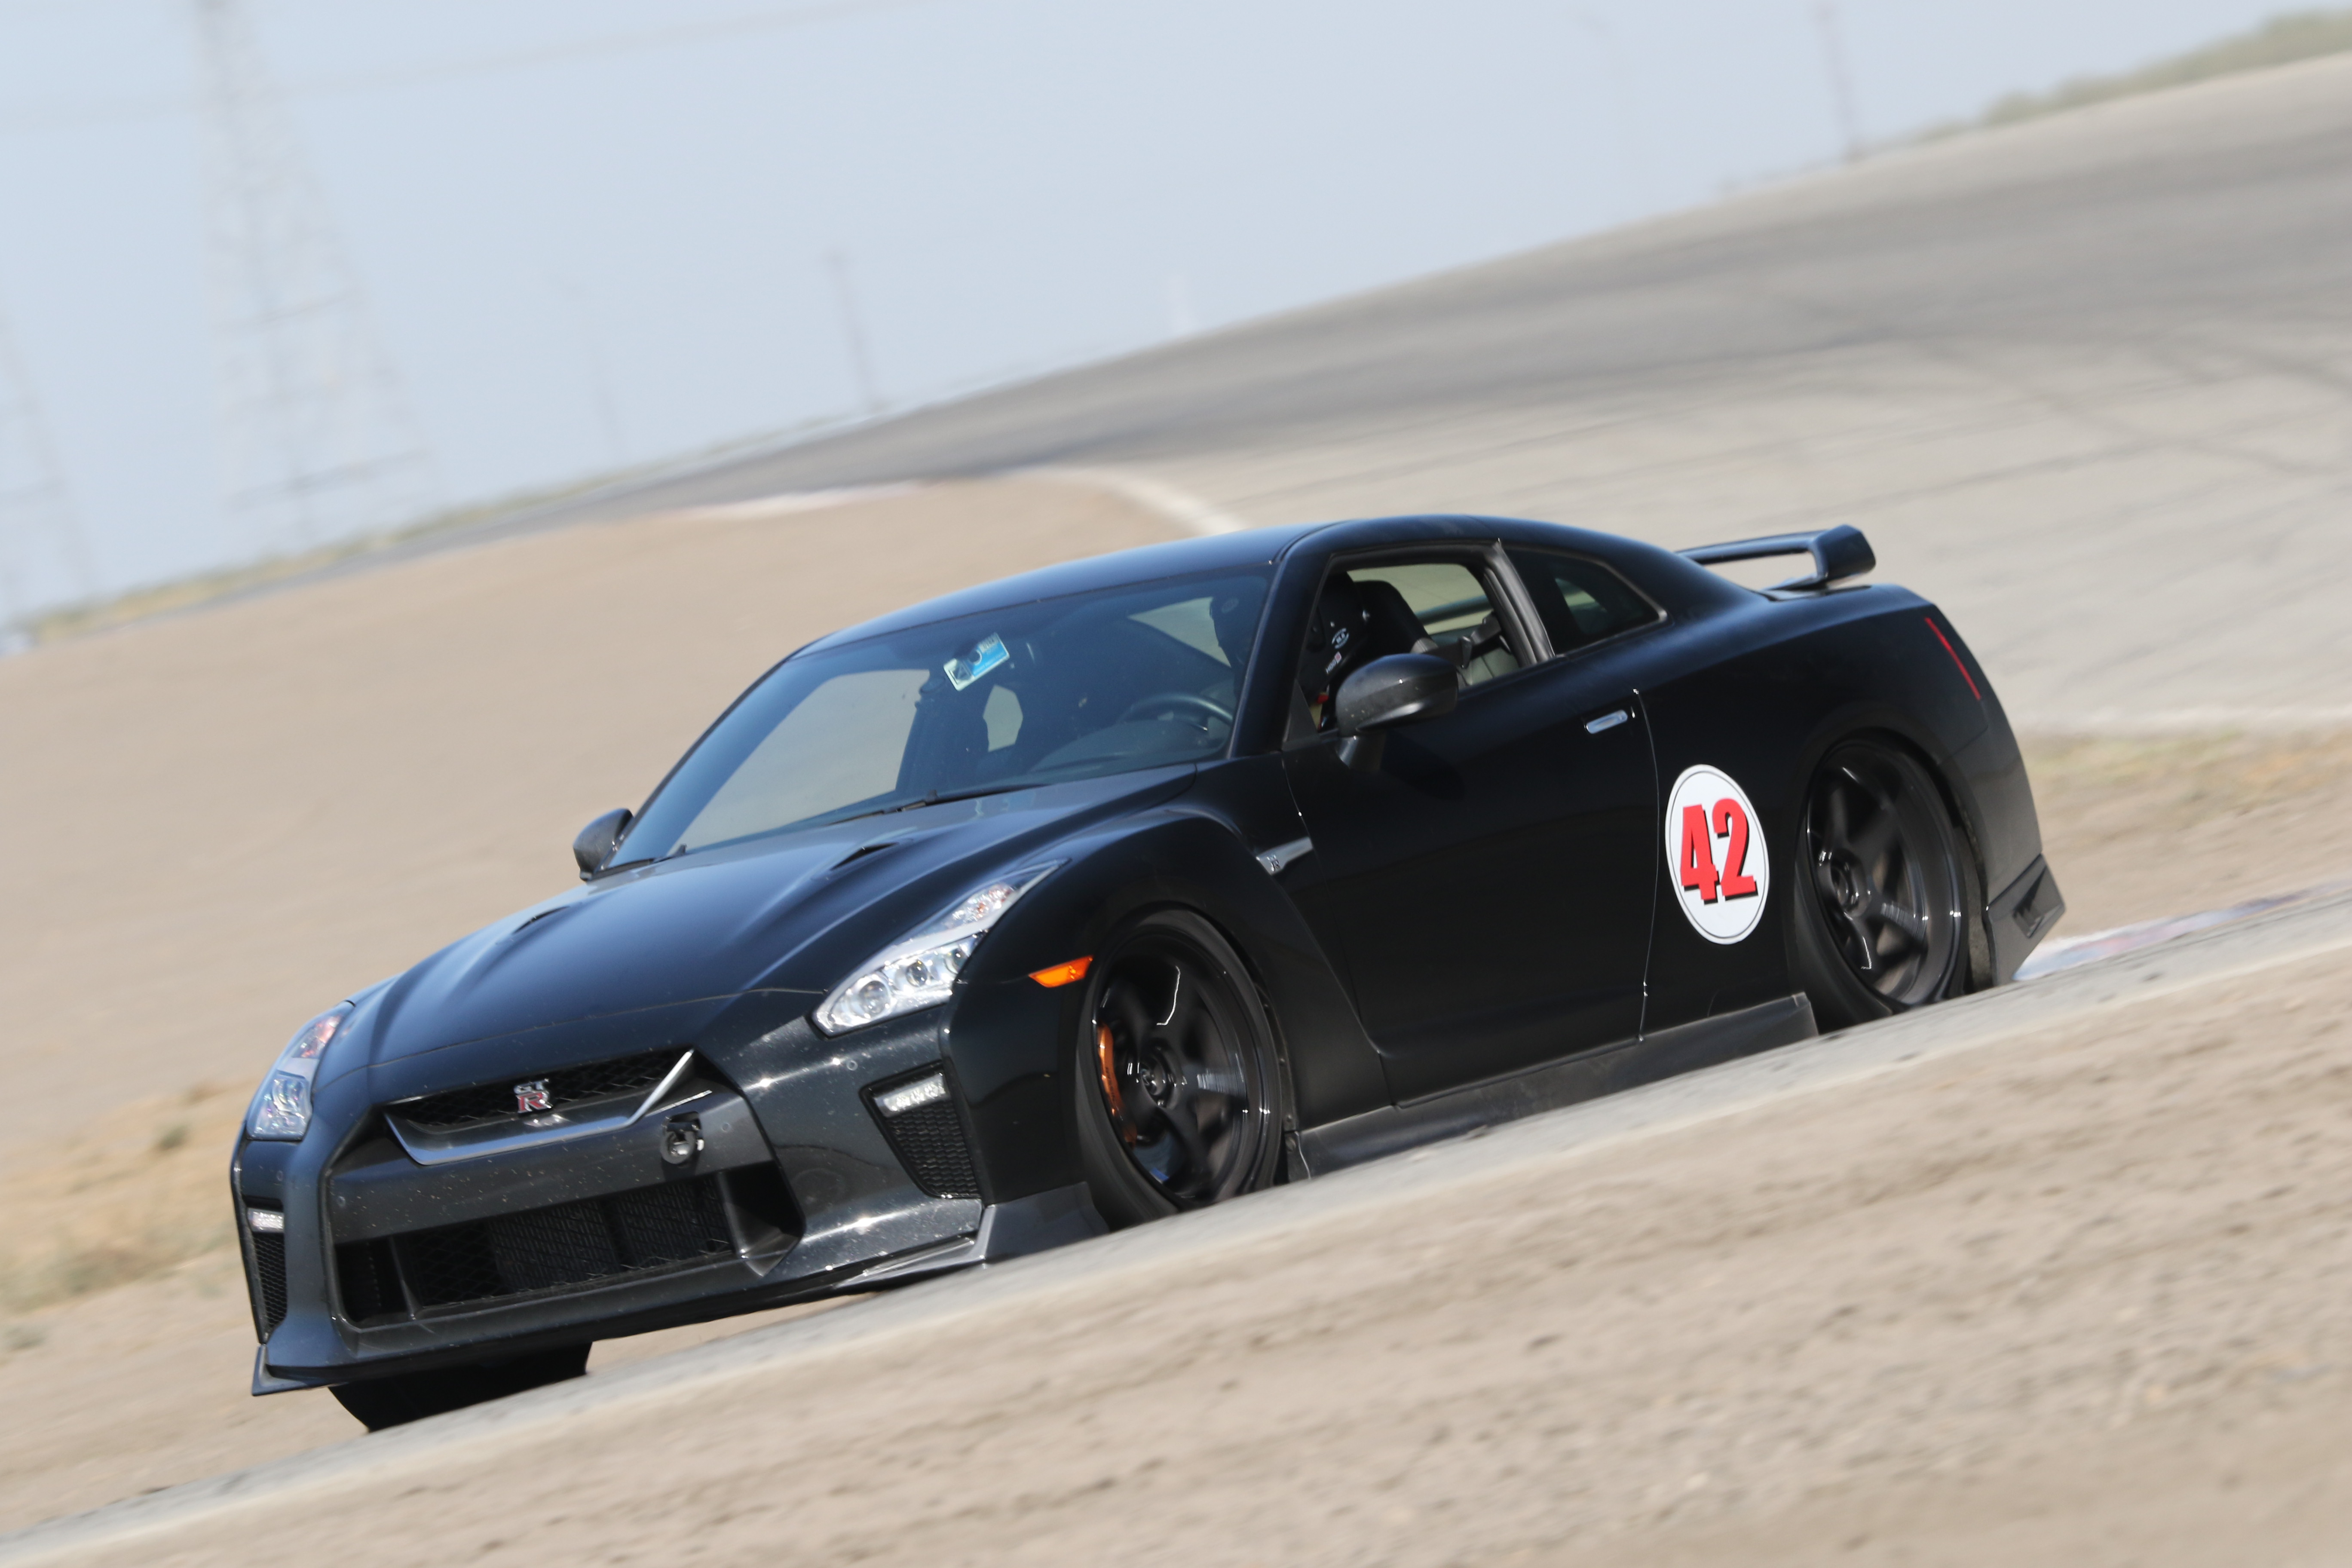
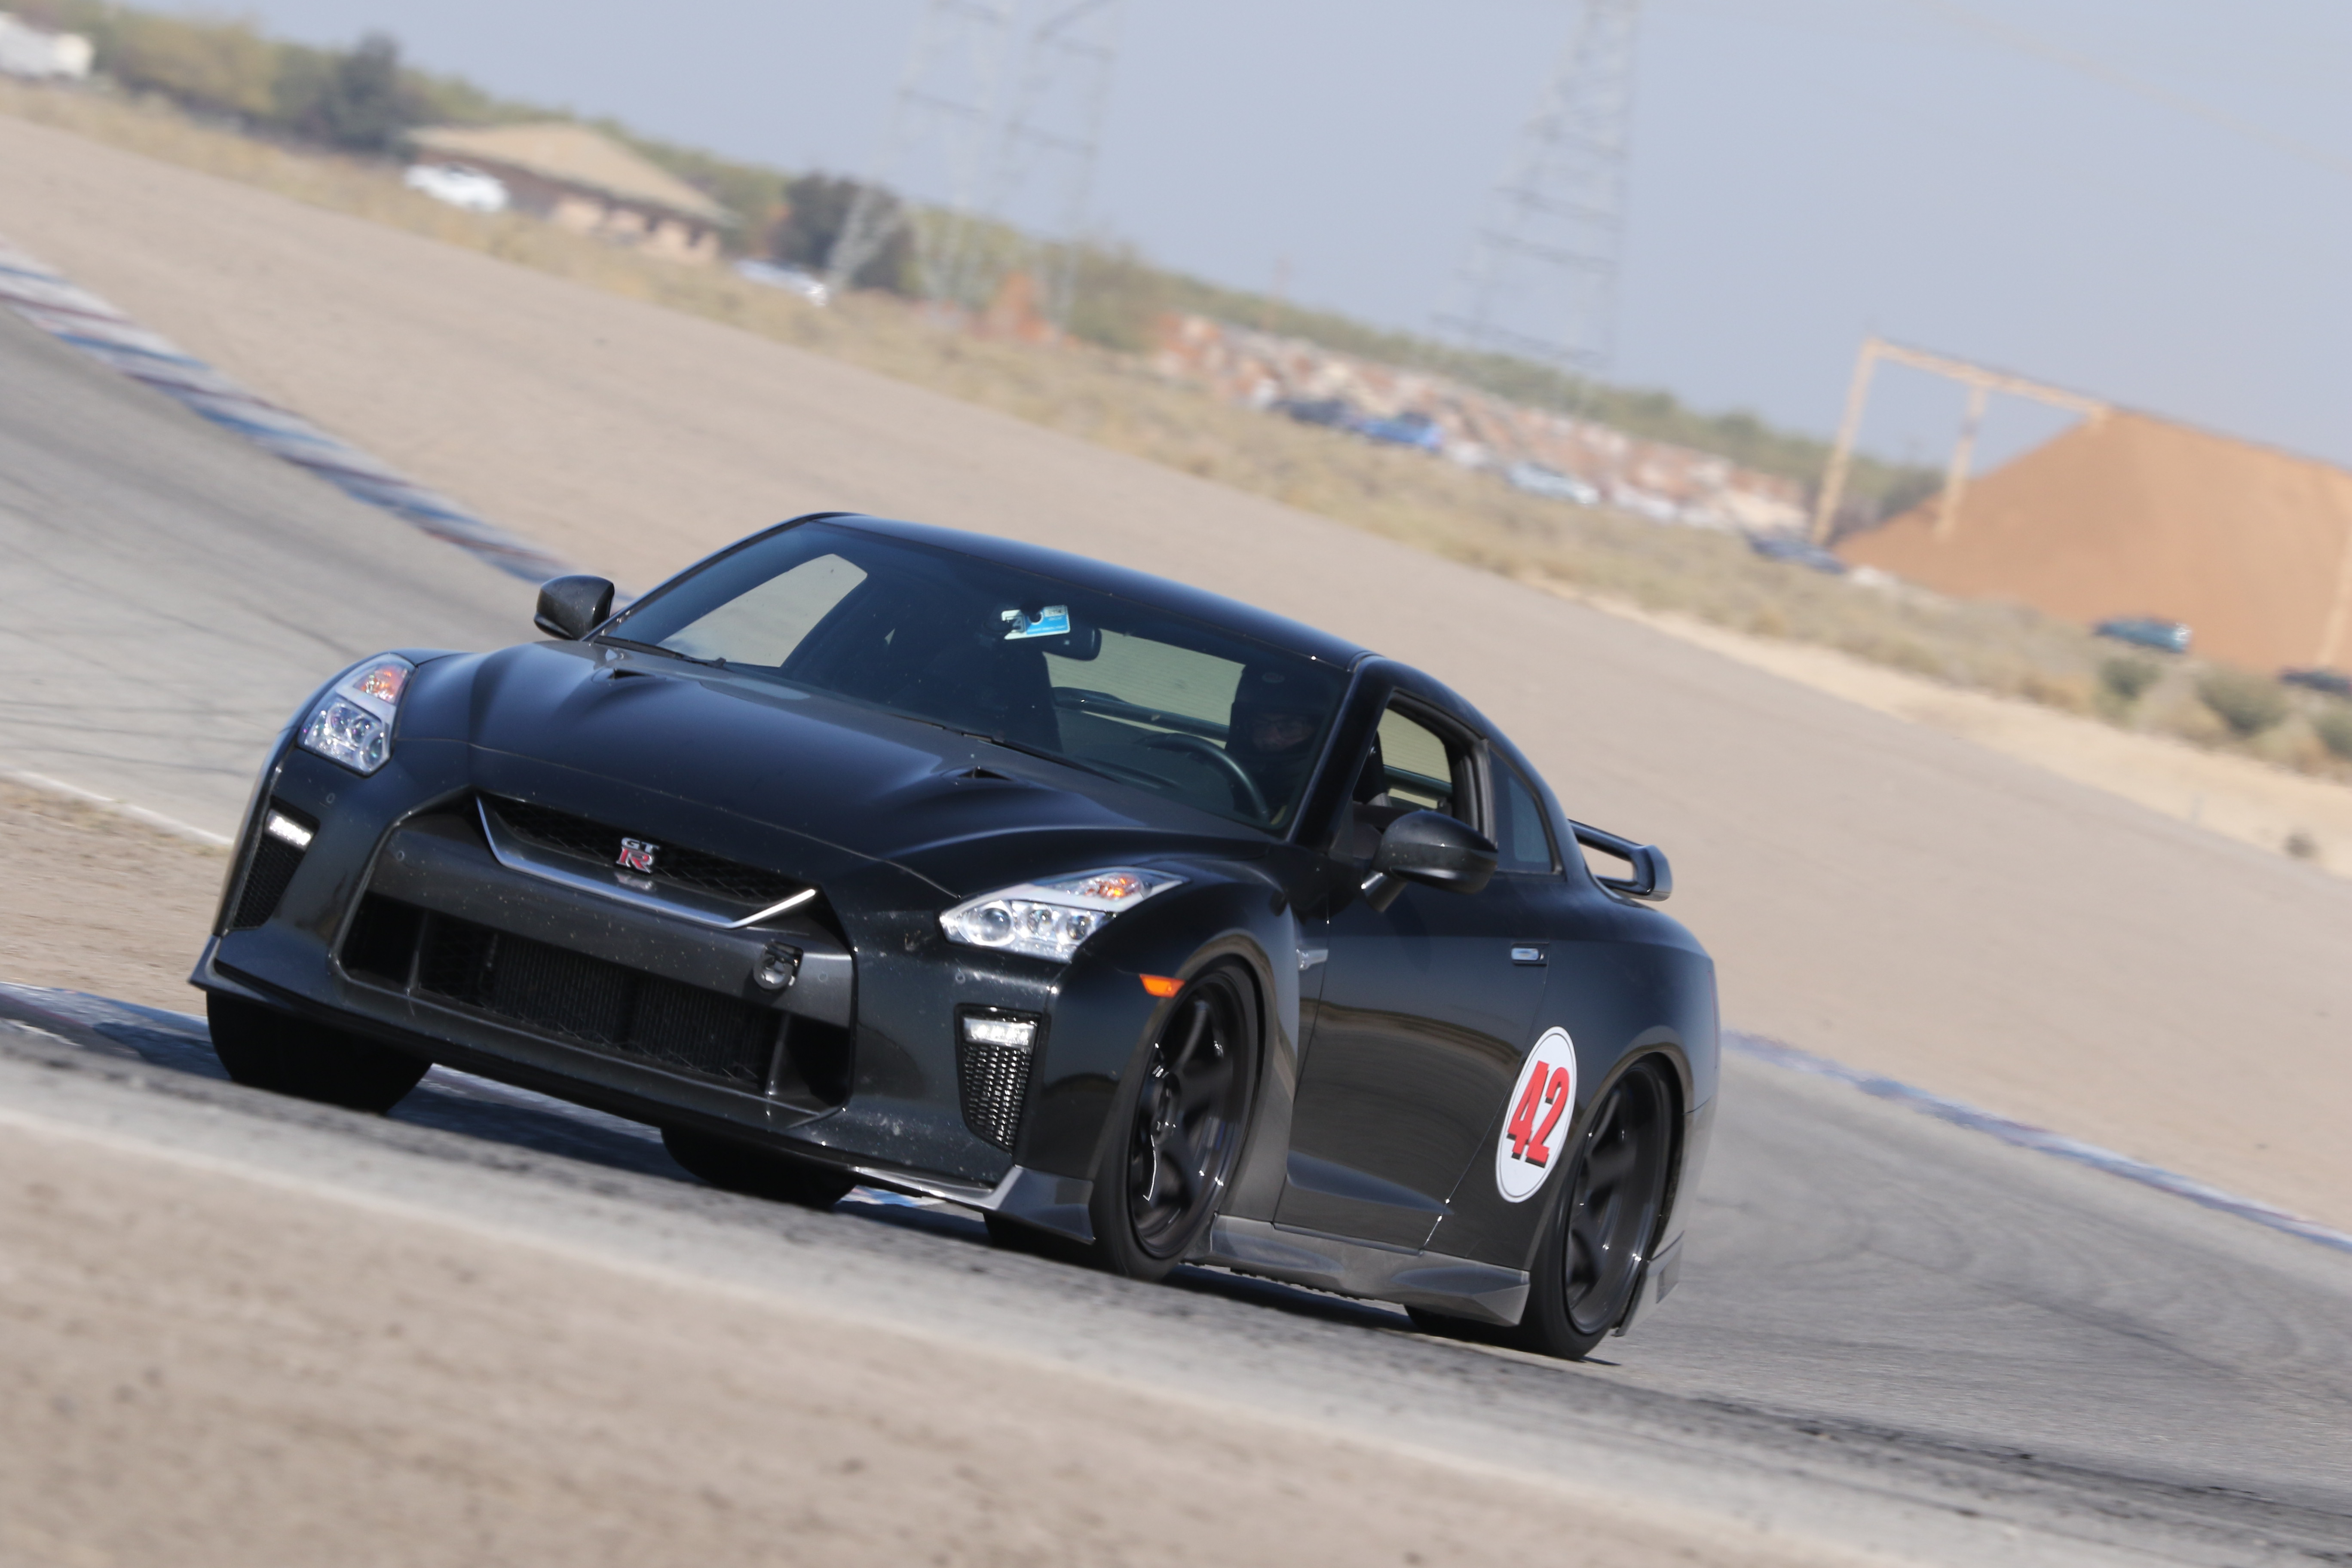
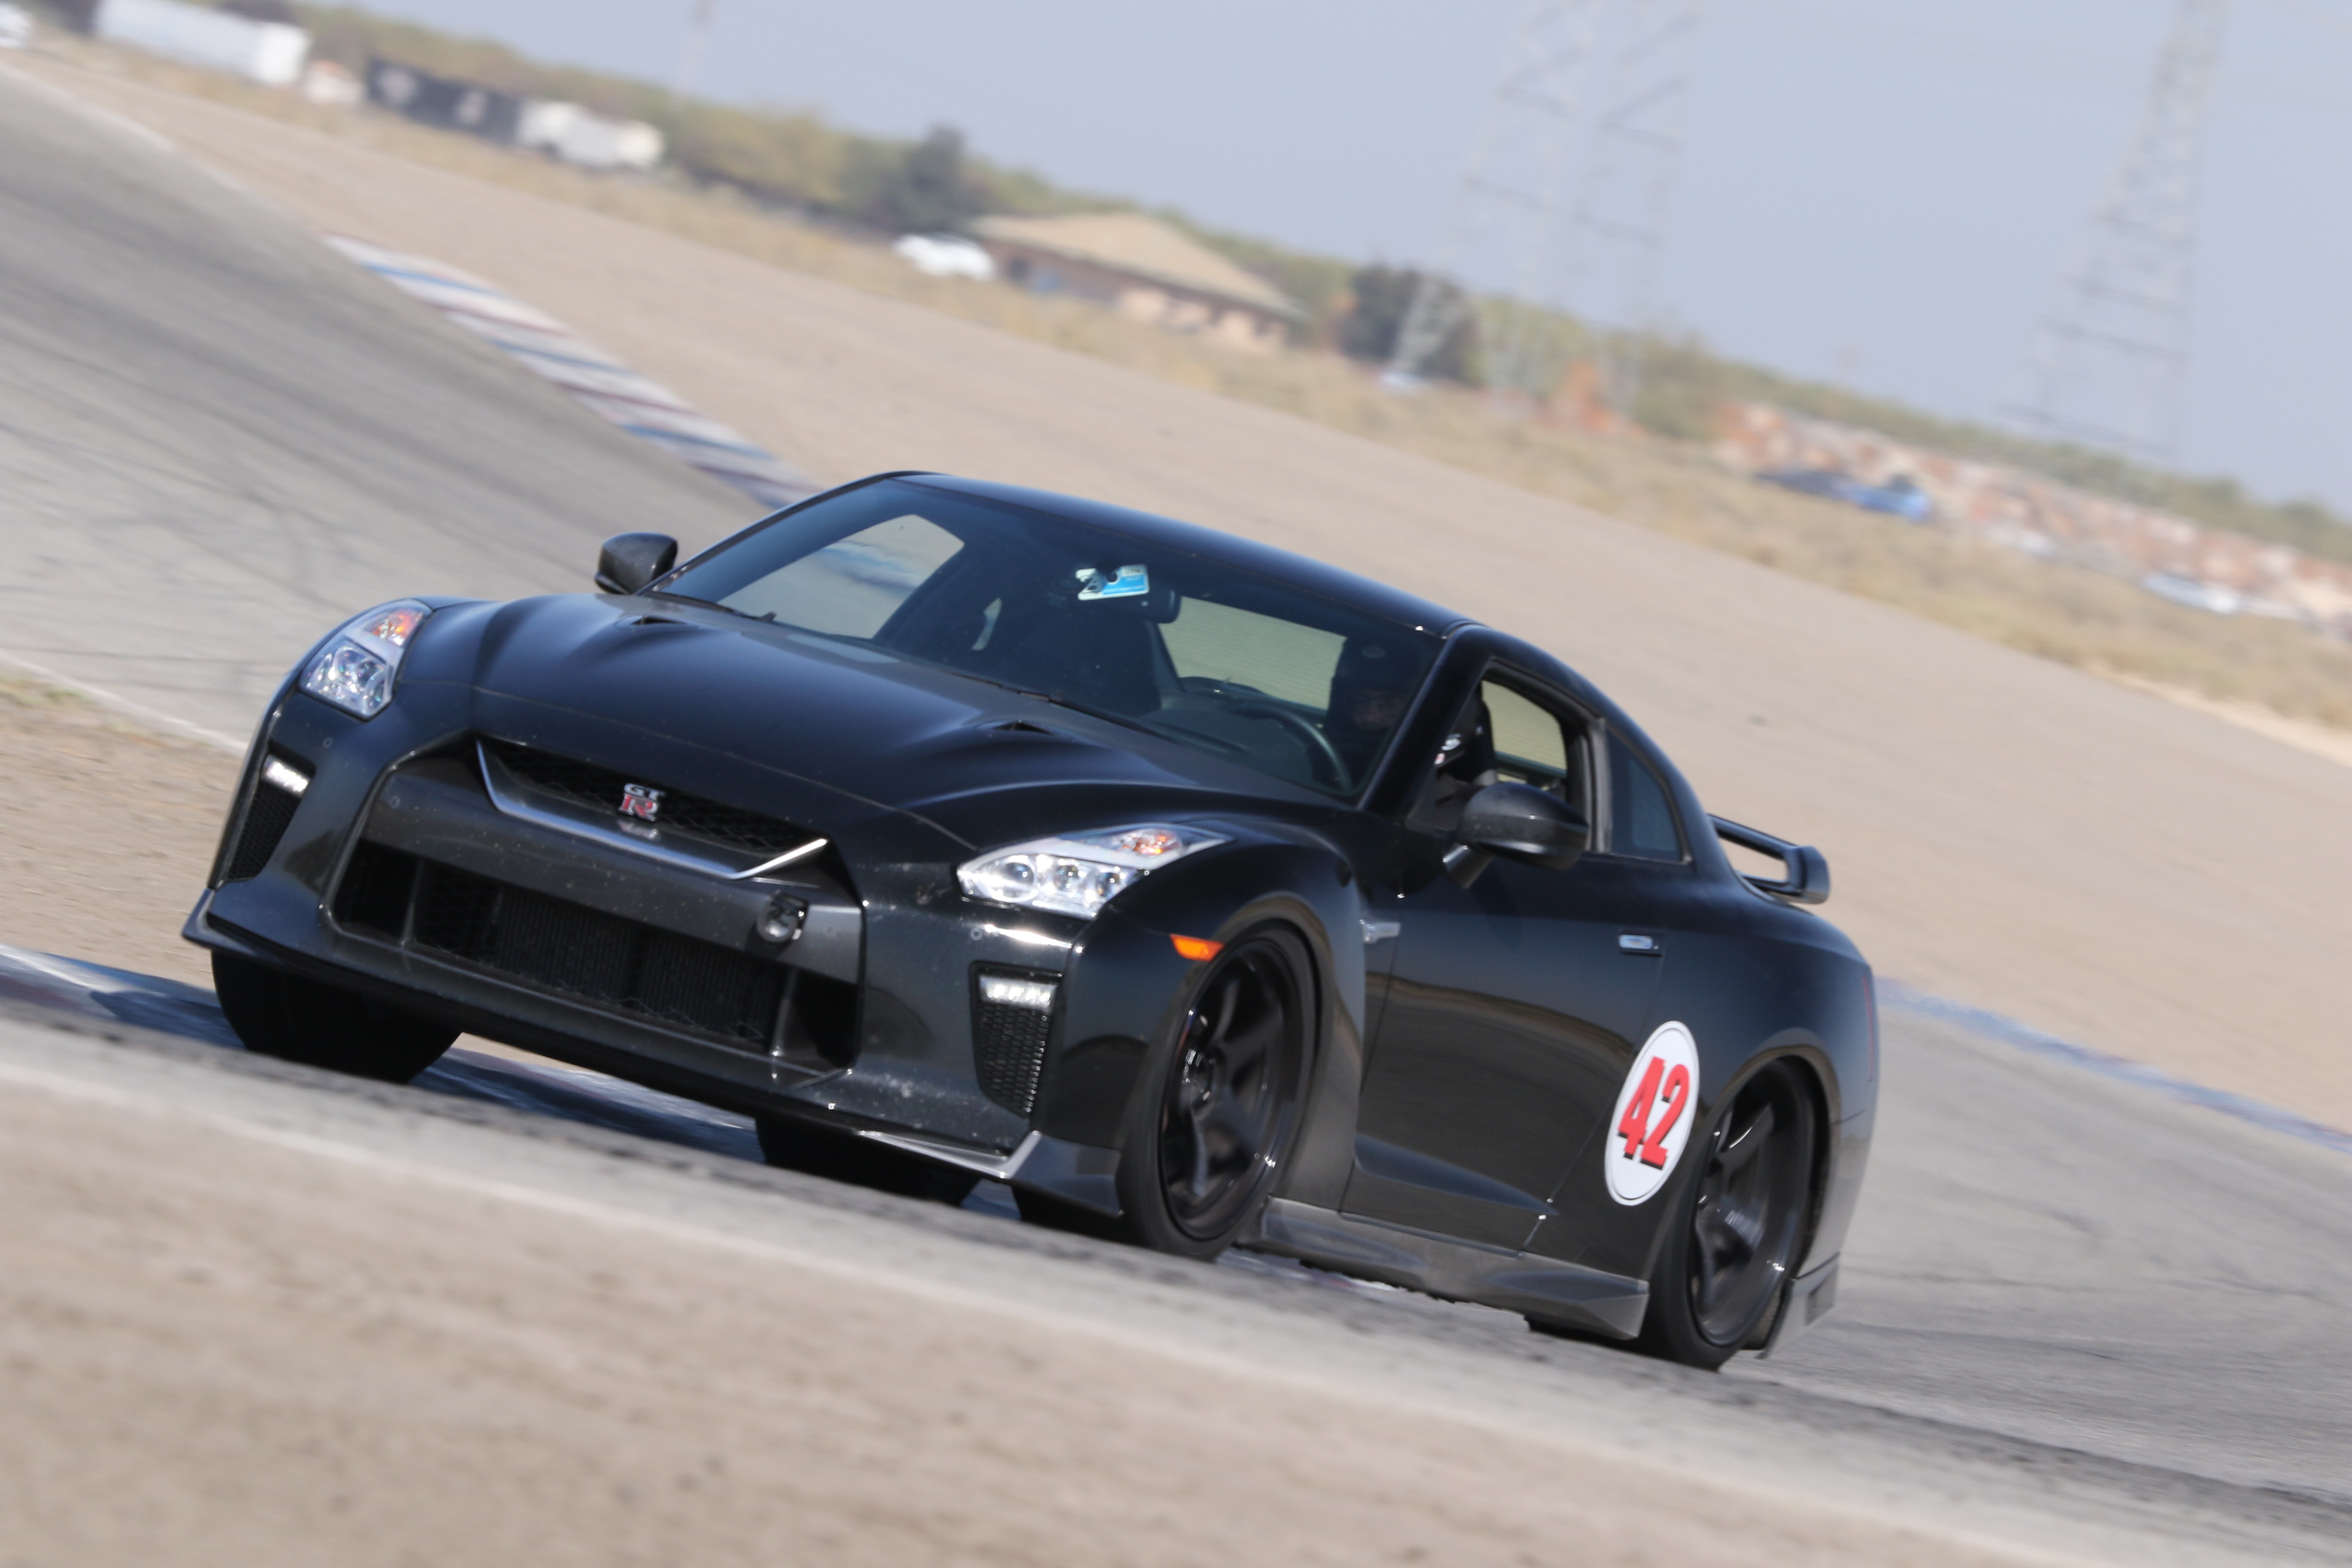
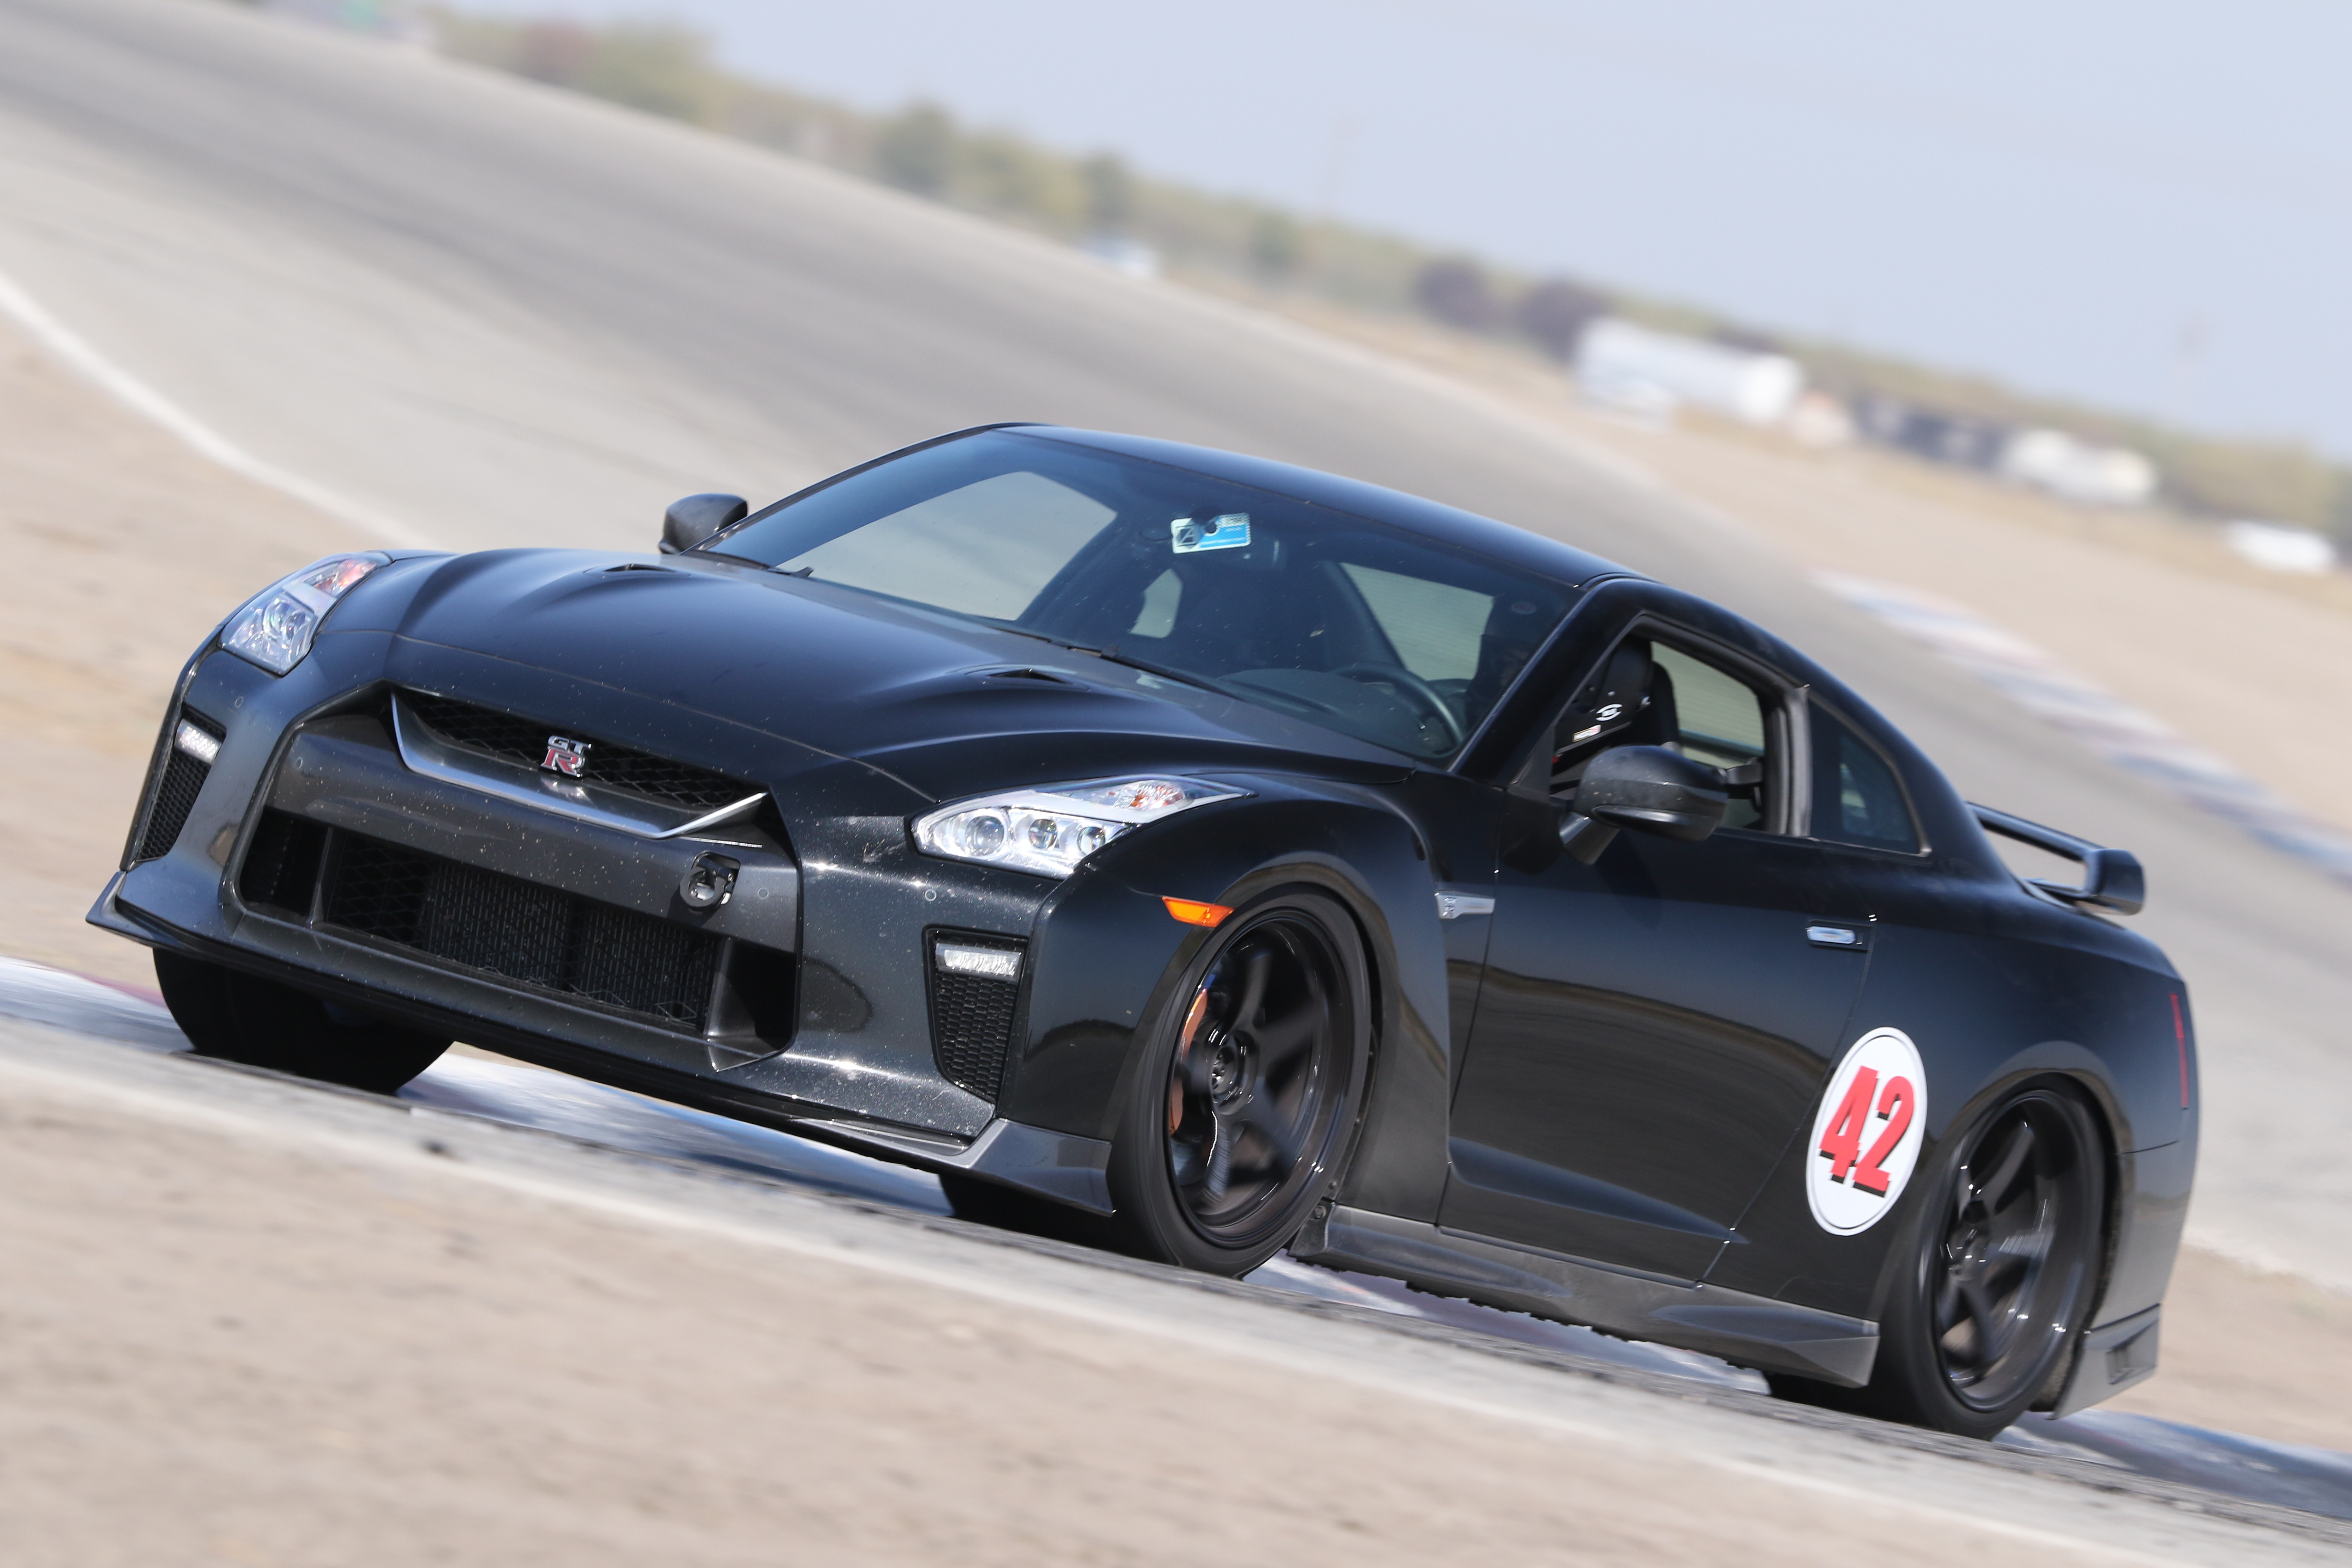
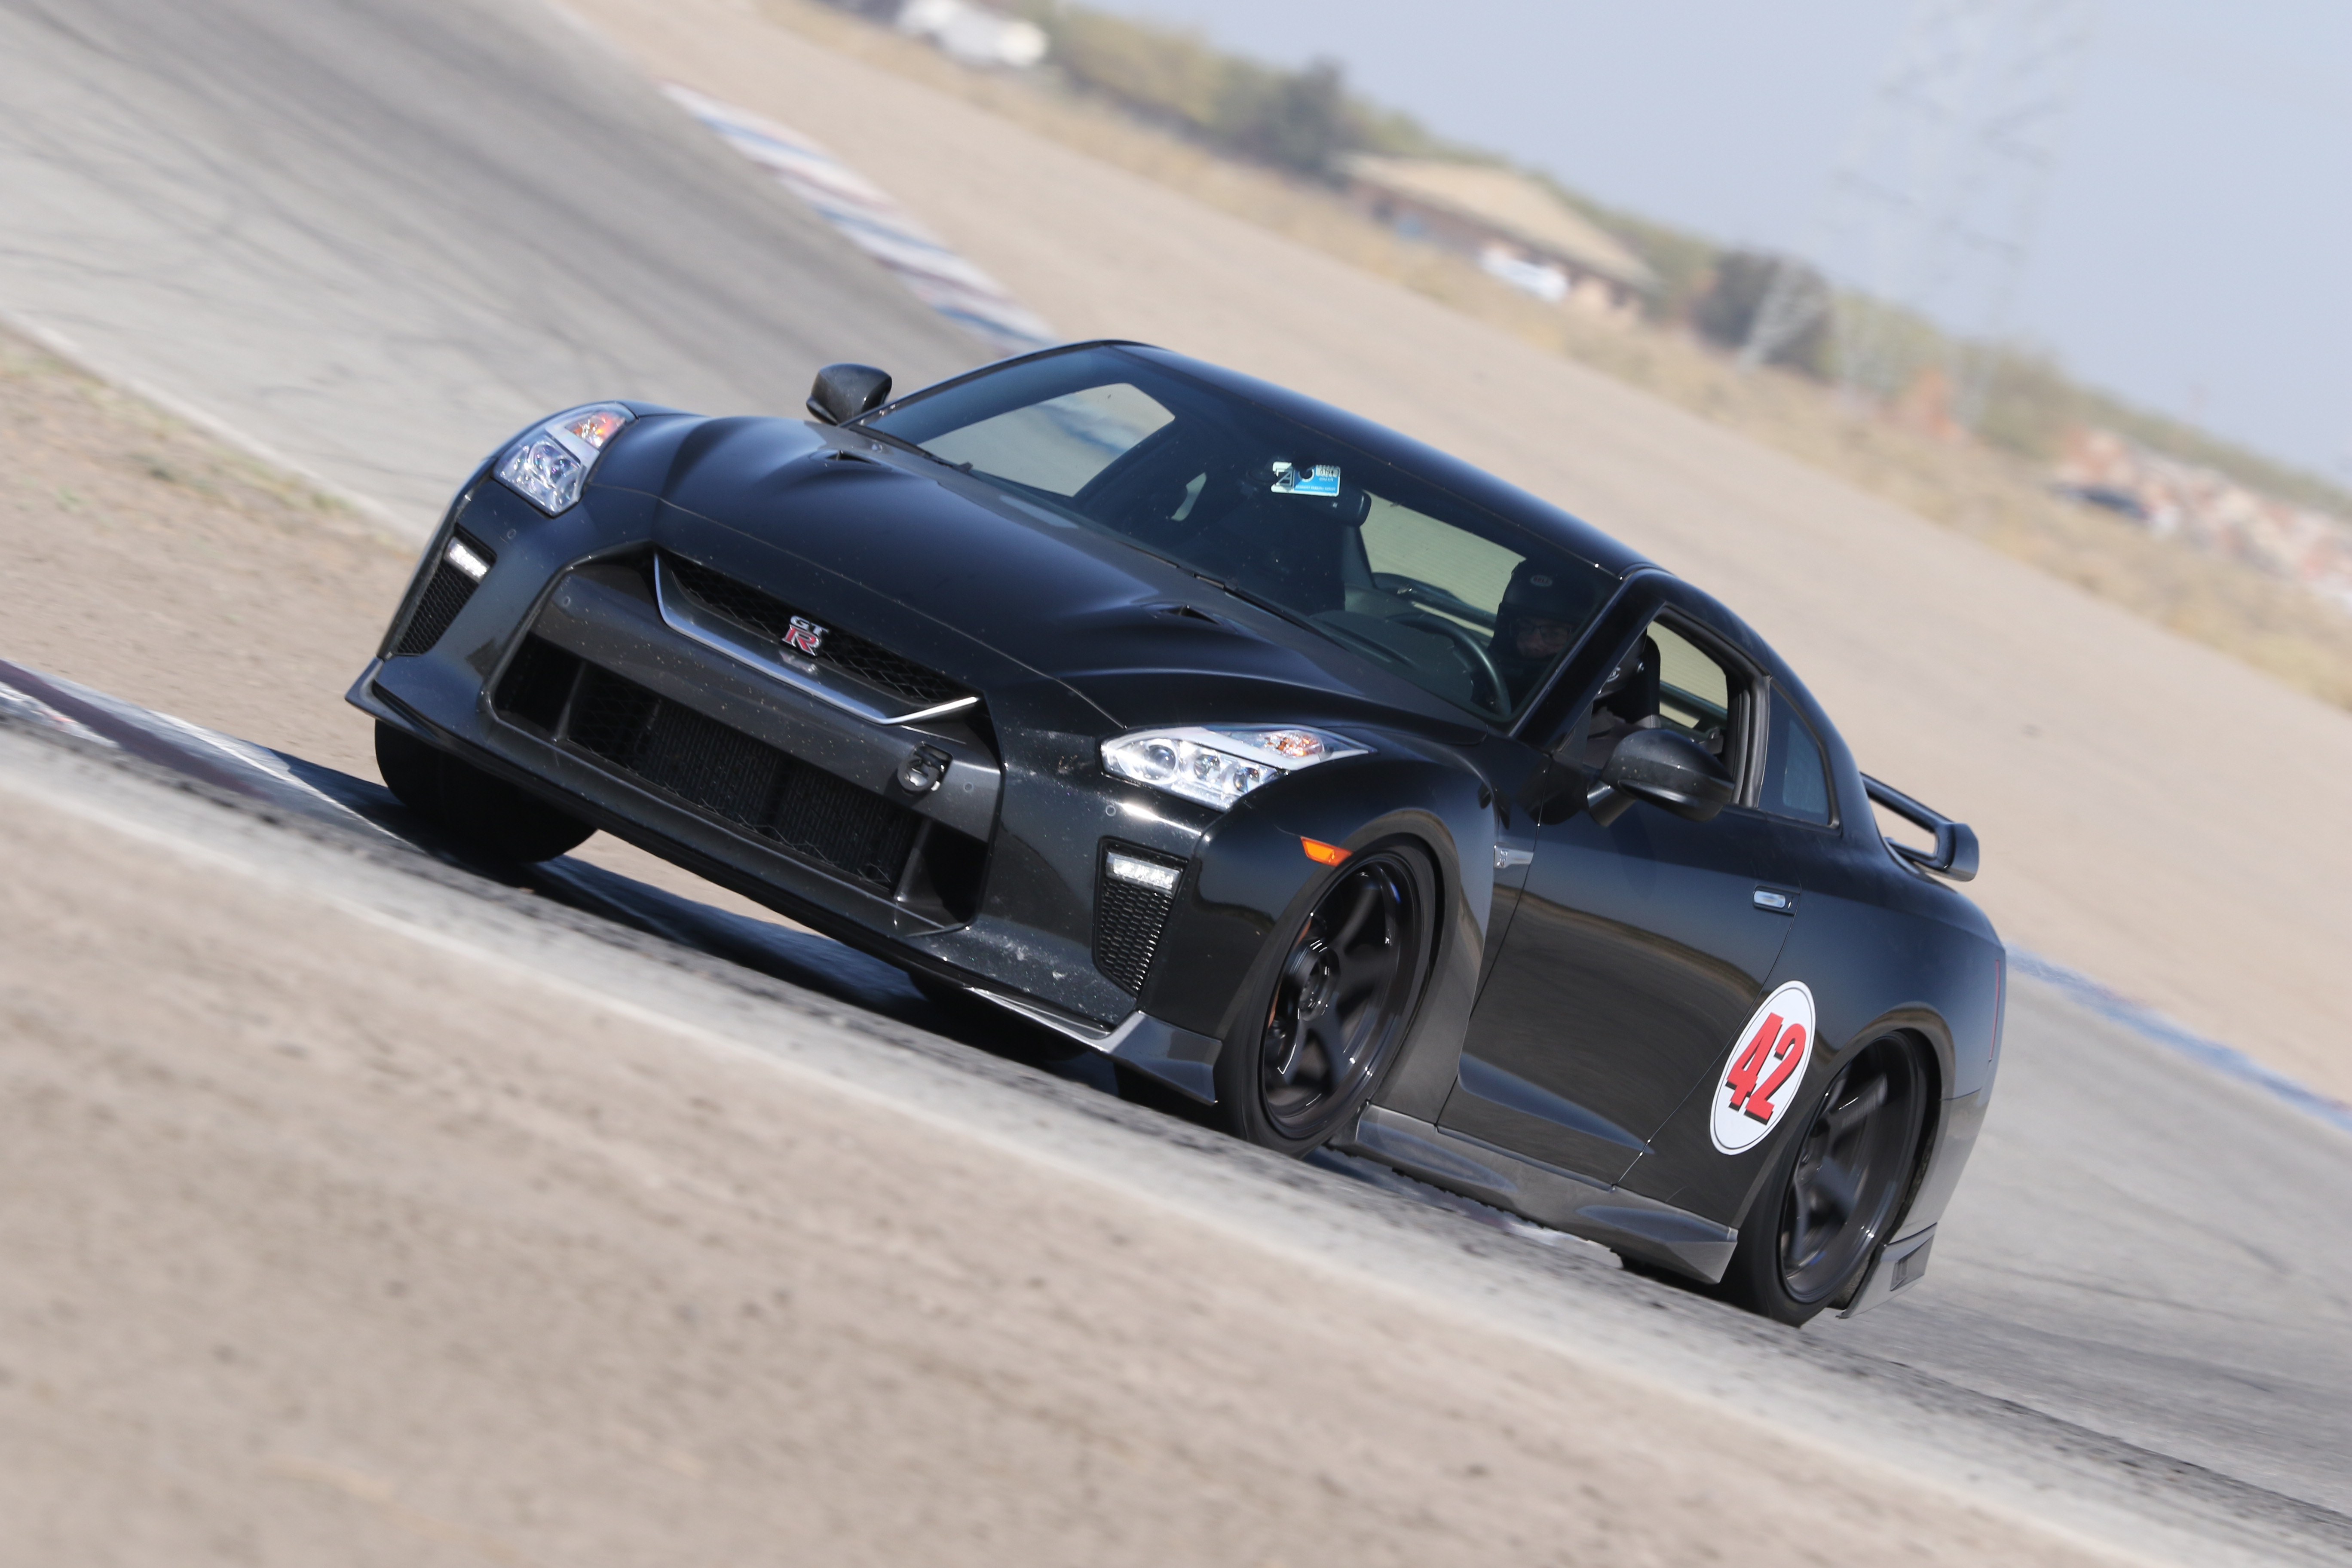
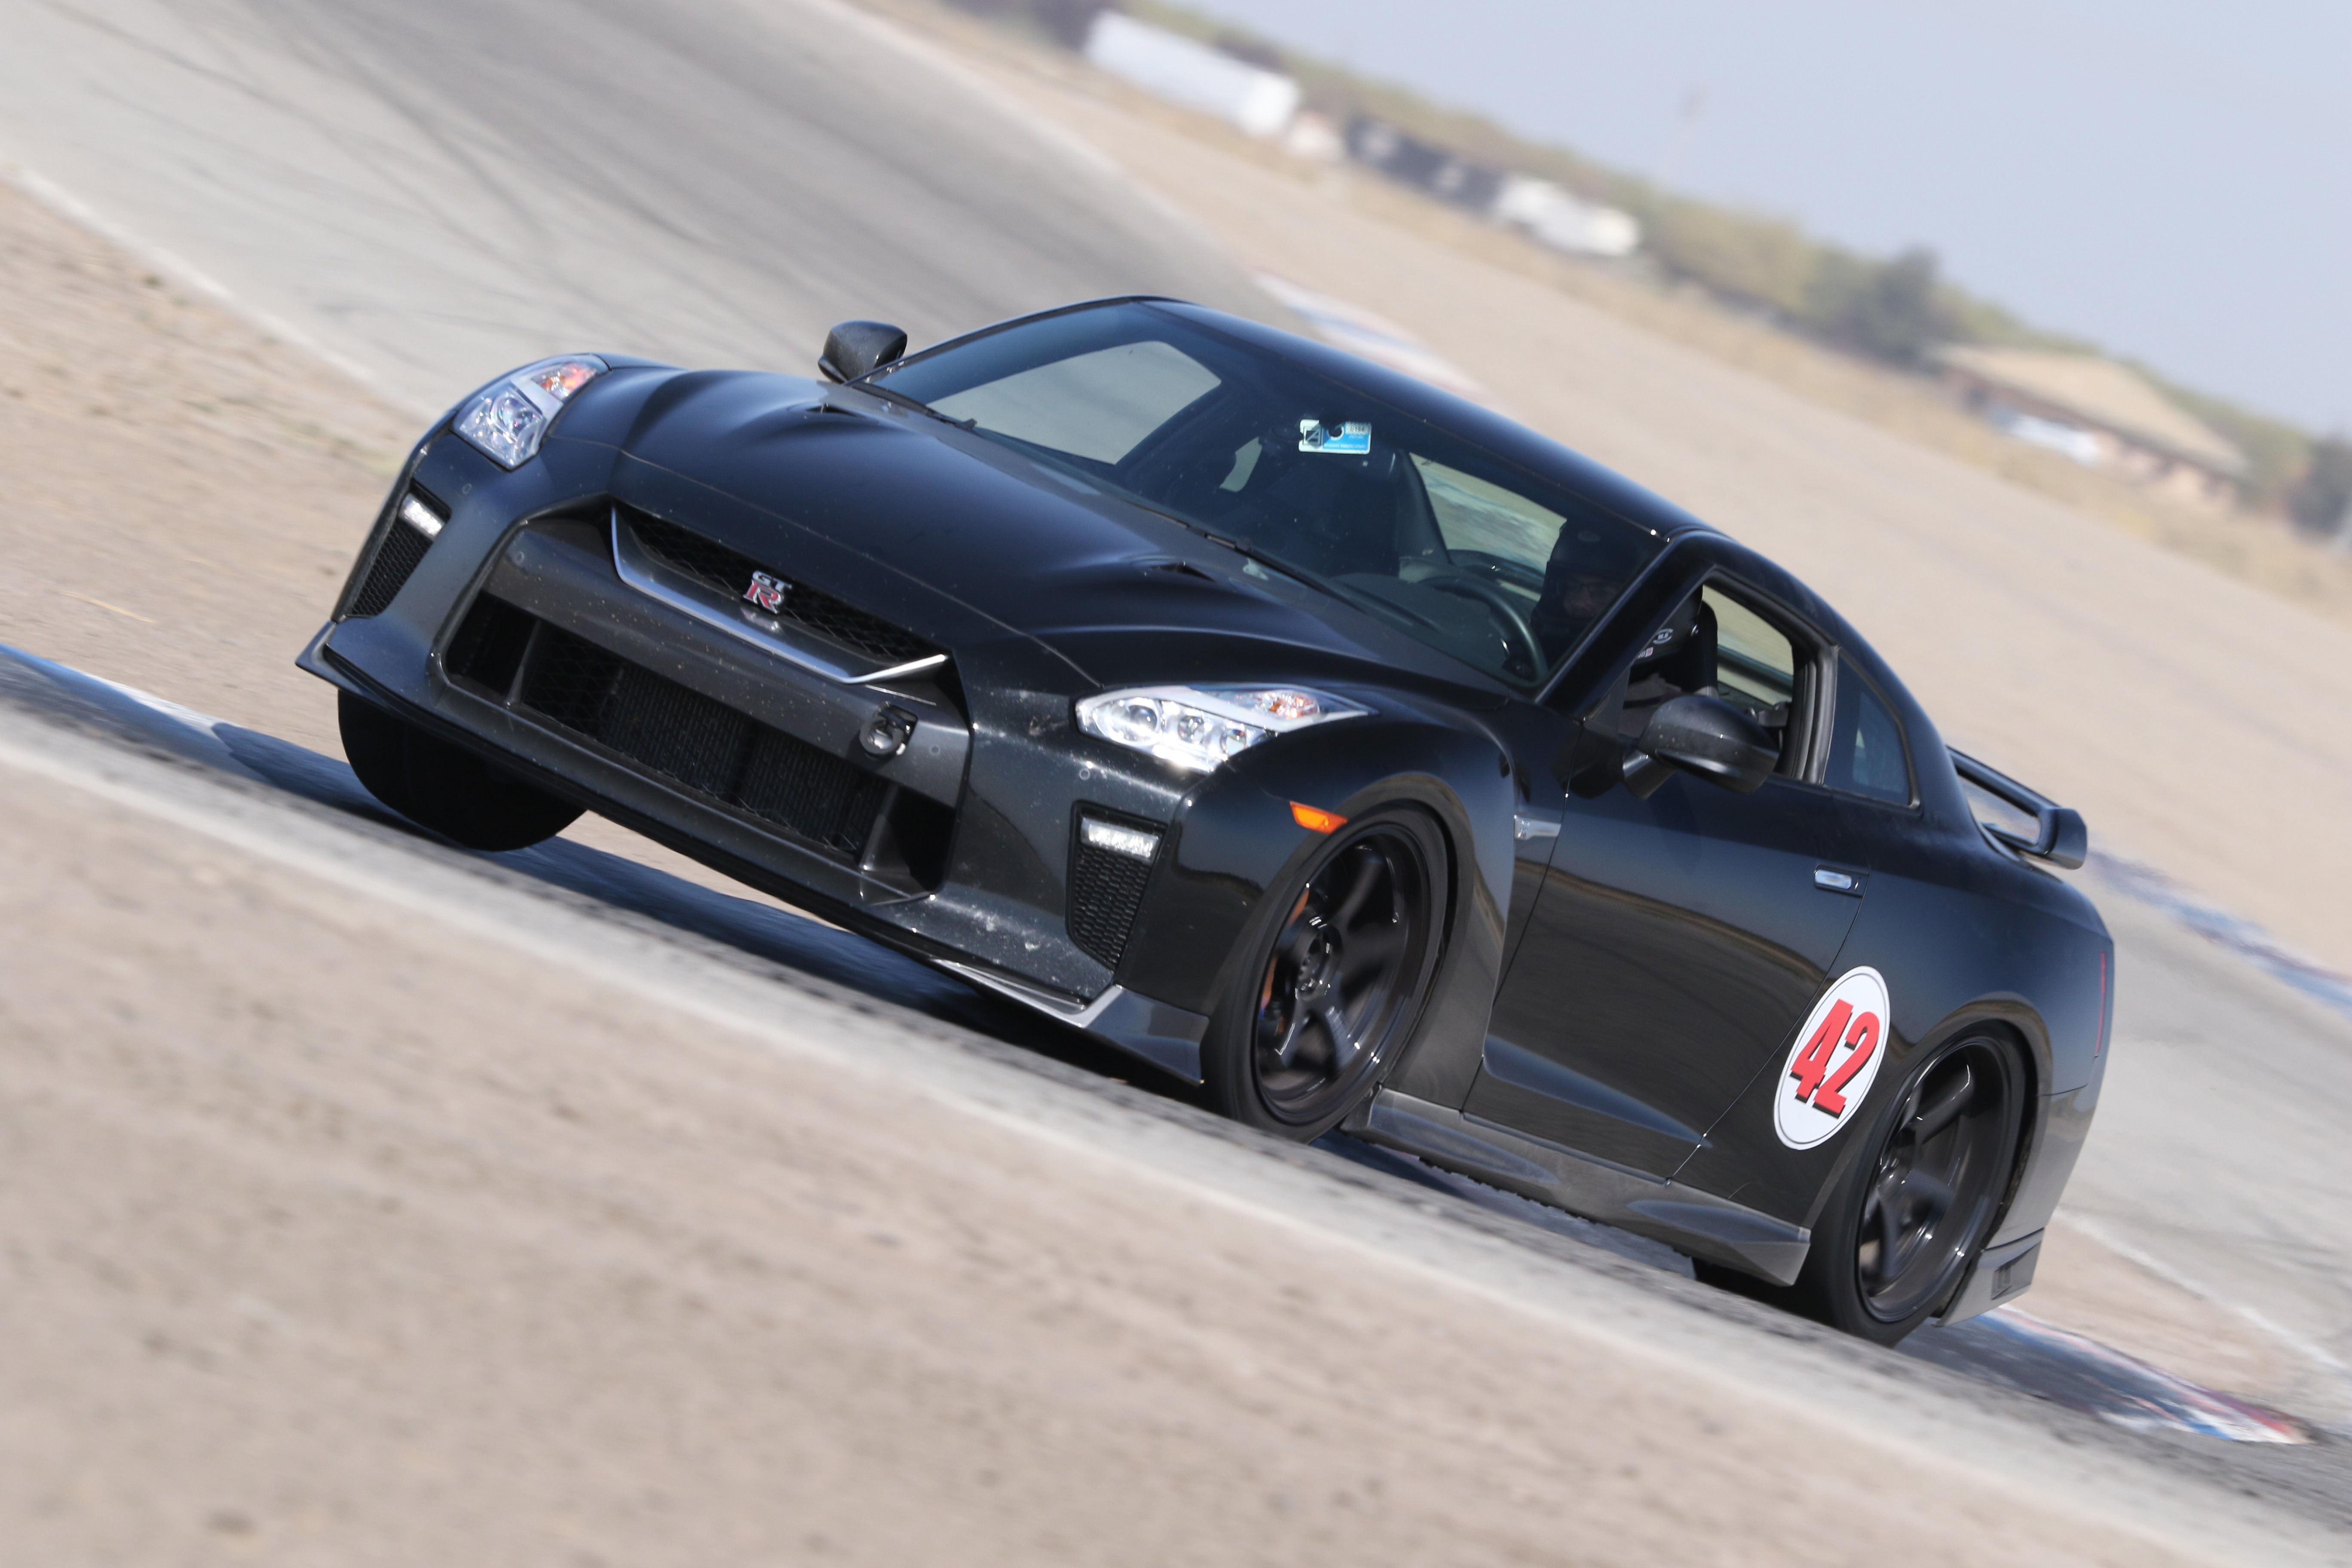
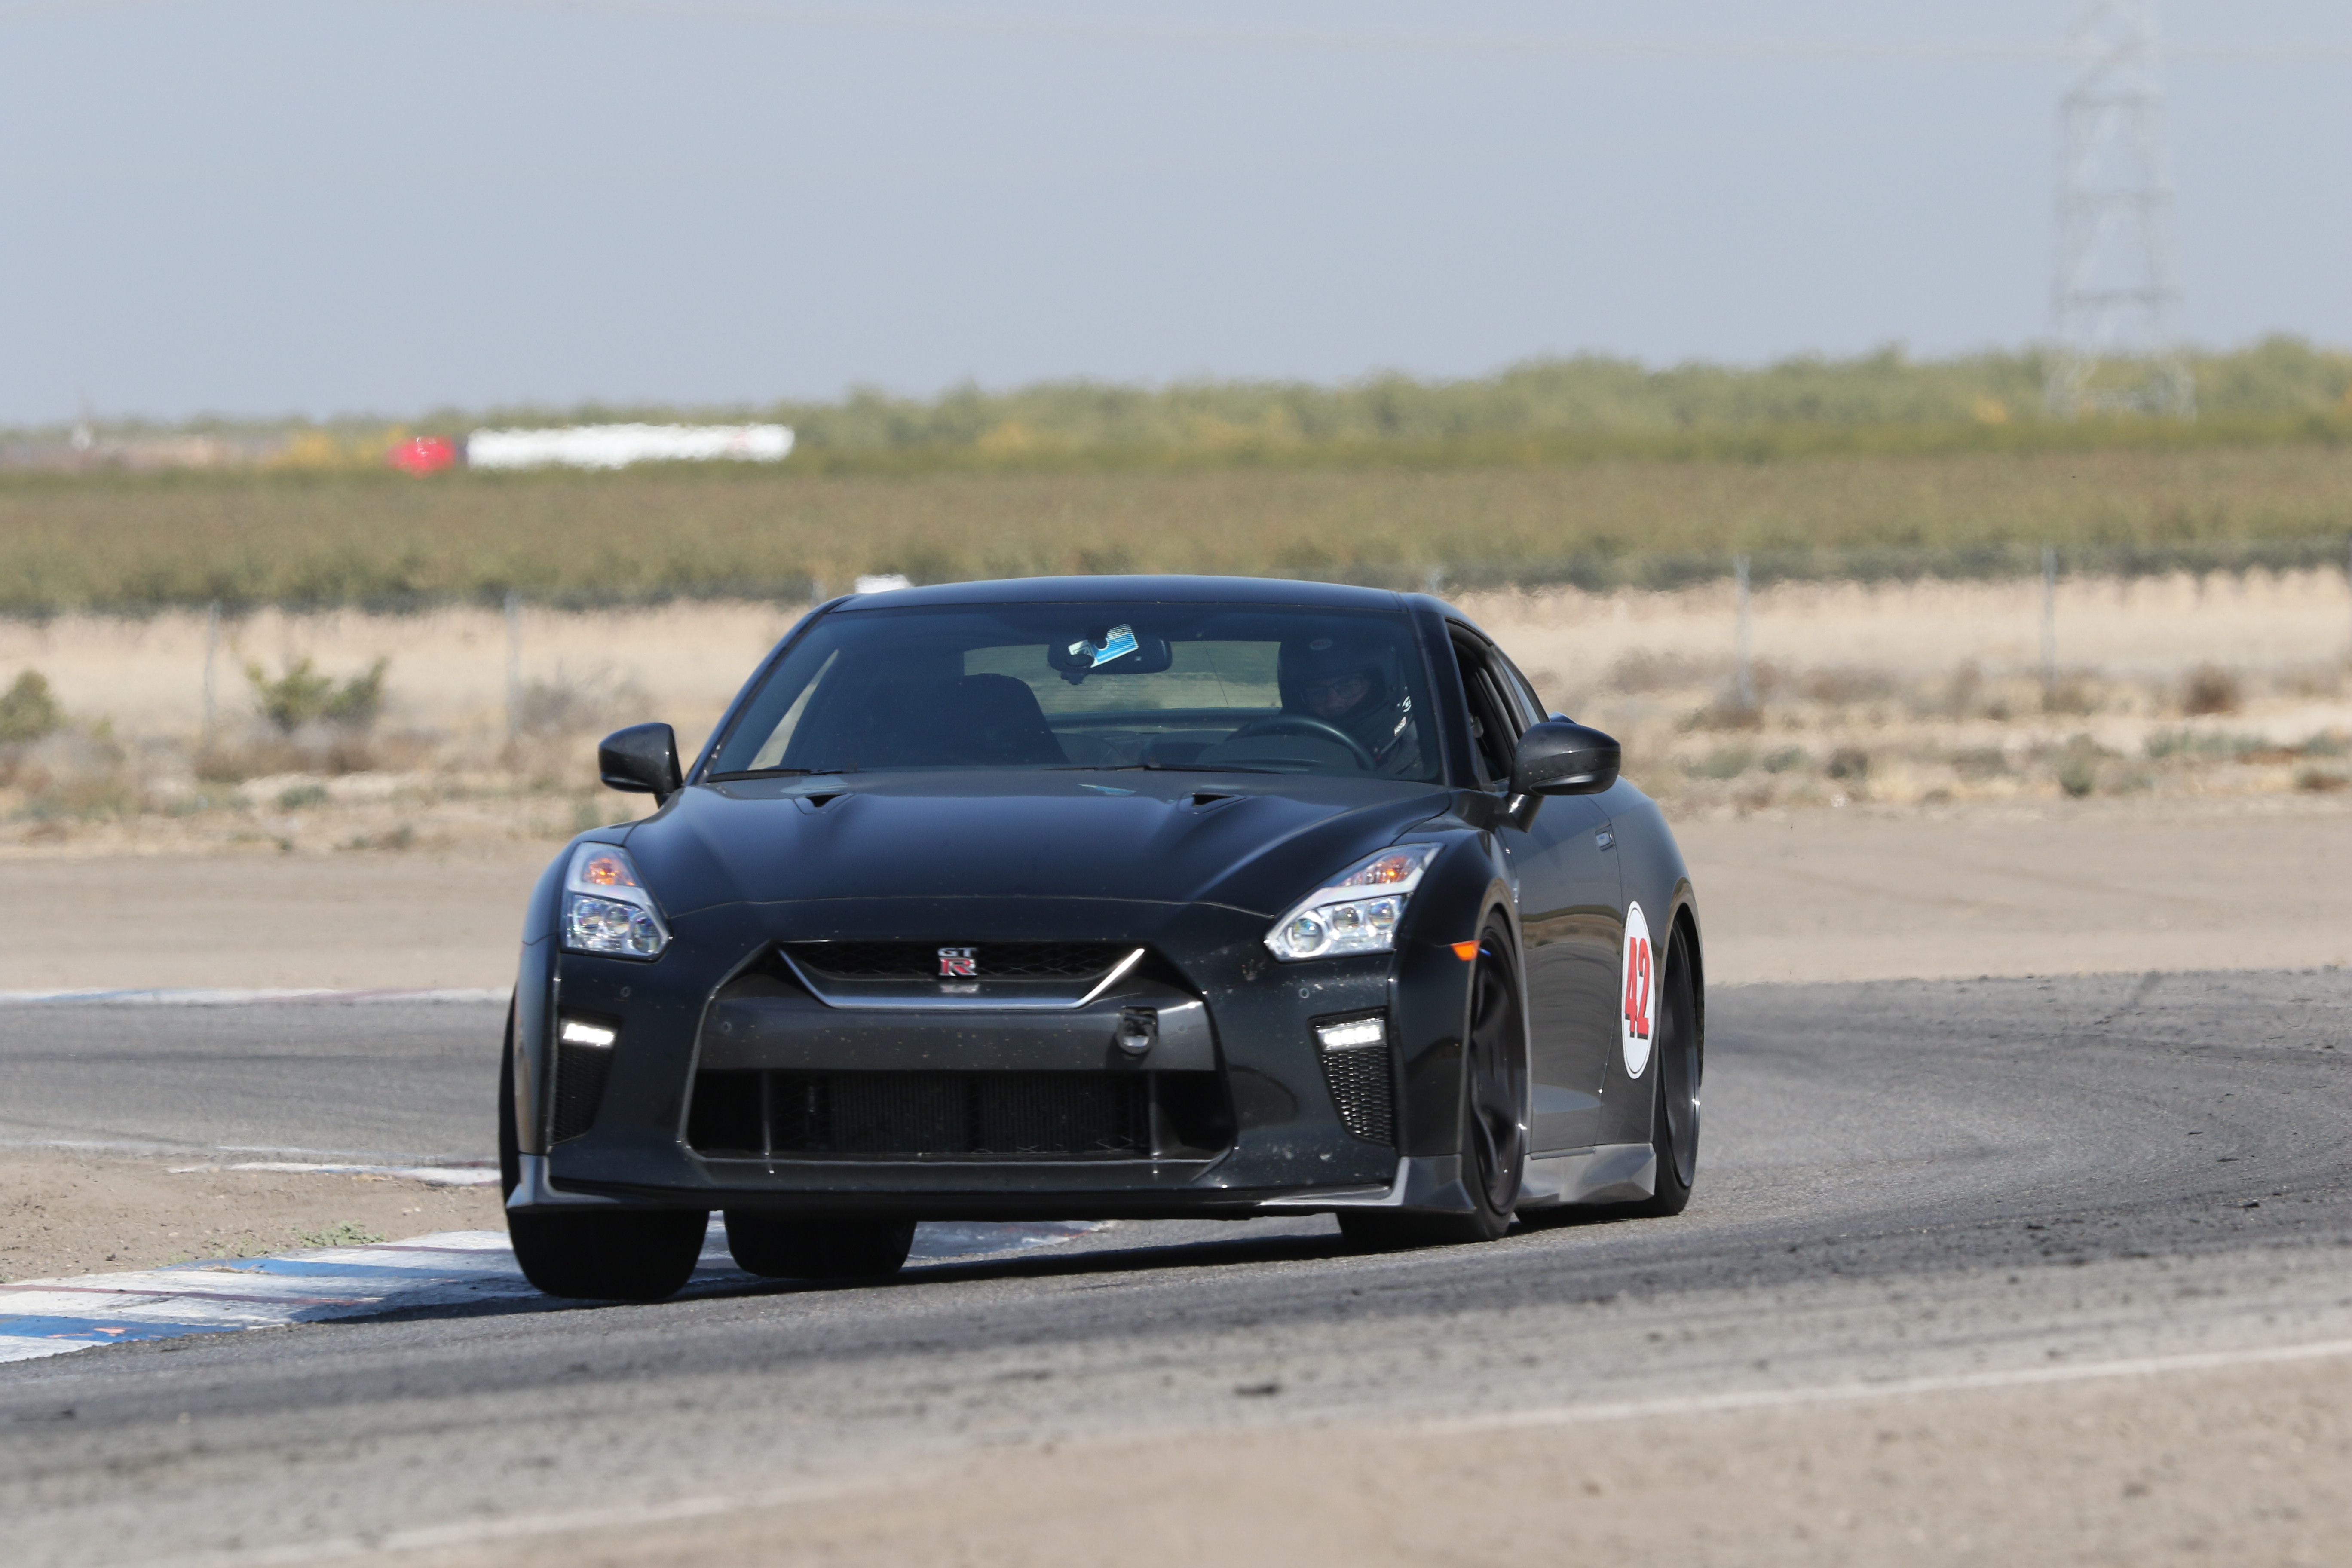
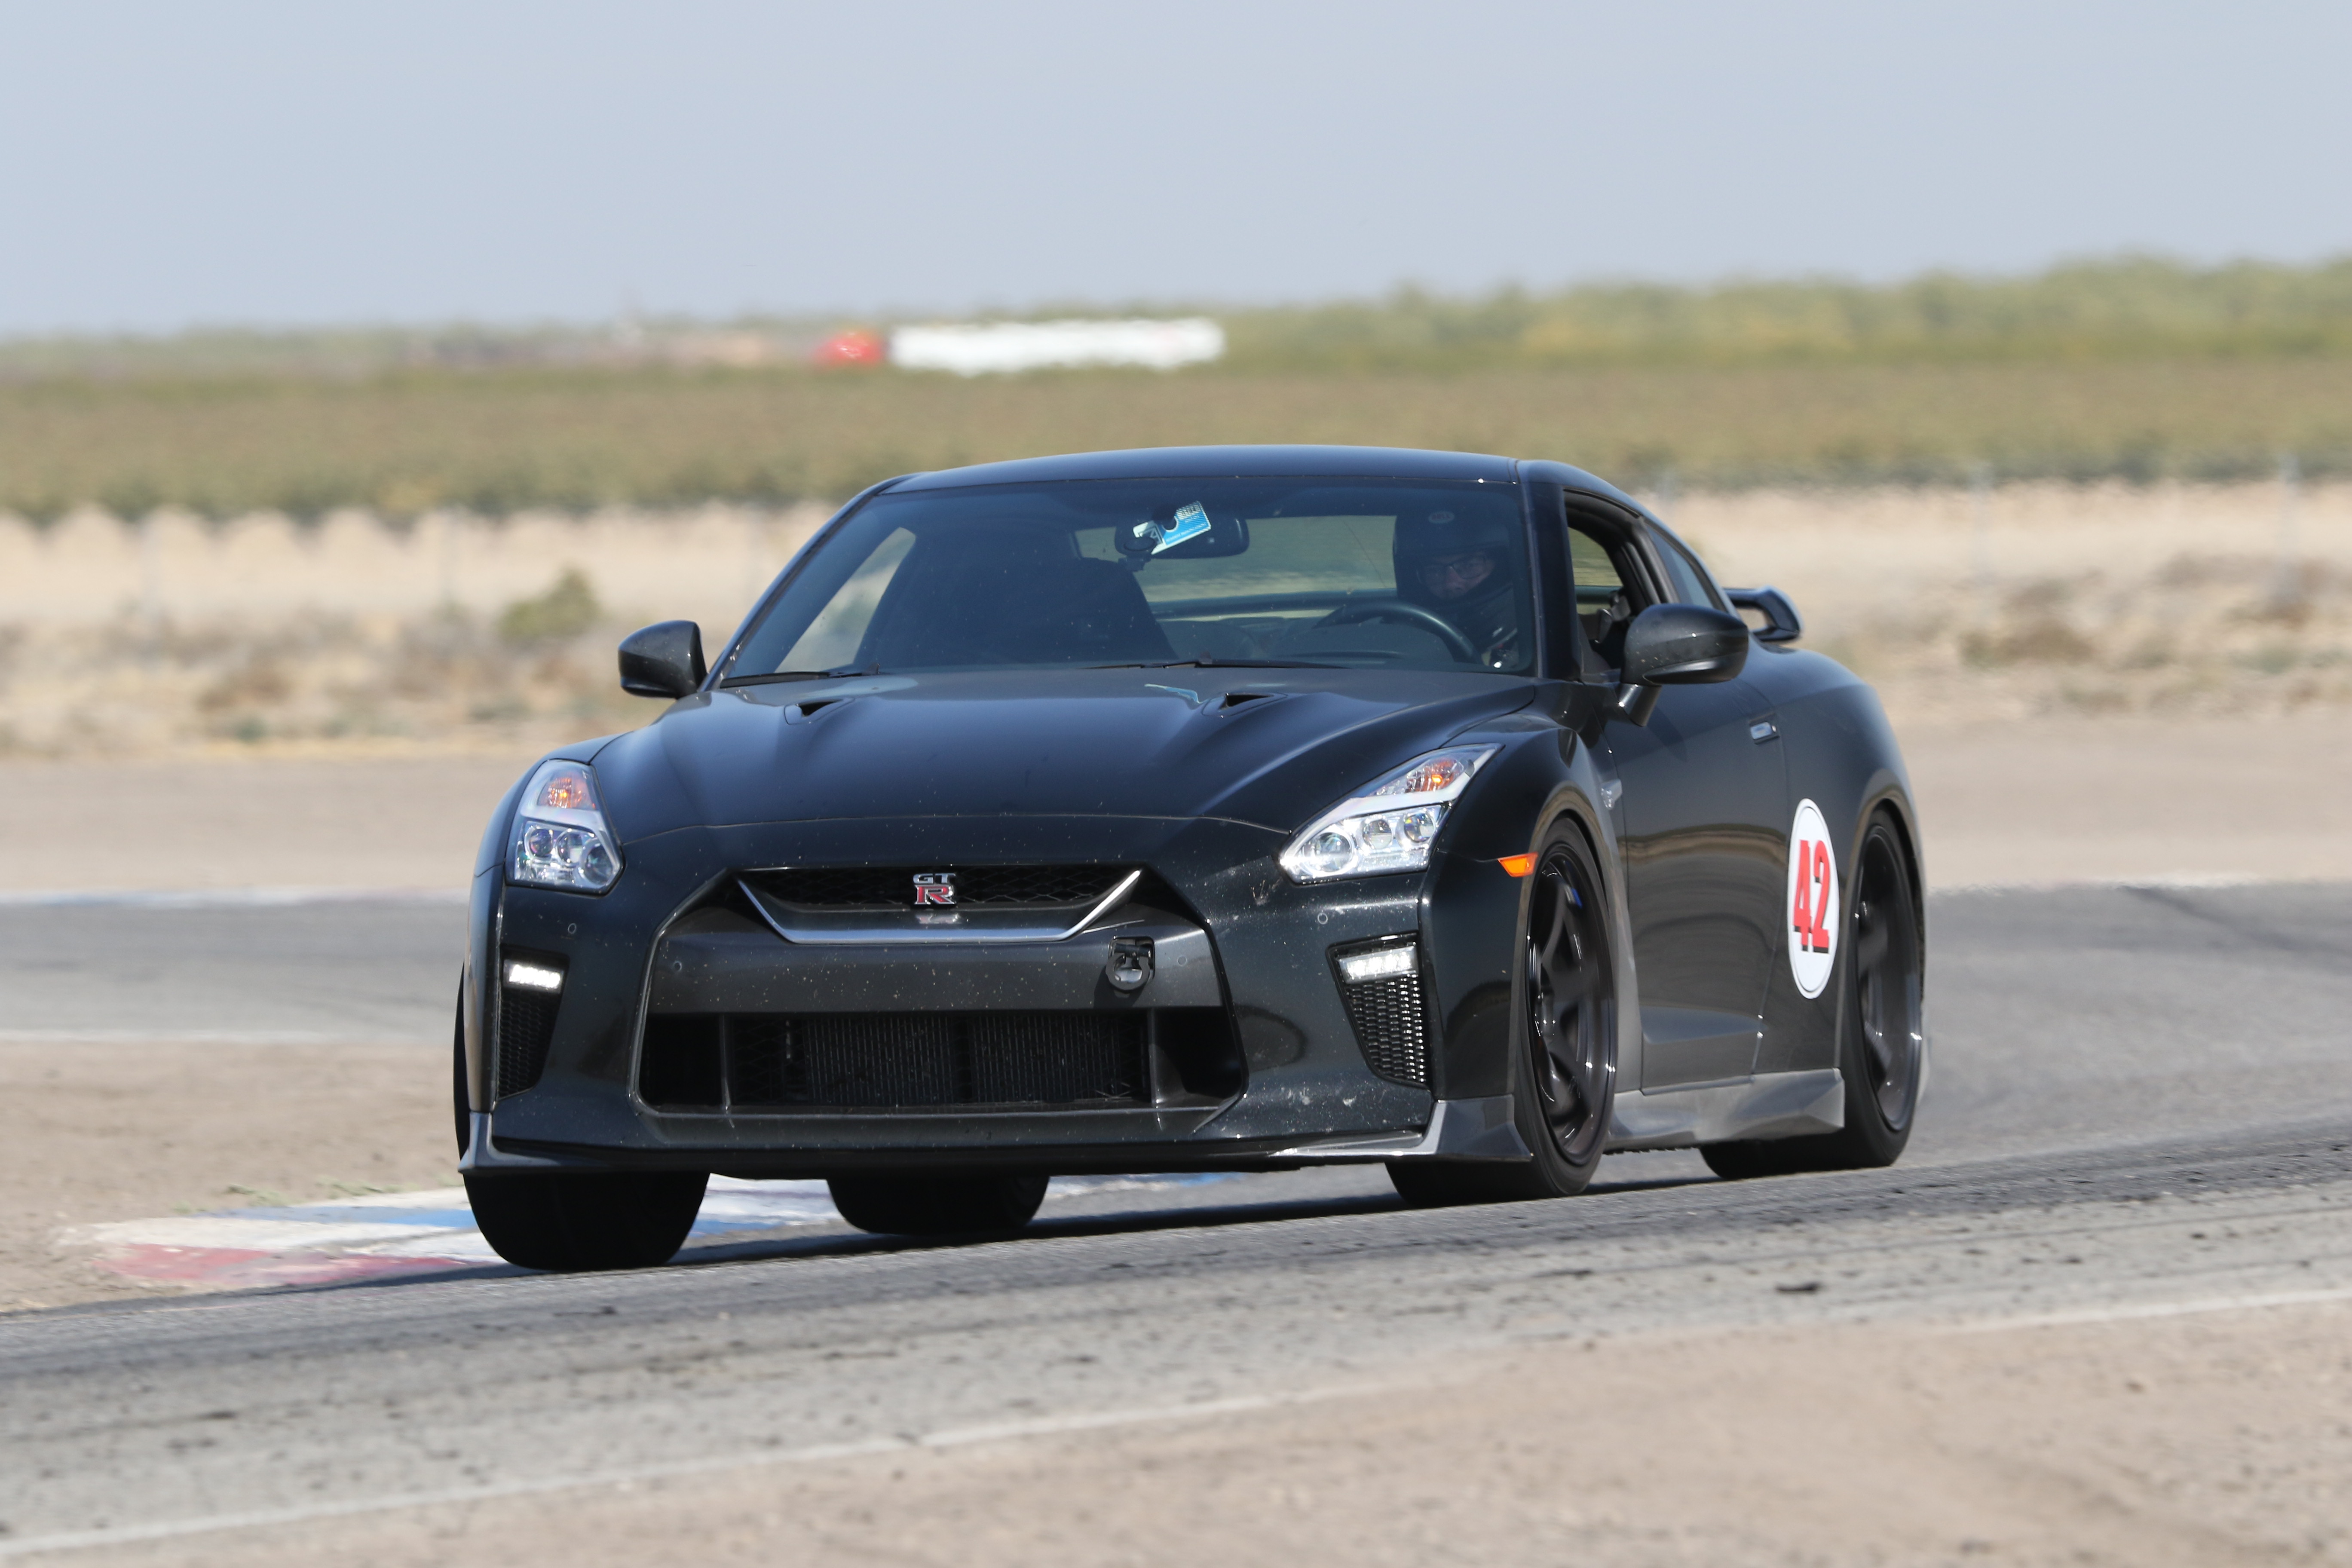
Buttonwillow SV Point By October 2019
My first time at Buttonwillow and my first time with Speed Ventures. This track is pretty well known for time attack and that was kind of how the sessions were organized as you were grided based on your fastest lap time with the fastest person going out first. I didn't really get into this and I hadn't paid extra to rent a transponder to find out exactly what my lap times were. There were only four sessions - I didn't take any telemetry from the first. The second session I have video, but didn't have the telemetry. Third session I did get lap times and by the fourth session, it doesn't matter as by then everyone's going home. Based on session three, I was third fastest in the group which I thought was pretty good given that it was the first time I'd been there and most other cars in the group had been modded.
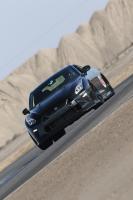
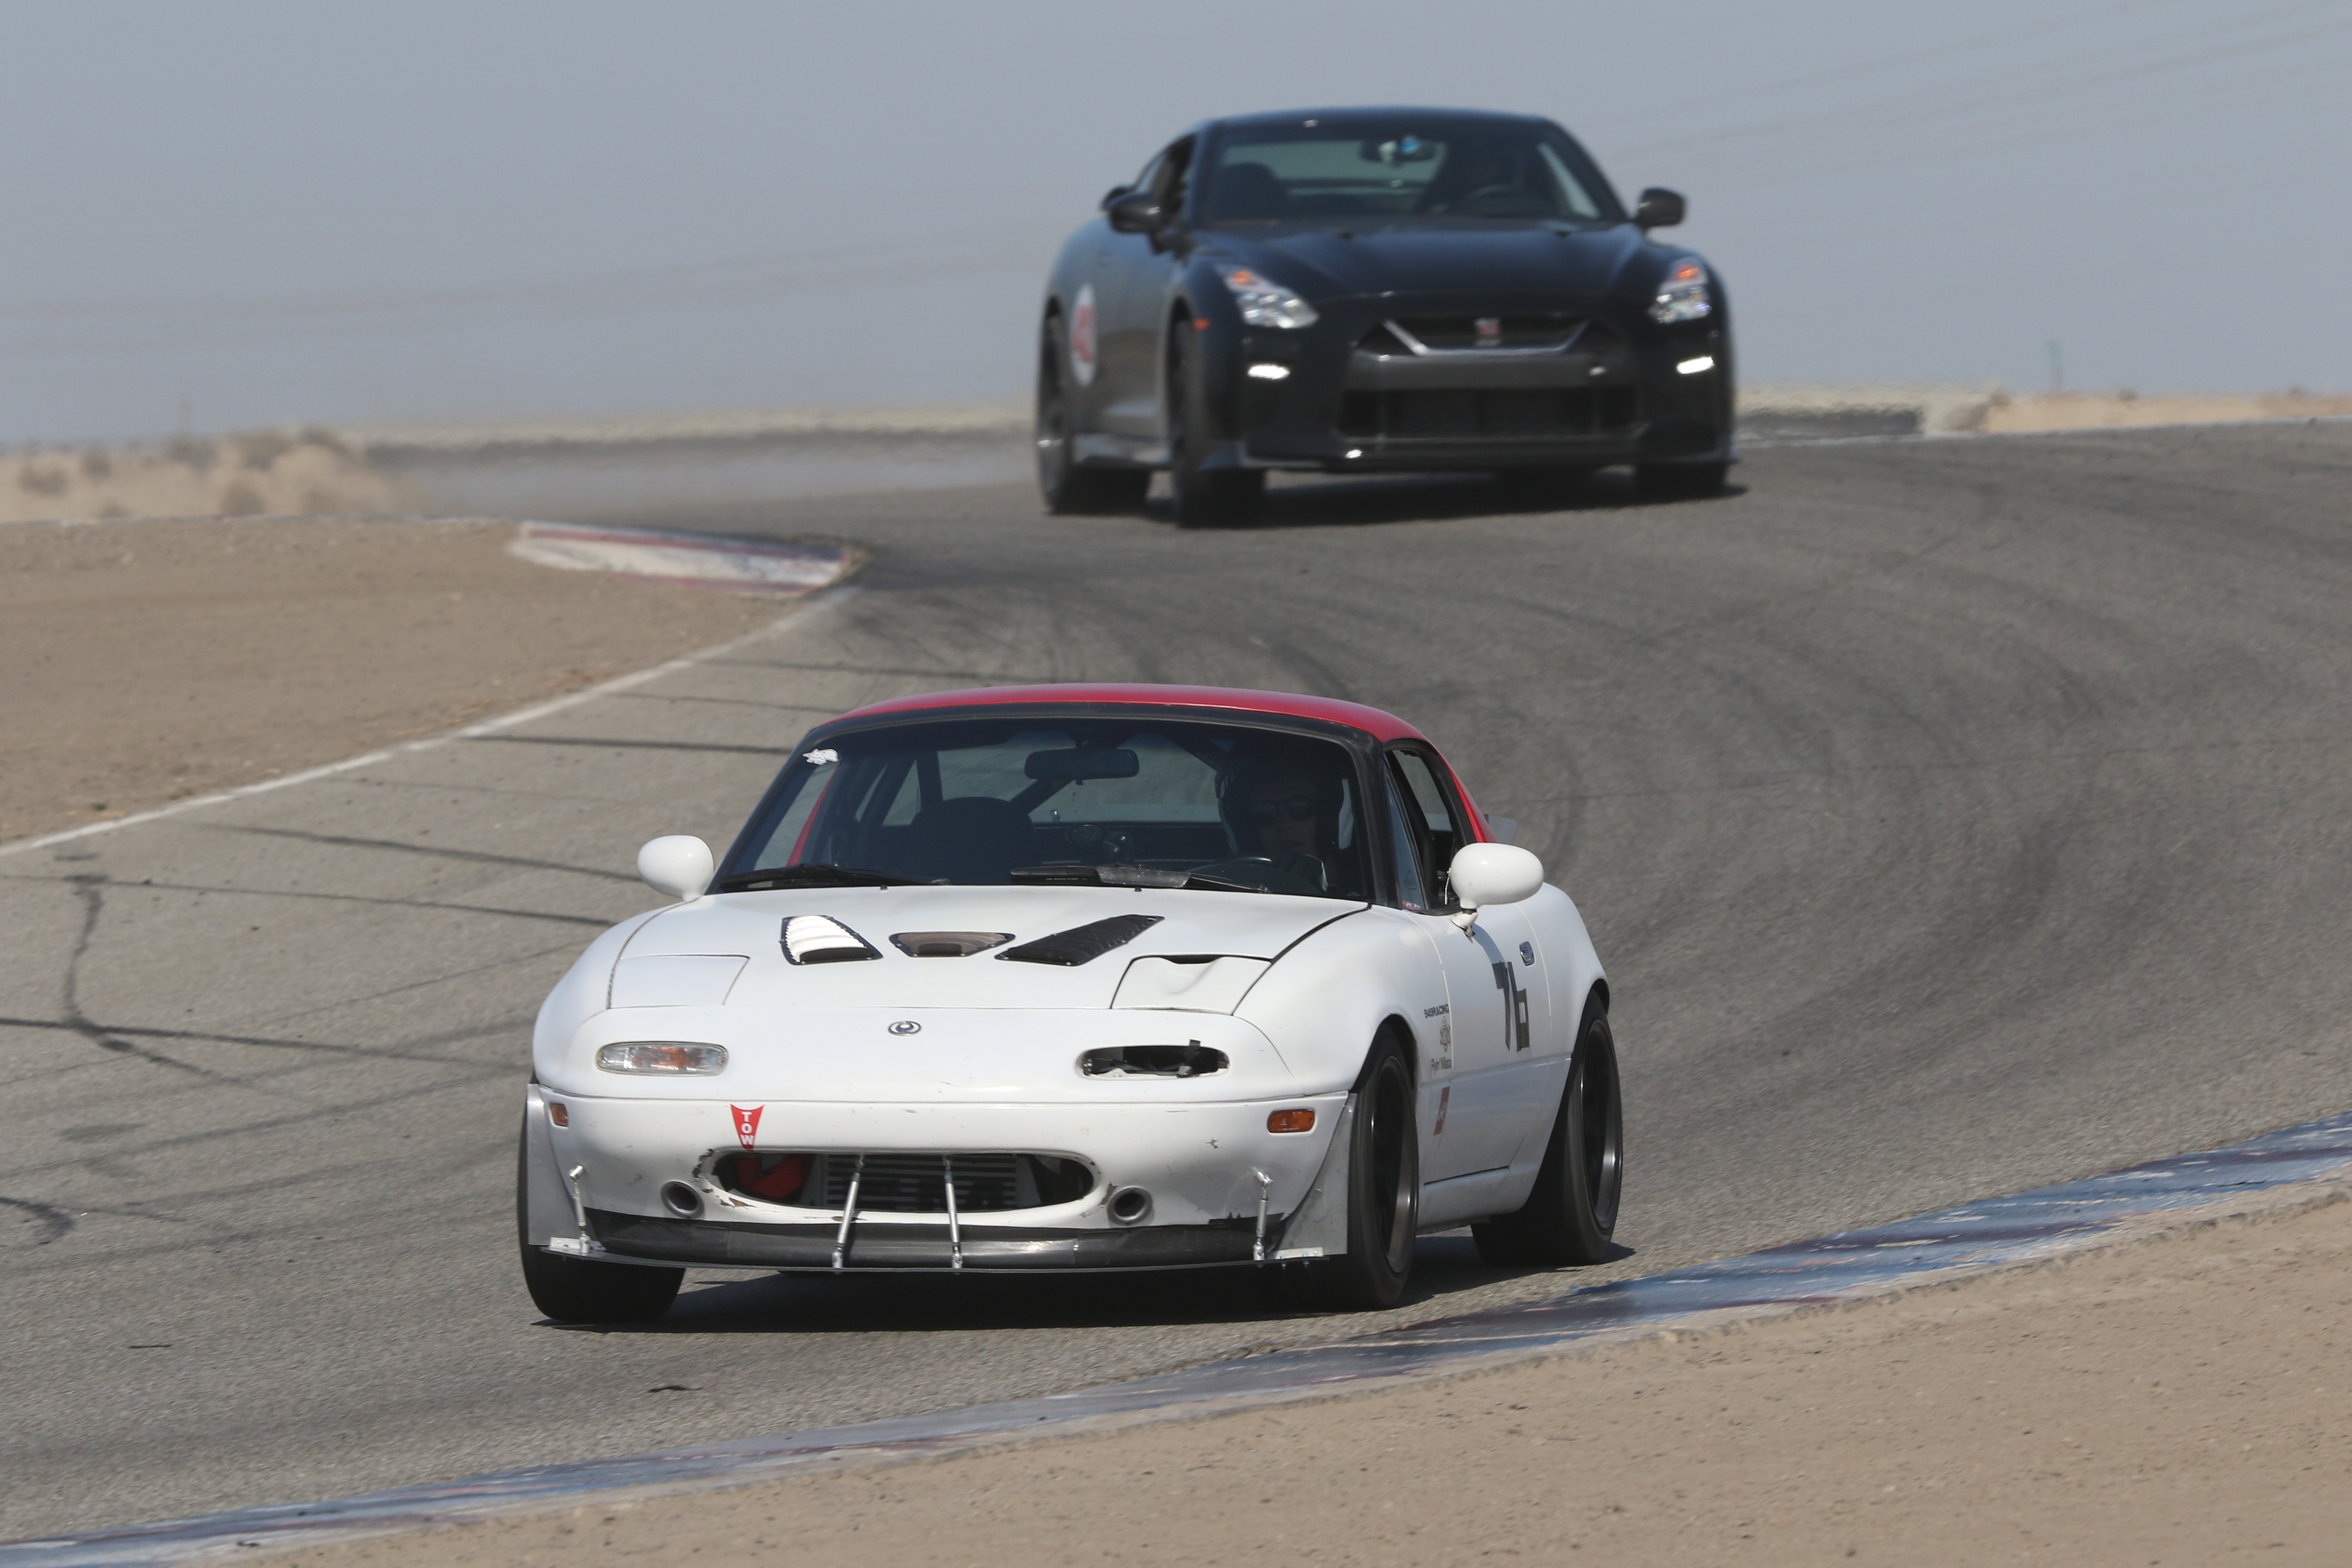
The first session was crazy. I've never seen that many people go off track. I wished I had it on video simply because it was weird. I literally followed a Porsche onto the track and he floored it and went straight off on the first corner. He got back on and then went off half a lap later in the bus stop. He was black flagged, came in and then I passed him and another Porsche both off in the bus stop again later. It seems he went off again at least once in session two, but I didn't see that. I think it was a couple of young kids that had more money than talent.
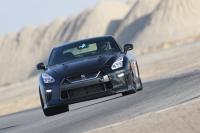
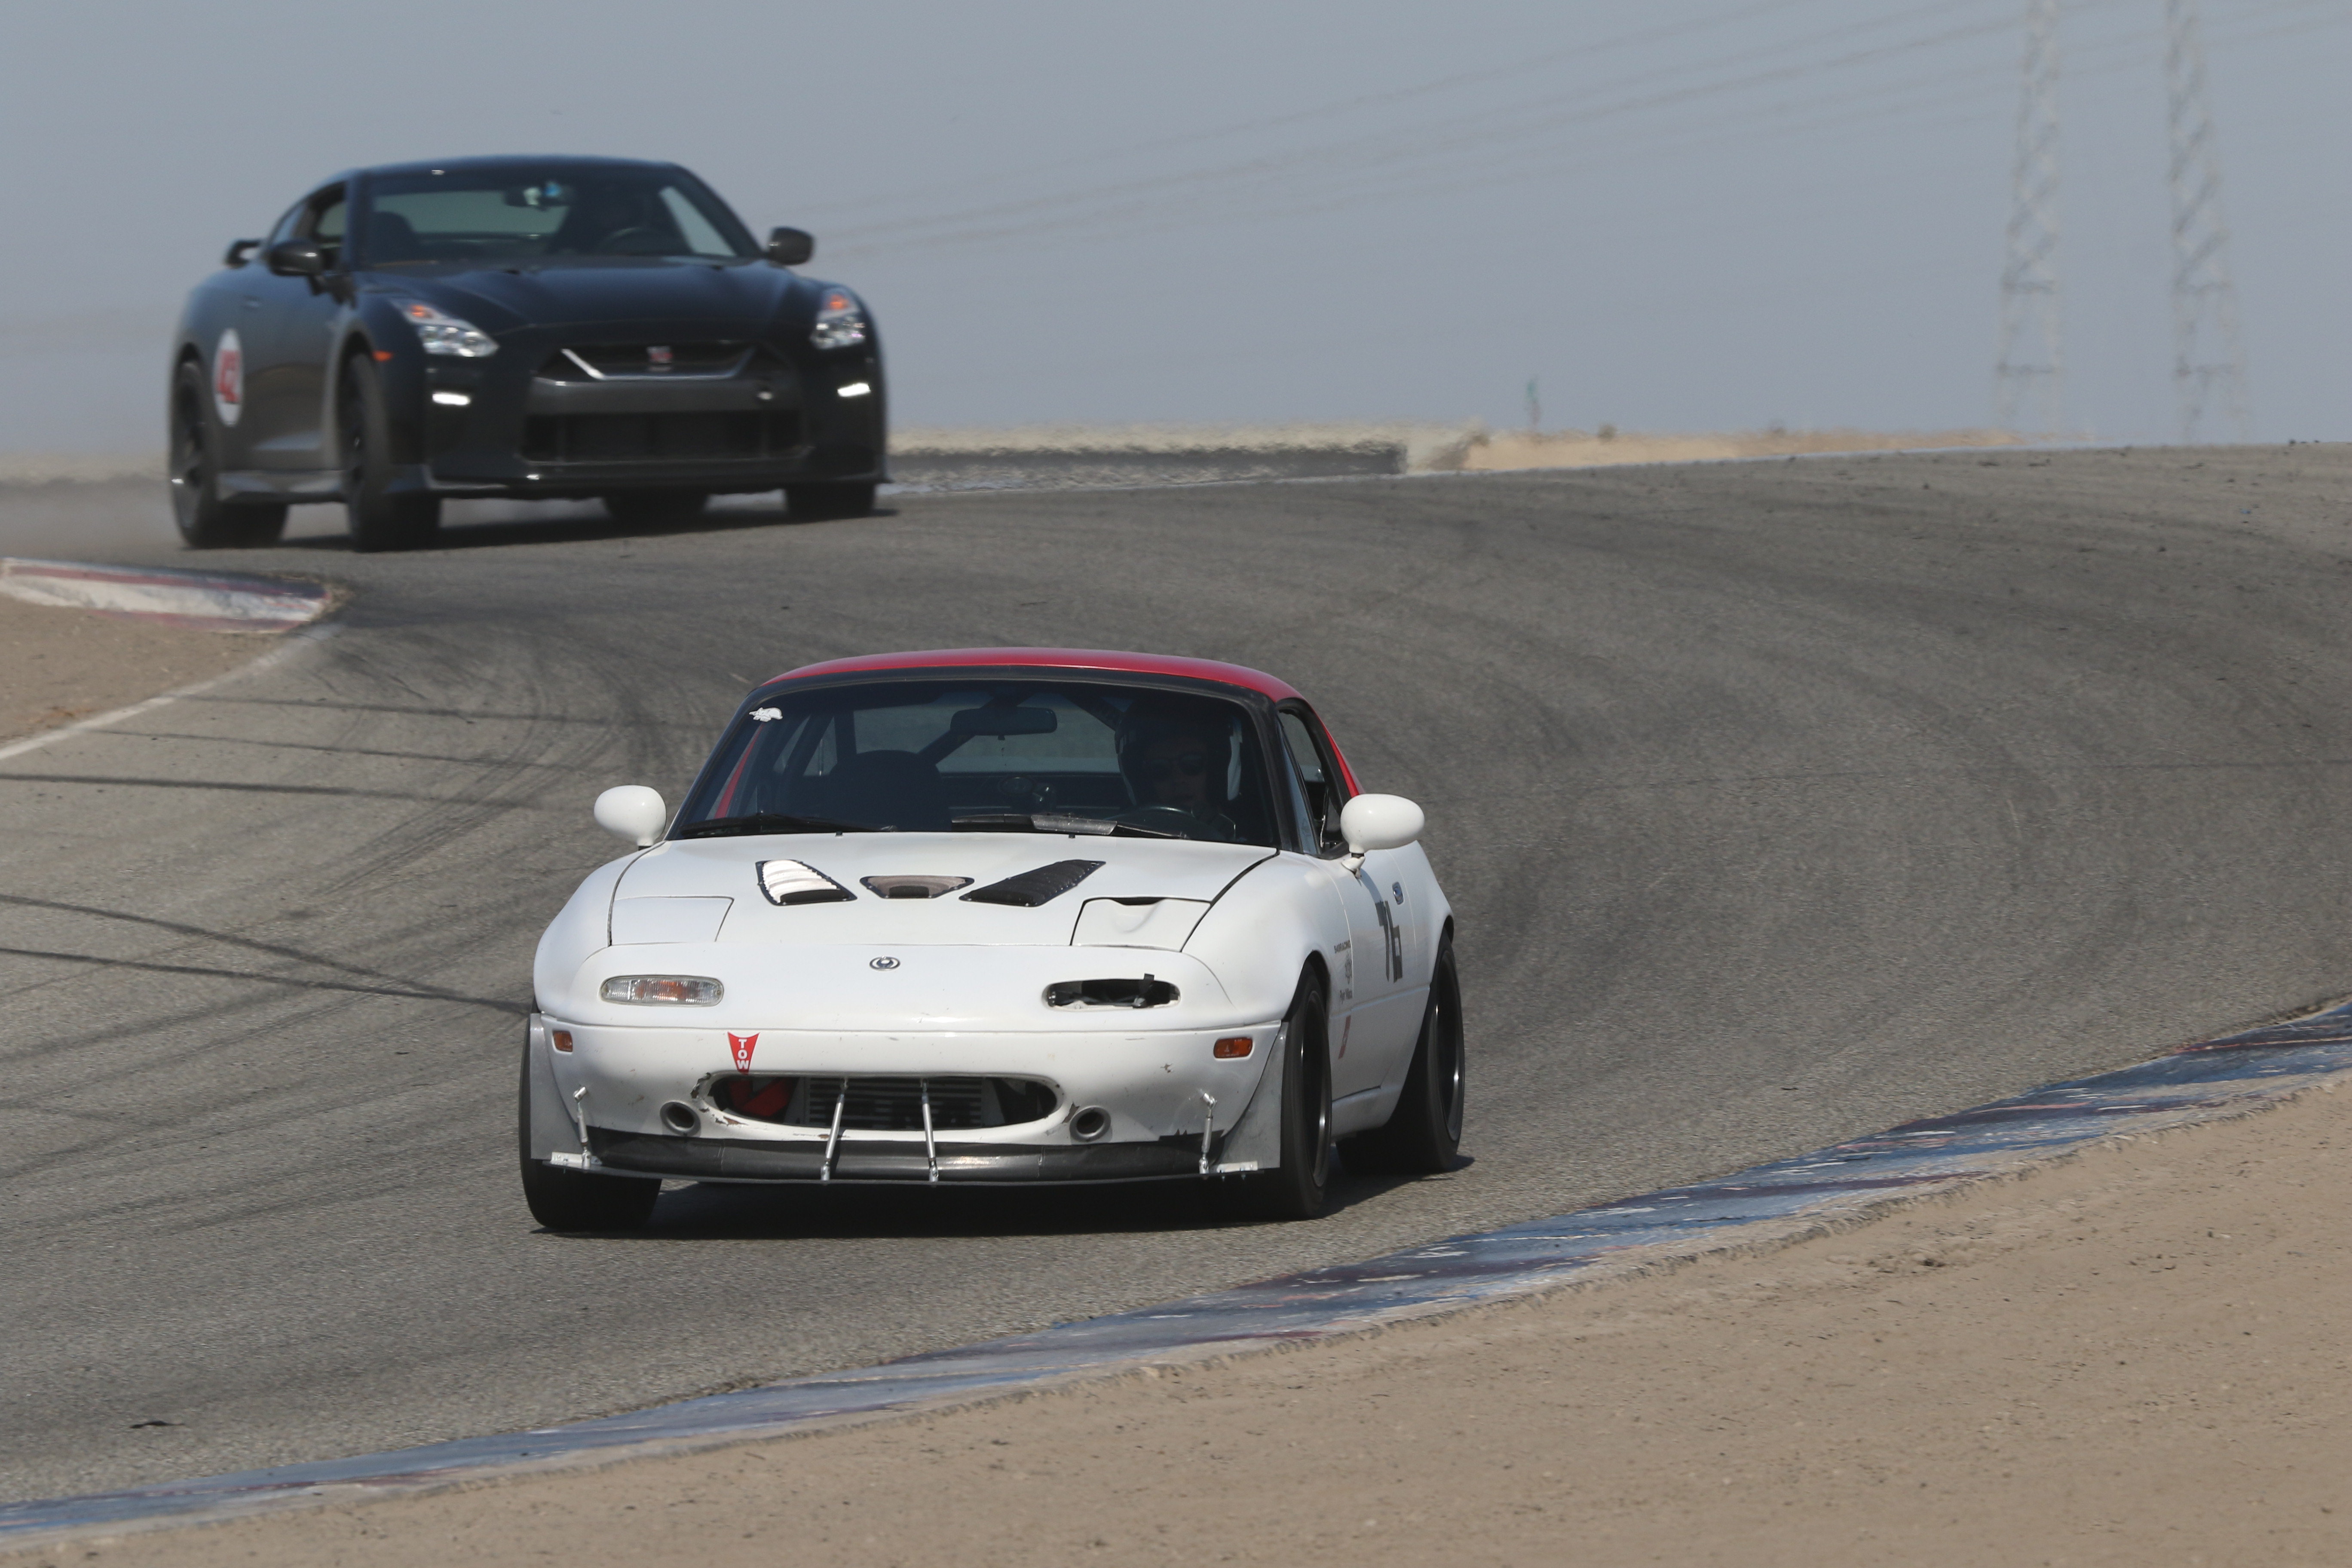
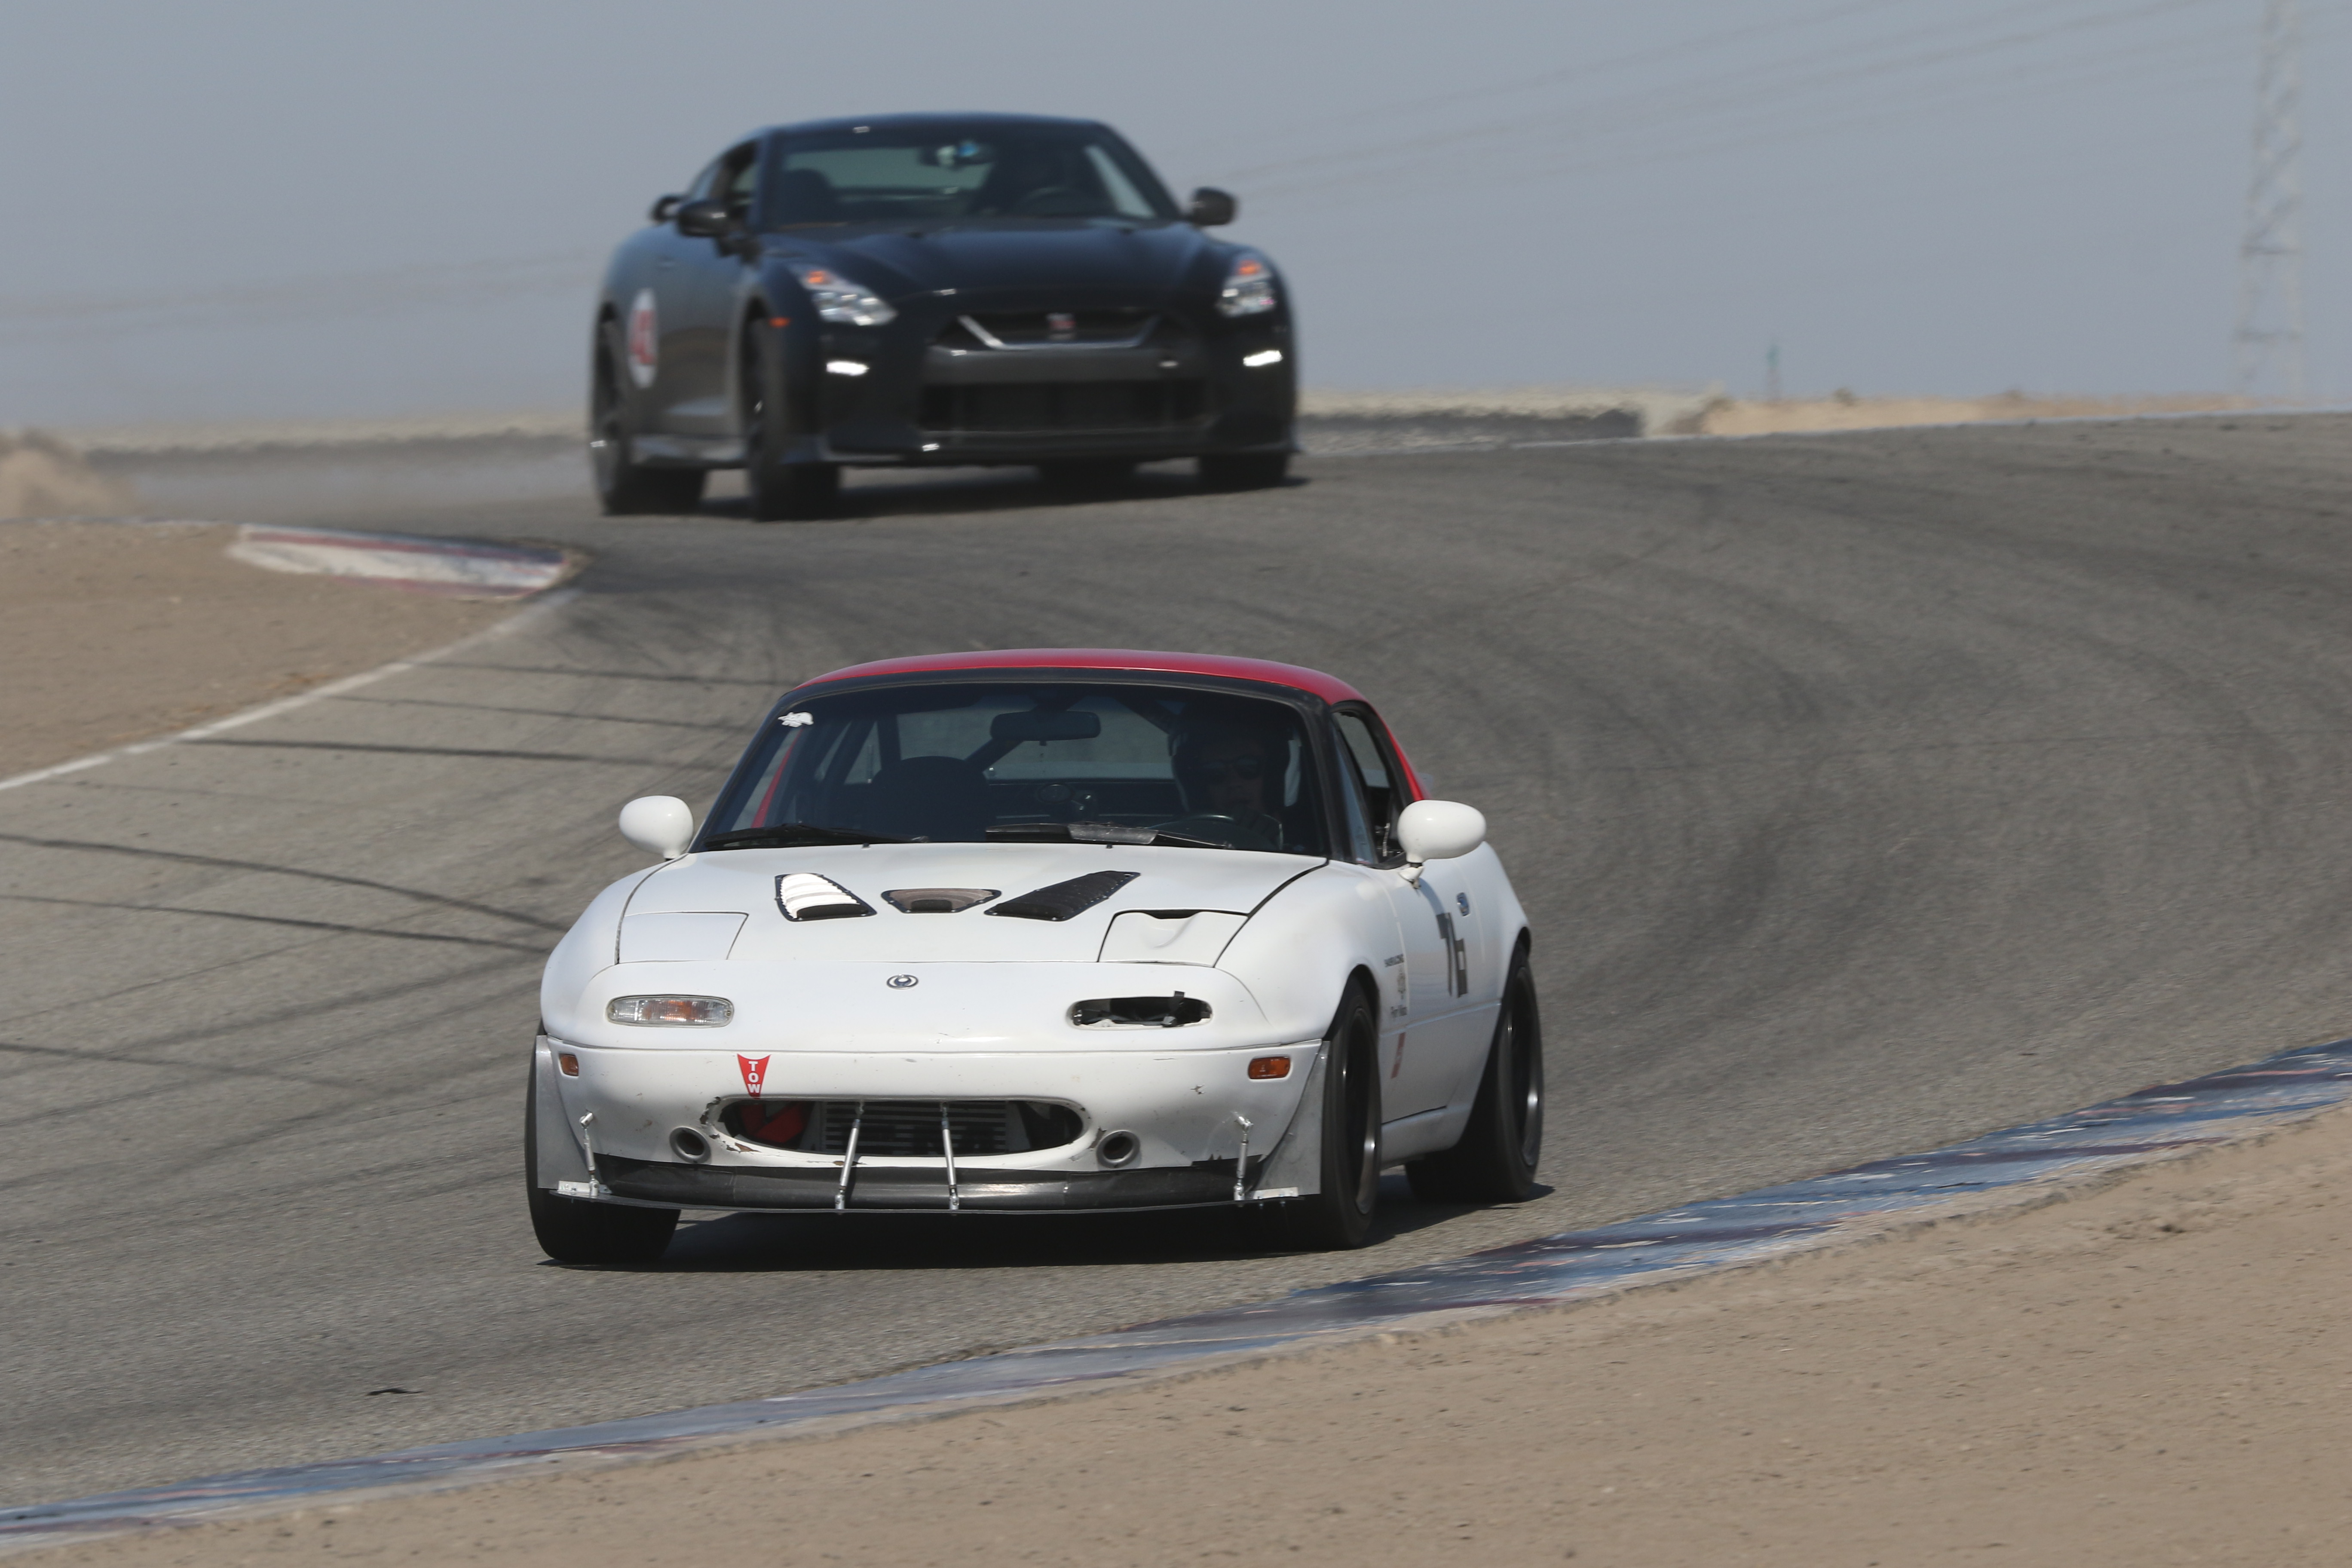
In my first session I did the brave thing - after stopping for these spins, there was nobody in front of me, but there was a miata behind. I let him by and then followed him for four or five laps to try and figure out the line and braking points. This helped me immensely. Session two is strange. There were car issues - my car had done that thing where the traction control had gone off and the car wasn't fully in race mode. I only did half a session, giving up after I slid through sunset, but I was quite shocked to see how fast a couple of the laps were. The third session was much smoother (which is also on video) and the fourth session was fine too. It was much hotter though, so the lap times were slower. At least, they said the lap times would be slower because it was getting hotter, but a part of me wonders if I was much faster in session two because I had no traction control.
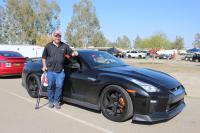
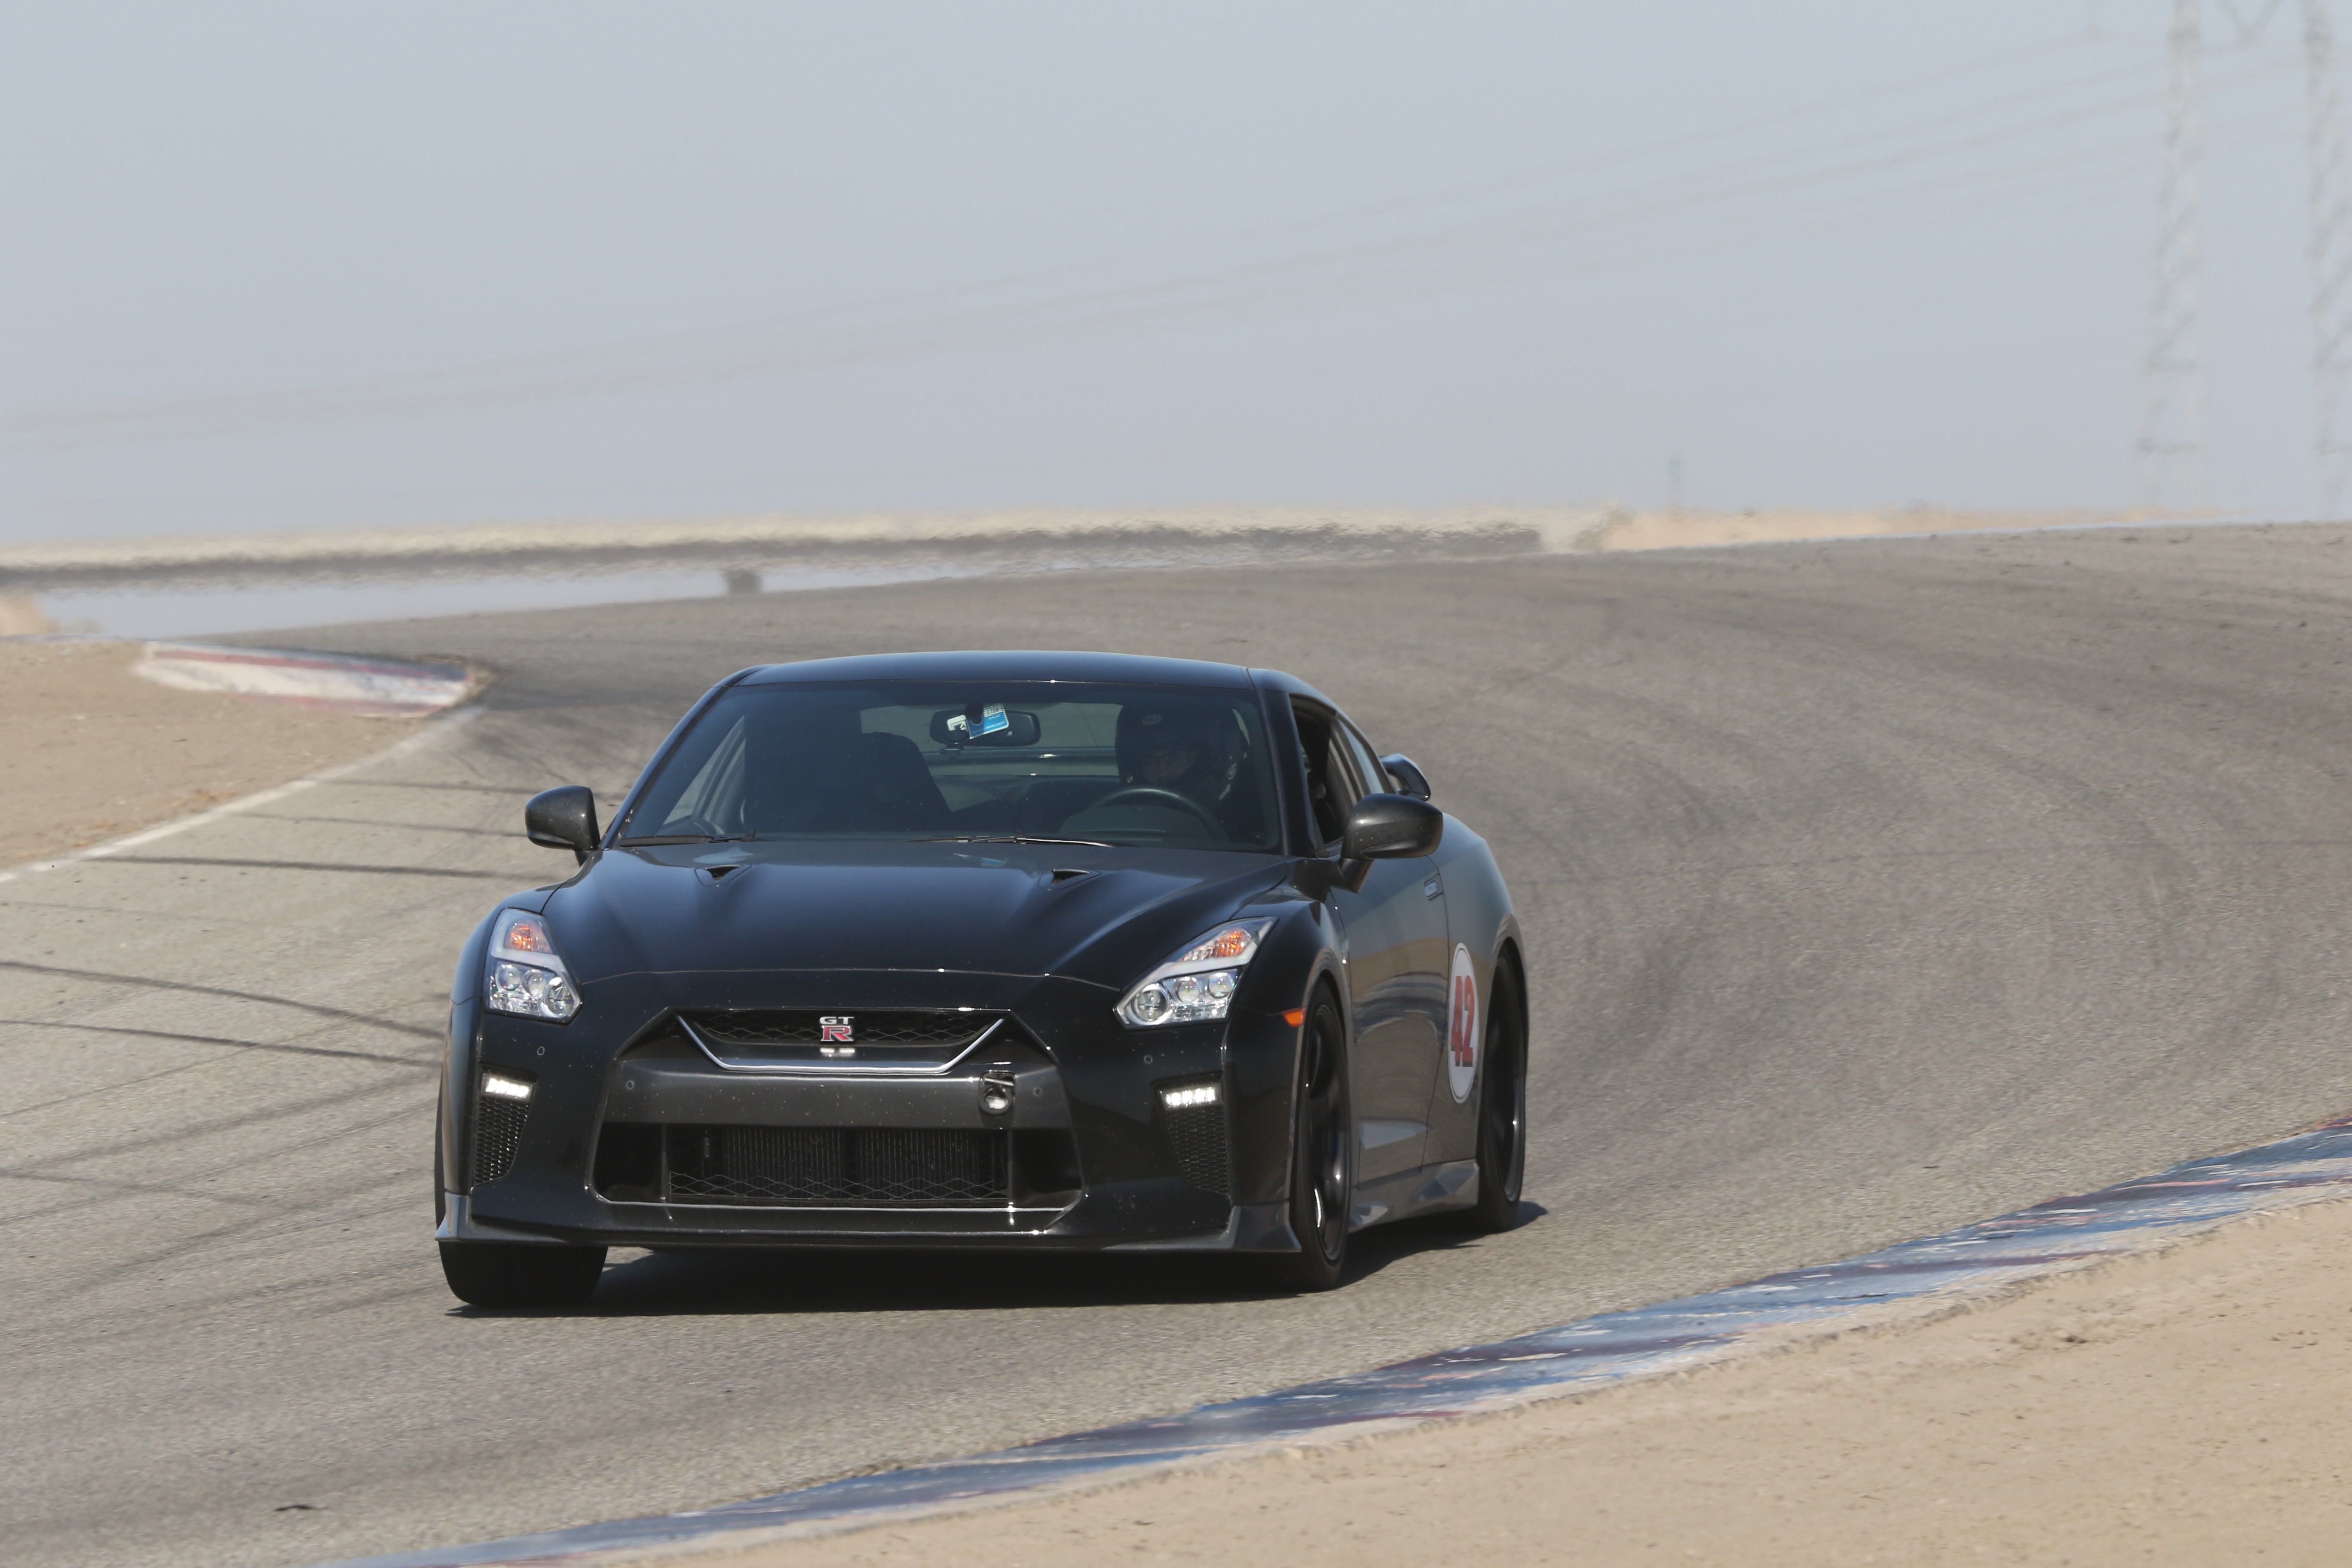
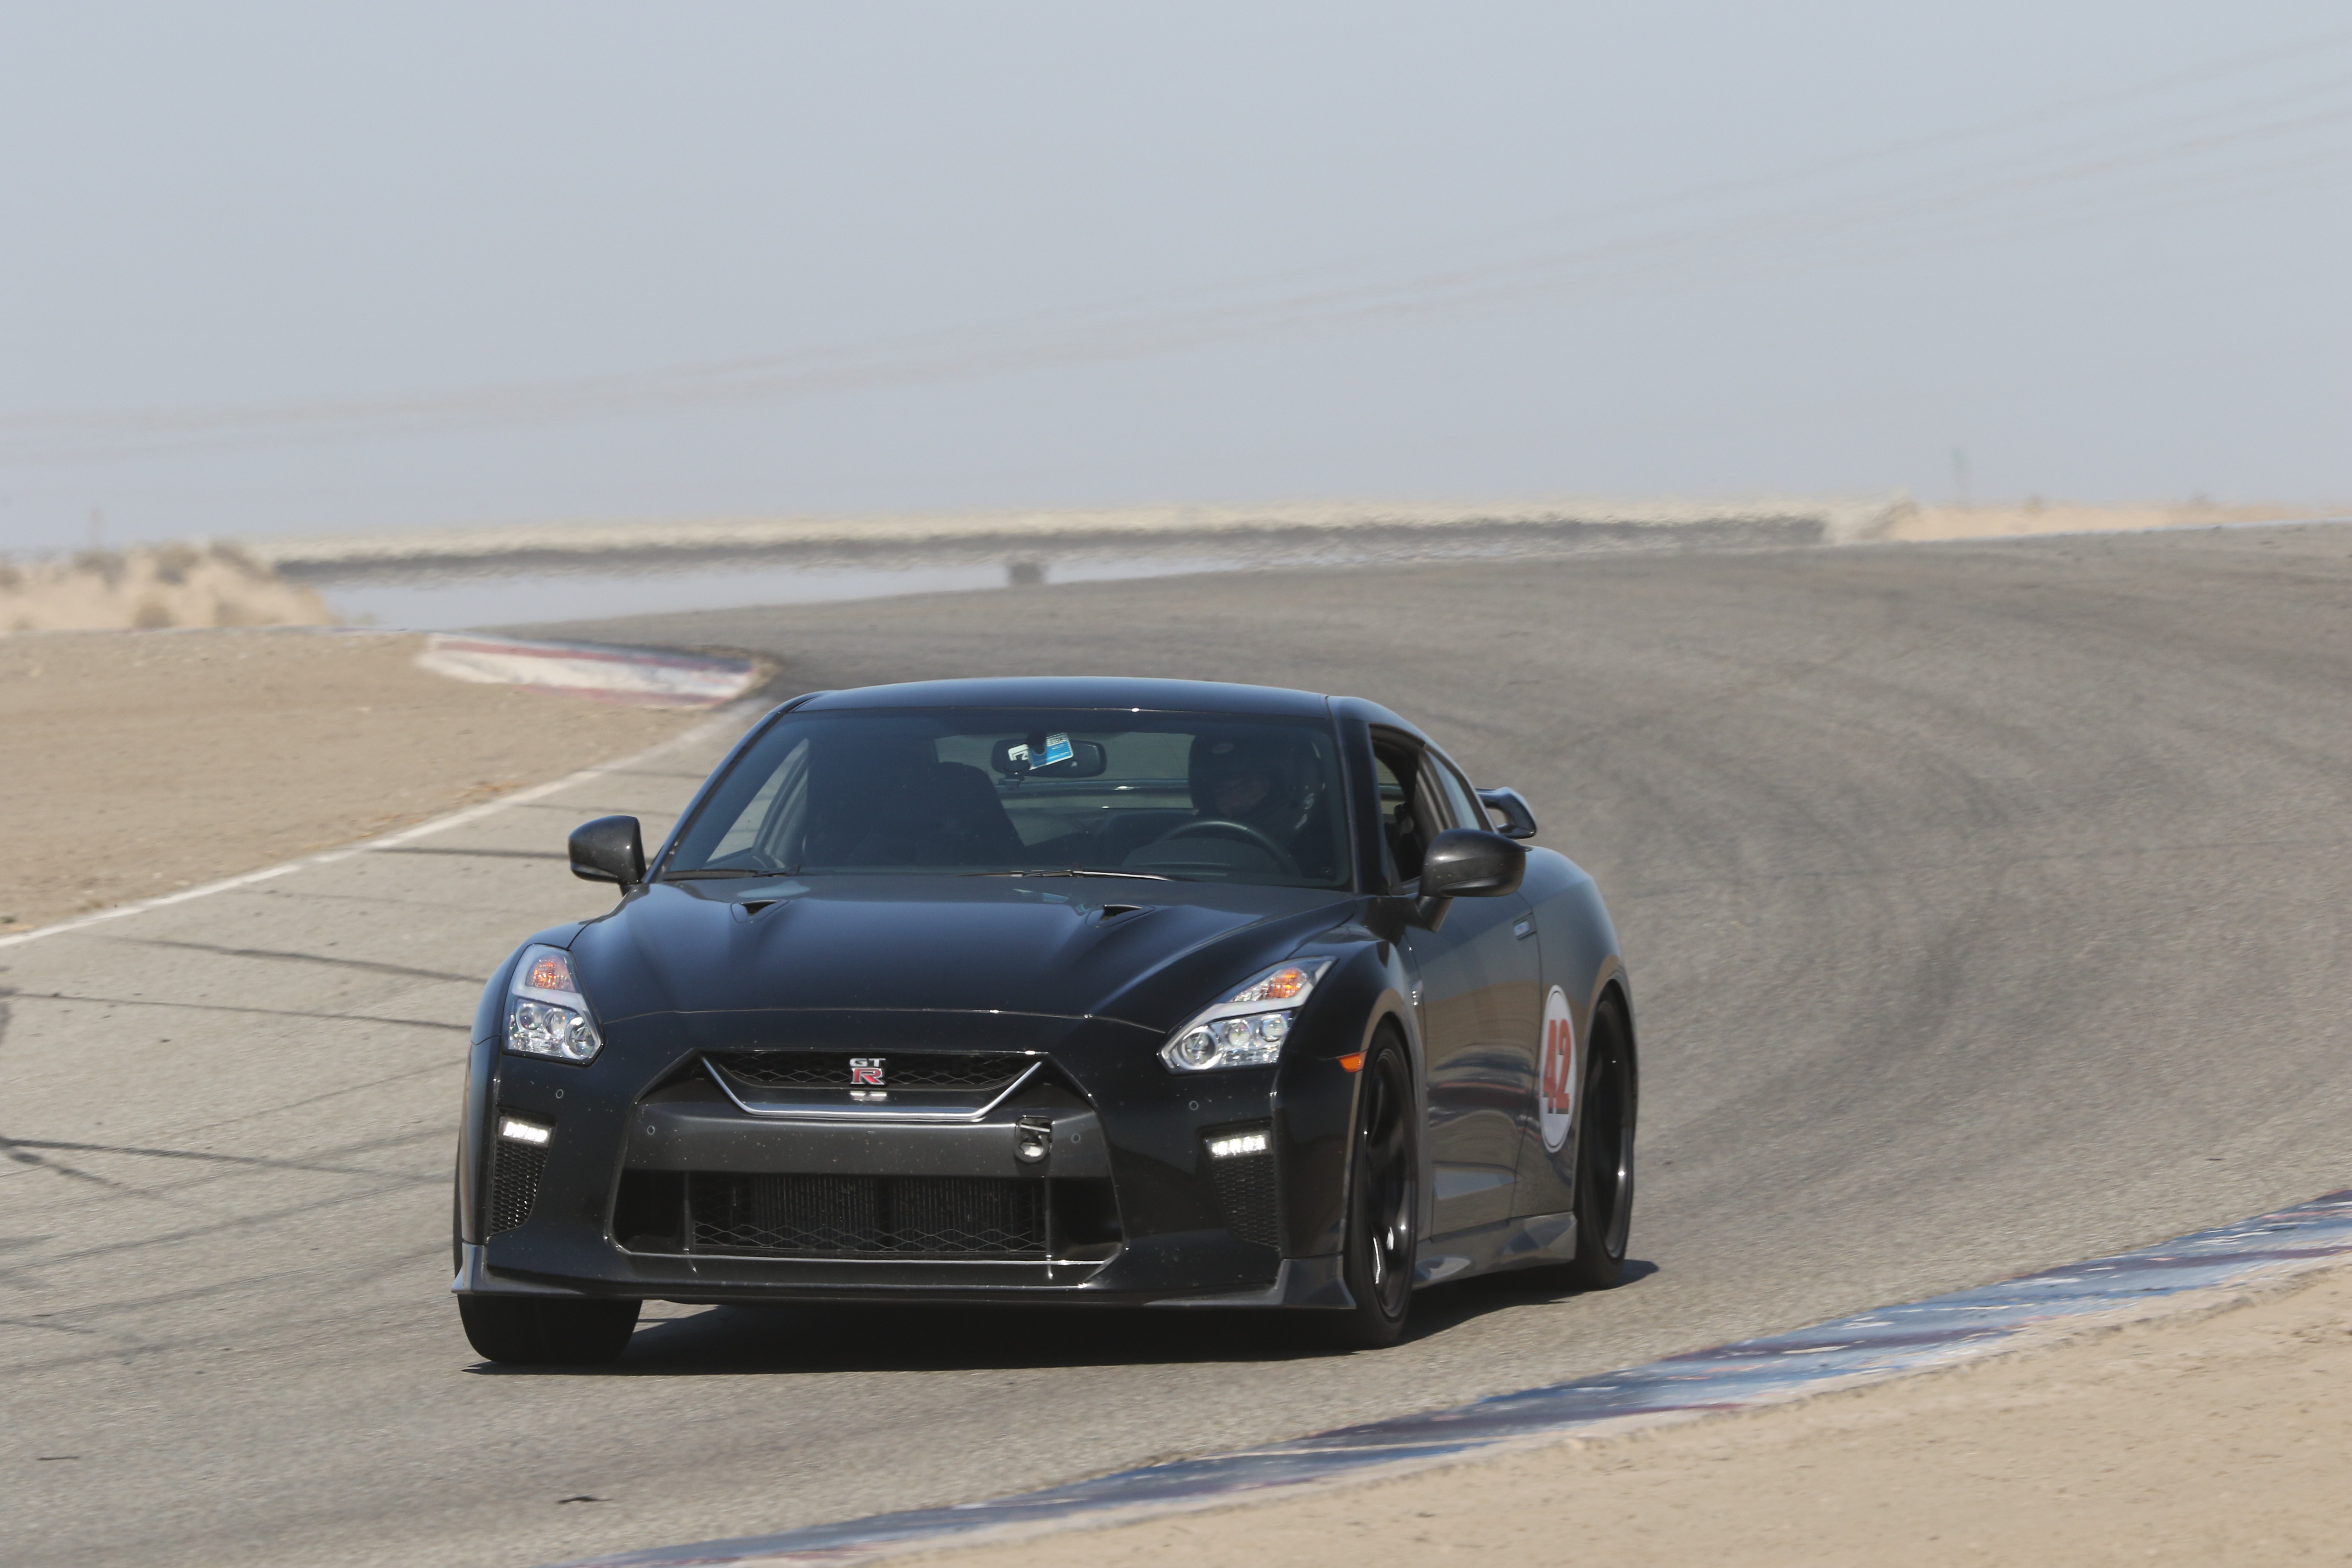
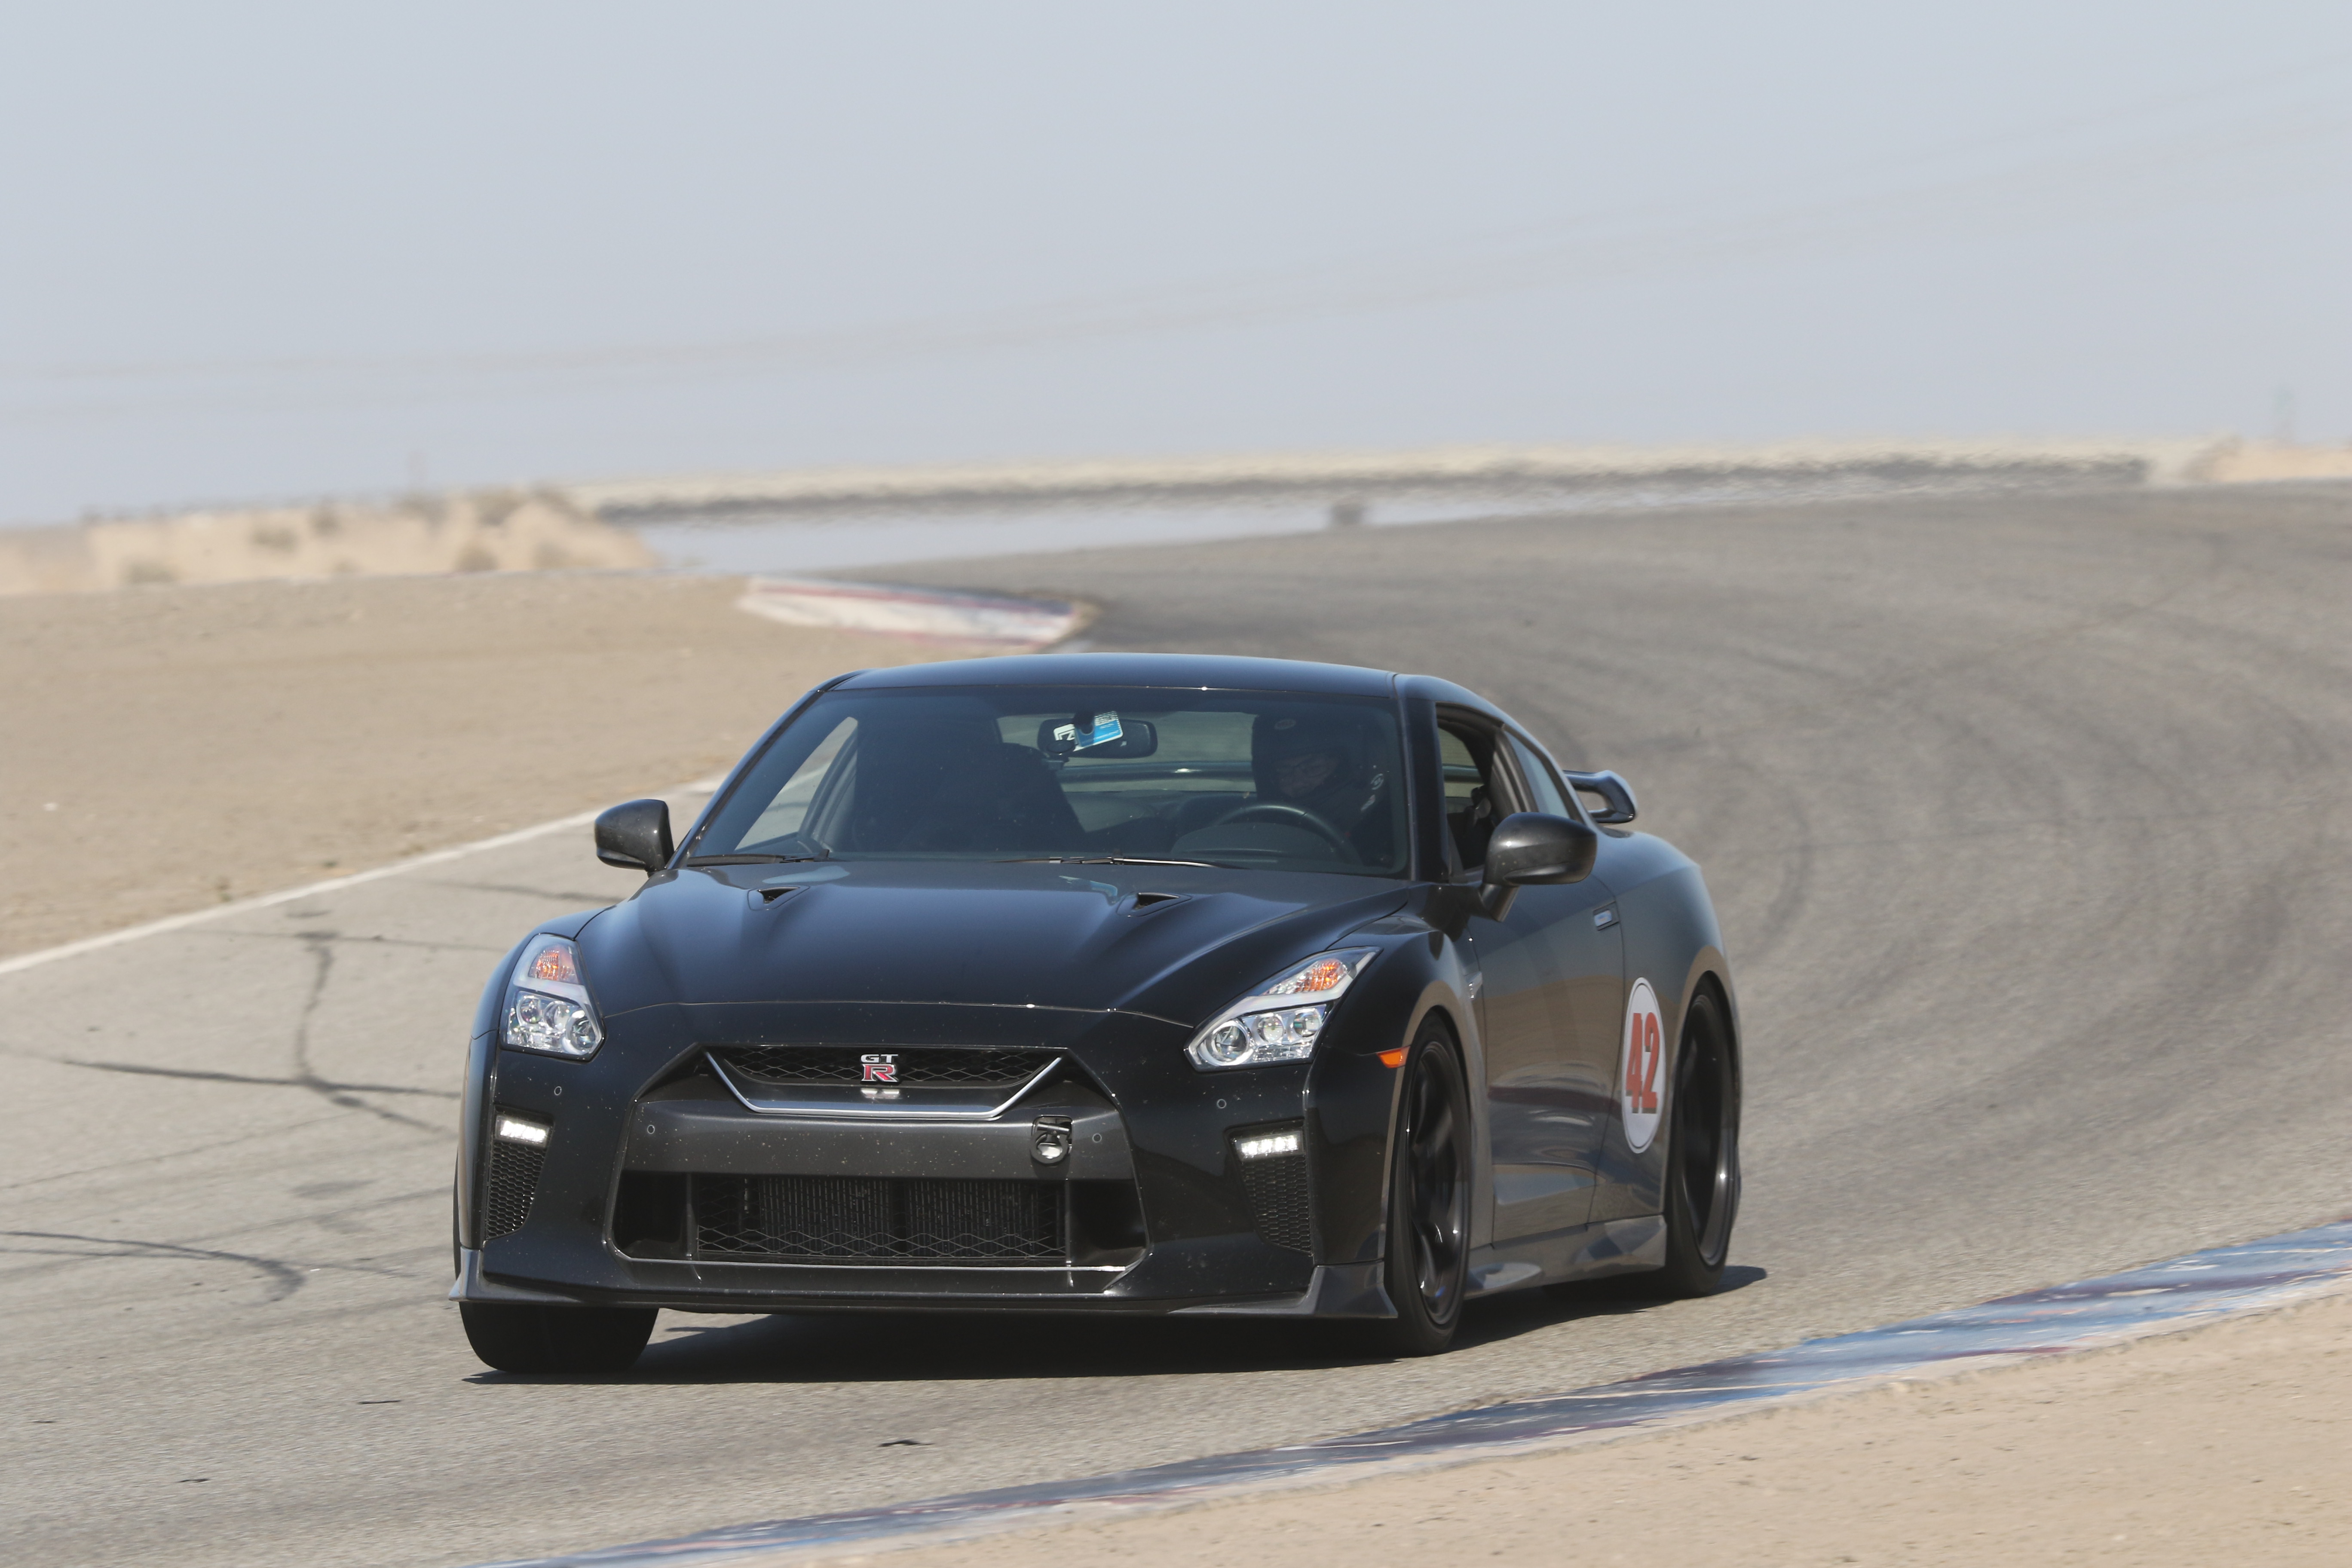
(Photos by Cali Photography along with the slow motion video clips).
Slideshow
View images as a slideshow. Select the parameters for the images to advance automatically or select the manual slideshow to advance the images manually
Images
Images can be clicked to see larger. Click the link under the image to see the full resolution version.


Click on above images to see them larger